Welcome, Guest
Username: Password: Remember me

TOPIC: '64 Custom Craft Sunray - cont from Coosa transoms

'64 Custom Craft Sunray - cont from Coosa transoms 4 years 3 months ago #141558

  • Eric Z
  • Eric Z's Avatar Topic Author
  • Offline
  • Contributing Member
  • Contributing Member
  • Posts: 237
  • Karma: 2
  • Thank you received: 19
Hi All,

This was a barn find in VA but it is not the Sunray possibly made in Salem, VA. An ACBS member has that one in storage.

I started this project as shown in the main forum, Coosa for transoms topic. Pictures are there regarding the prep, laminating and install of the first layer. I'll pick up below with the installation of the inner layer.

The transom core is Bluewater 26, I'll probably use Nautical 24 for the floor.

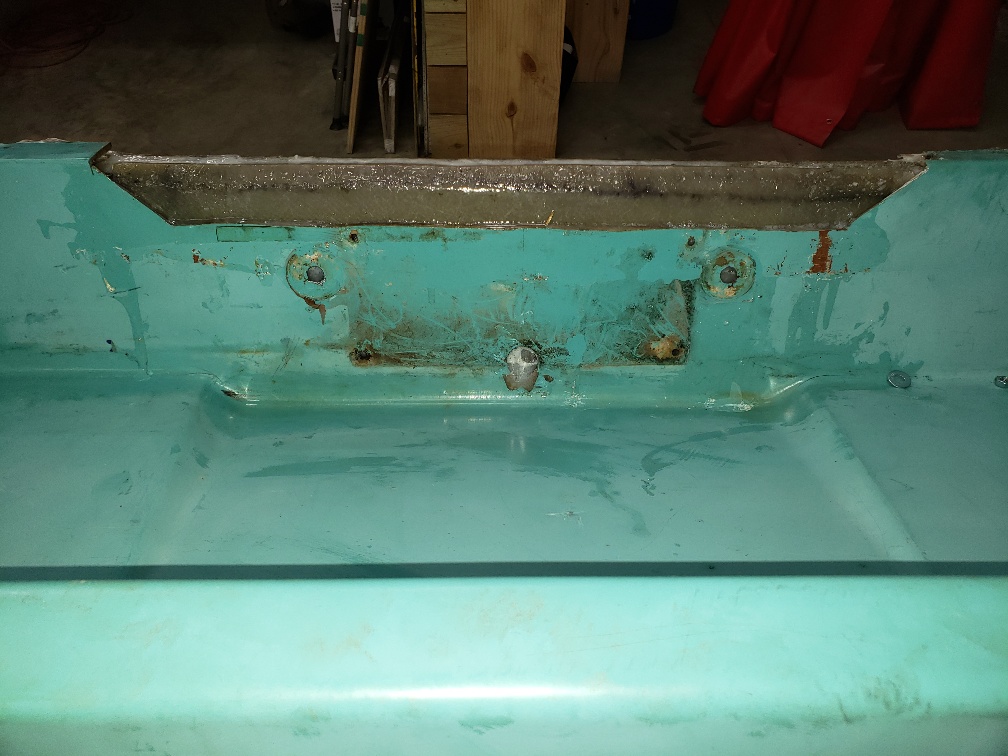
Pic #26 this is the interior layer. As shown in the Coosa for transoms topic, the first layer was able to slide up behind the motor well in one piece. The inner layer has to be sliced in 2 so that the top piece can go up and behind the well first and then the bottom will pop in place. Both are adhered to the inner layer with thickened epoxy. Here I am adding another layer of 1708 in the middle of the top piece so that it is really snug between the inner layer and motor well. A rubber mallet was used to tap it up.
Pic #27 both sections in place, clamped and bolted.
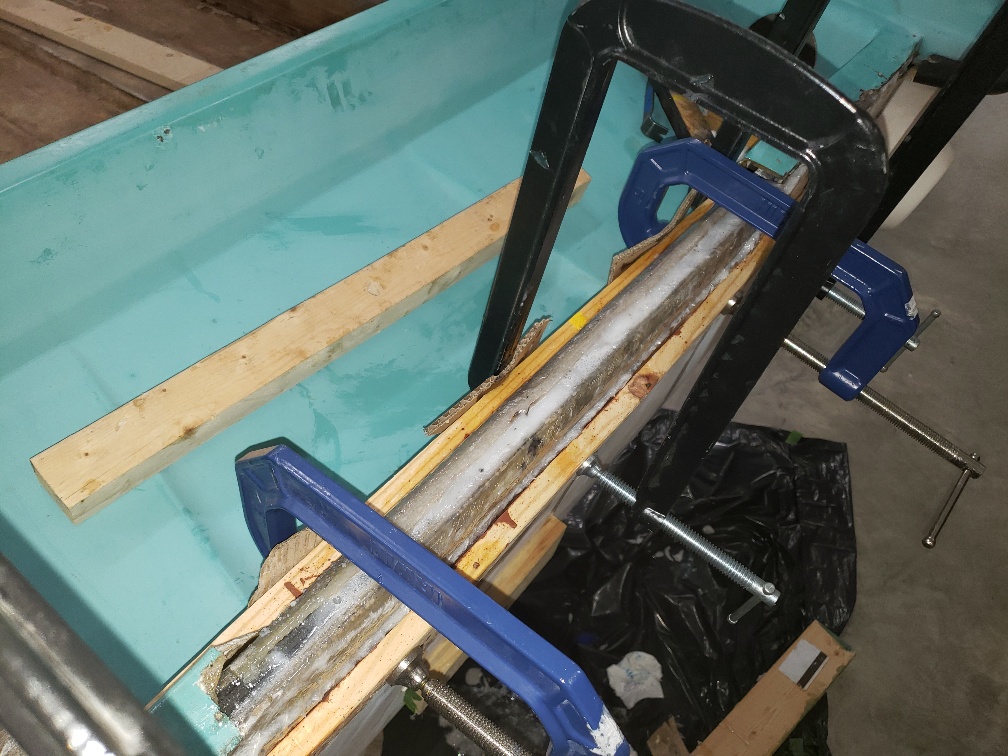
Pic #28 top exterior, clamp and squeeze
Pic #29 peanut butter with quarter chop mixed in and tabbed in all around
Pic #30 very solid. transom will be capped at this level to bring cavitation plate on engine up where it should be.

Thanks,
Eric

Please Log in or Create an account to join the conversation.

'64 Custom Craft Sunray - cont from Coosa transoms 4 years 3 months ago #141592

  • Eric Z
  • Eric Z's Avatar Topic Author
  • Offline
  • Contributing Member
  • Contributing Member
  • Posts: 237
  • Karma: 2
  • Thank you received: 19
A little more work with the Coosa board:
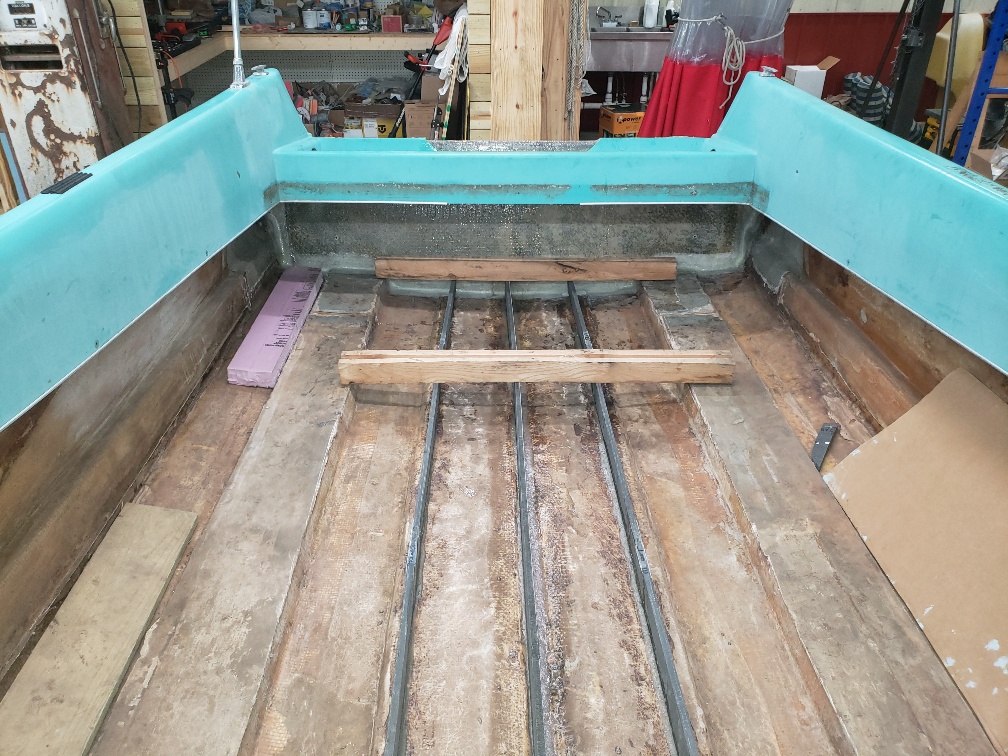
Pic 32 - 8' of stringers peanut buttered in, then covered in 1708, might have been easier to laminate the 1708 prior to cutting the lengths then tabbing it in and over the top edge
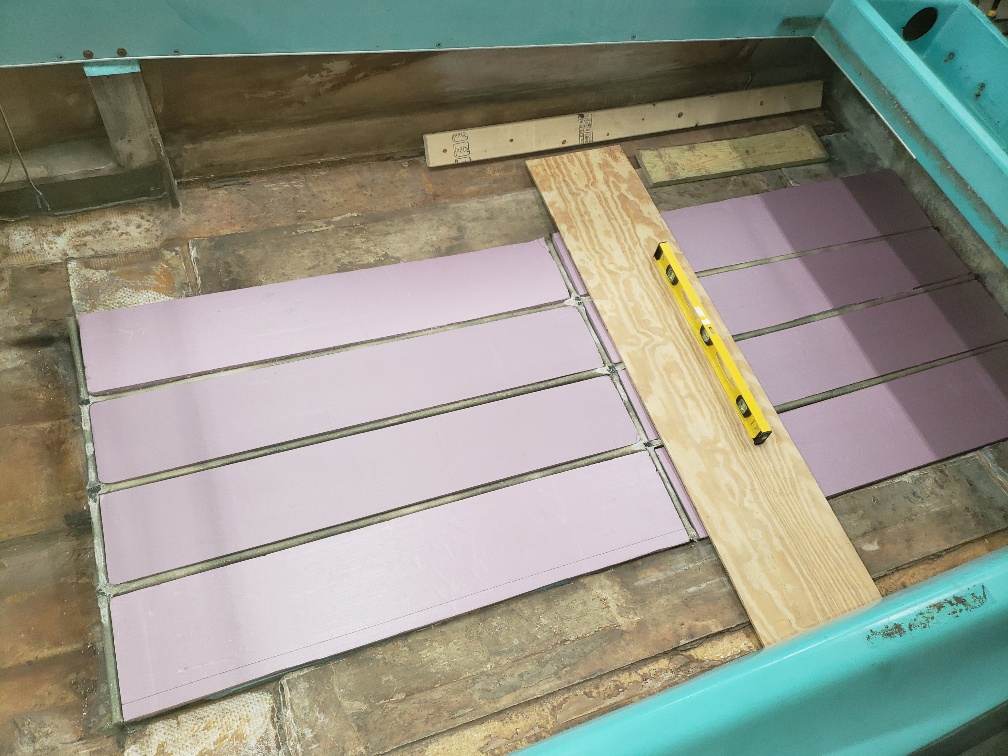
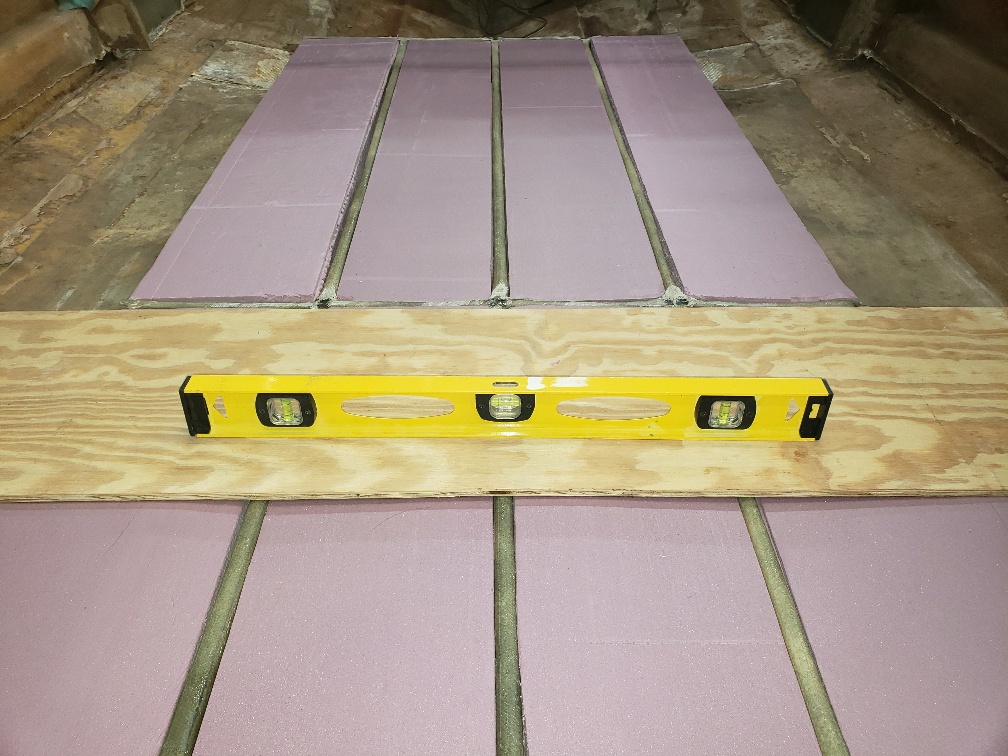
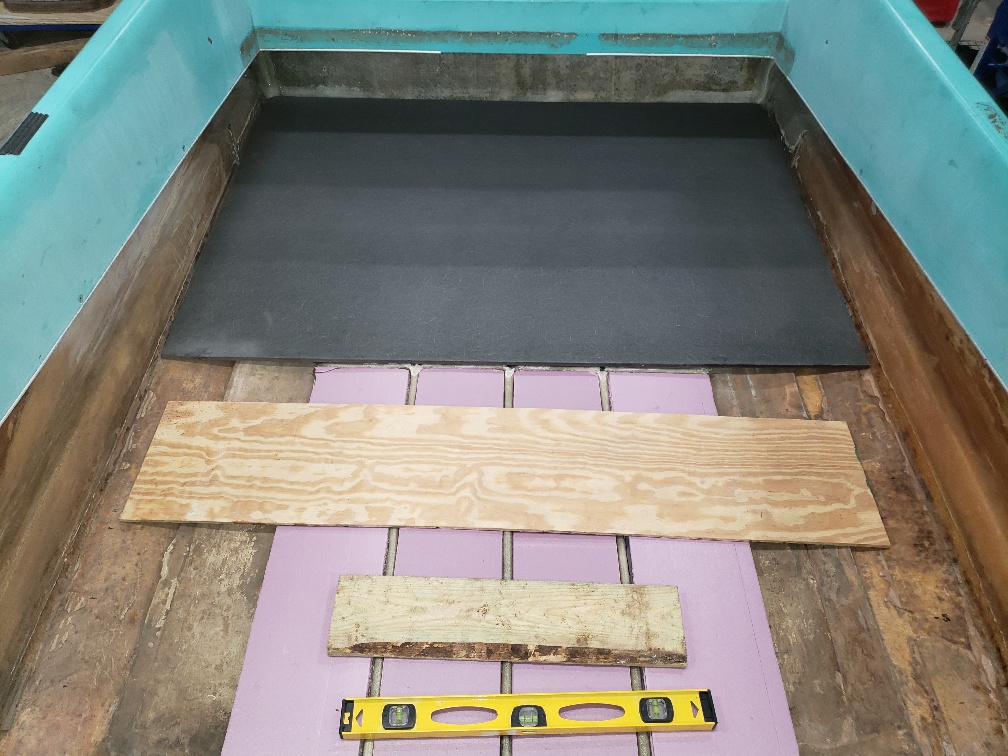
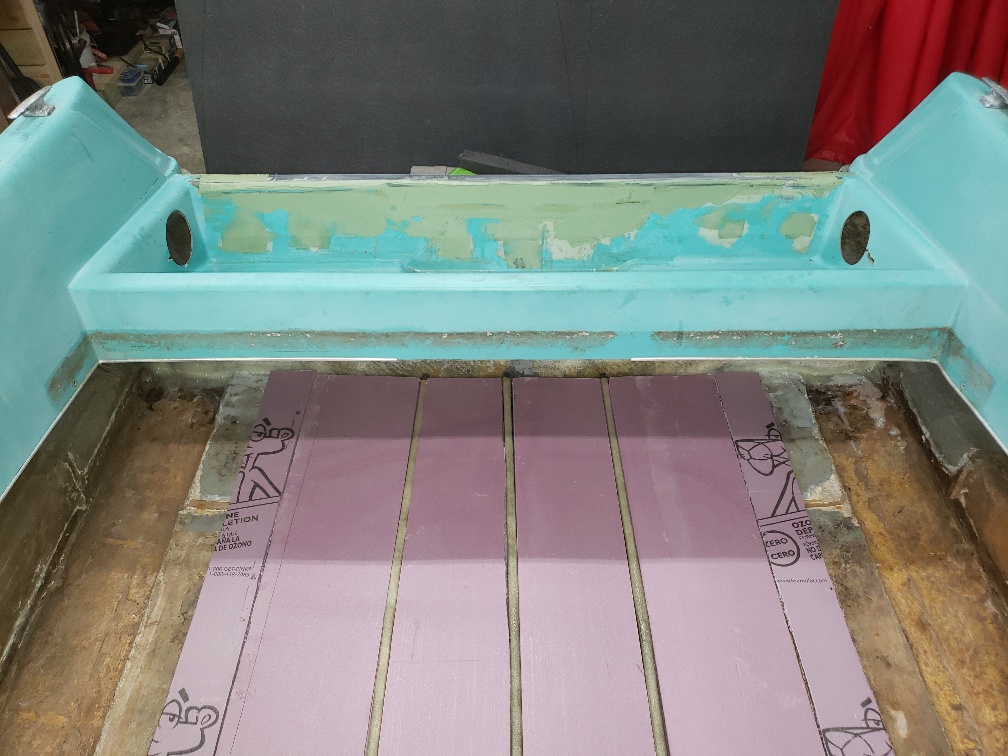
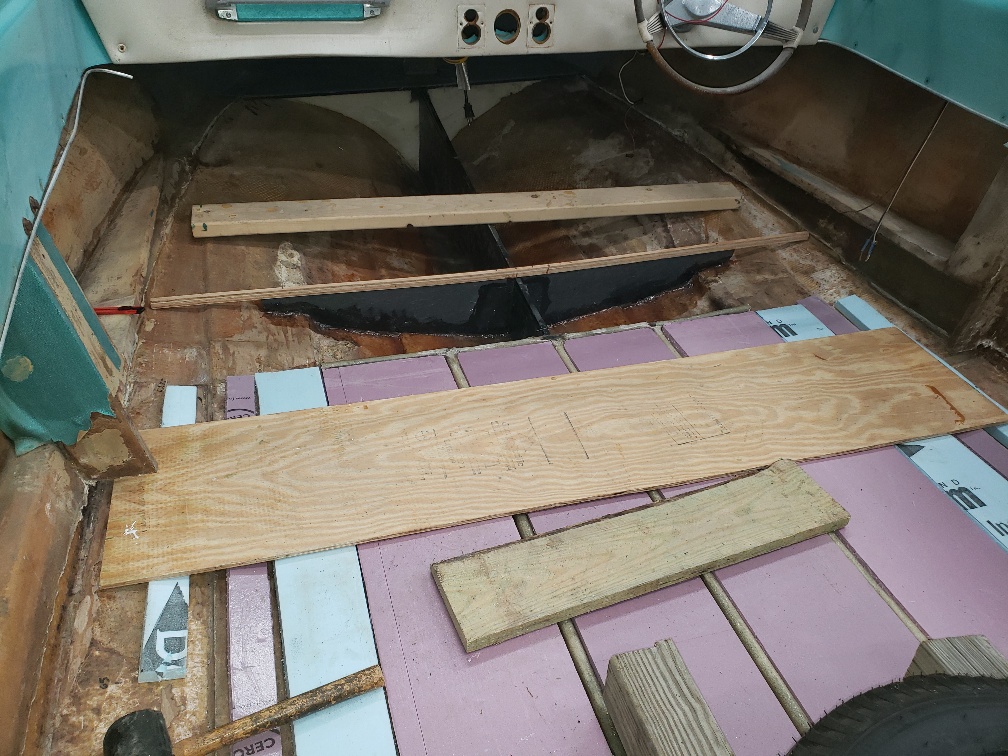
Pic 33 - XPS extruded polystyrene layered in. Fairly easy to install in this section as its flat. Might need to use 2-part expanded foam after this 8' as the V gets more pronounced under front half. I'll shim some 1/2" in outside of the pink board prior to permanently installing the Coosa floor
Pic 34 - checking level chine to chine
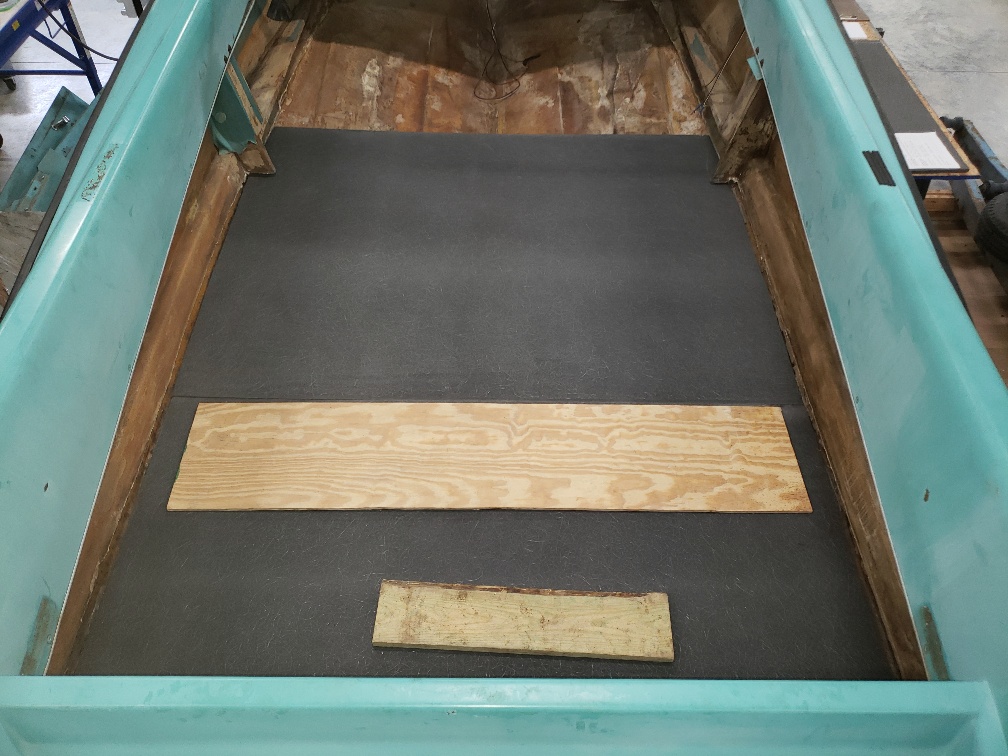
Pic 35 - first piece of Coosa cut to fit
Pic 36 - second piece of Coosa cut to fit

I'll pull these out and laminate 1708 to the bottom before installing. So far the Coosa has been easy to work with. I take it outside to cut and wear a high end mask when cutting as it kicks up a lot of foam and glass dust.

Please Log in or Create an account to join the conversation.

'64 Custom Craft Sunray - cont from Coosa transoms 4 years 2 months ago #141626

  • Eric Z
  • Eric Z's Avatar Topic Author
  • Offline
  • Contributing Member
  • Contributing Member
  • Posts: 237
  • Karma: 2
  • Thank you received: 19
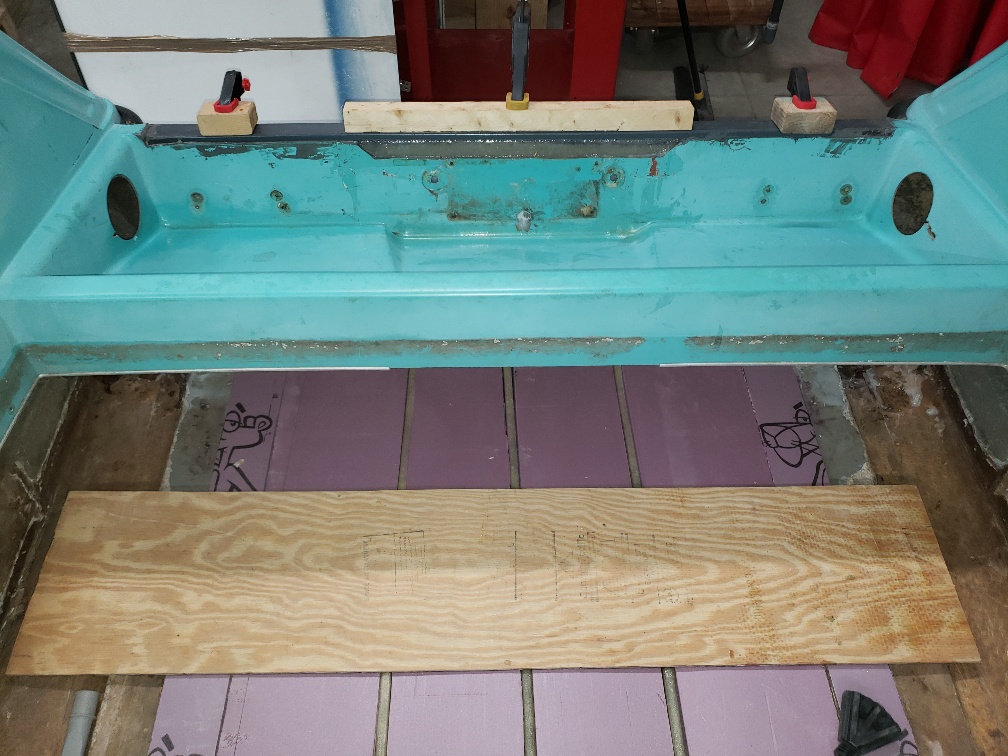
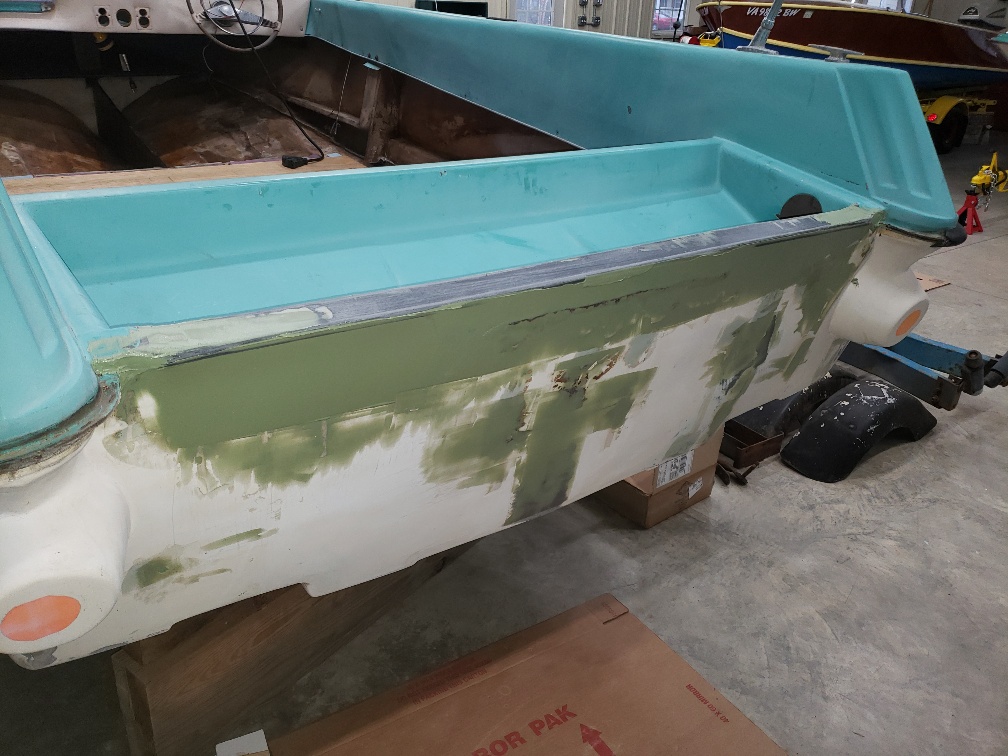
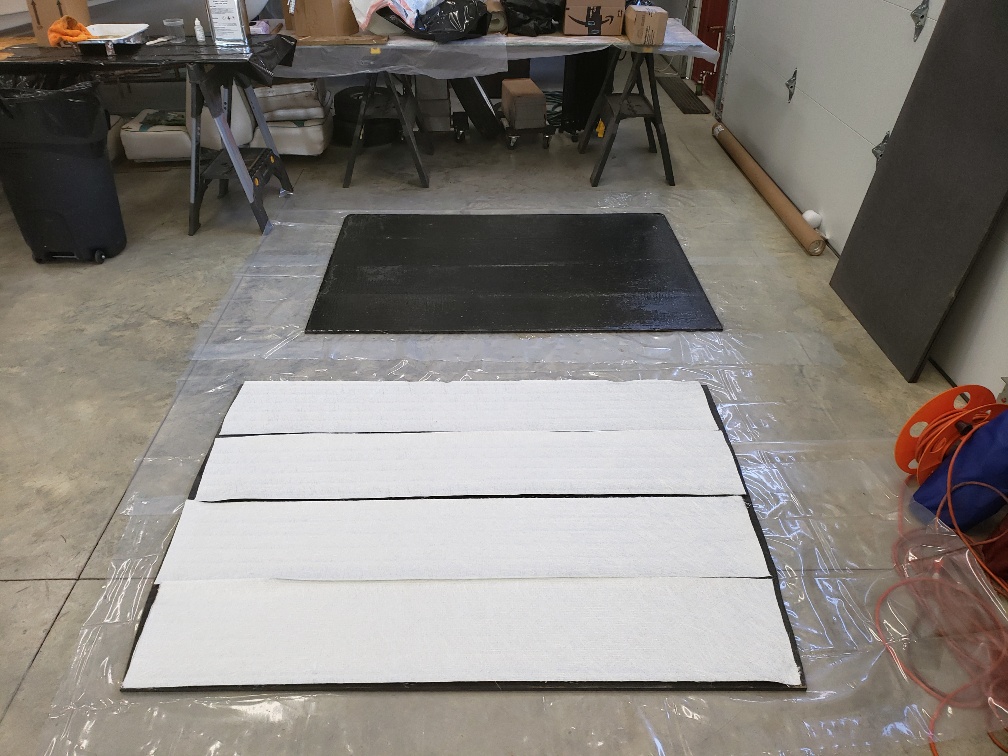
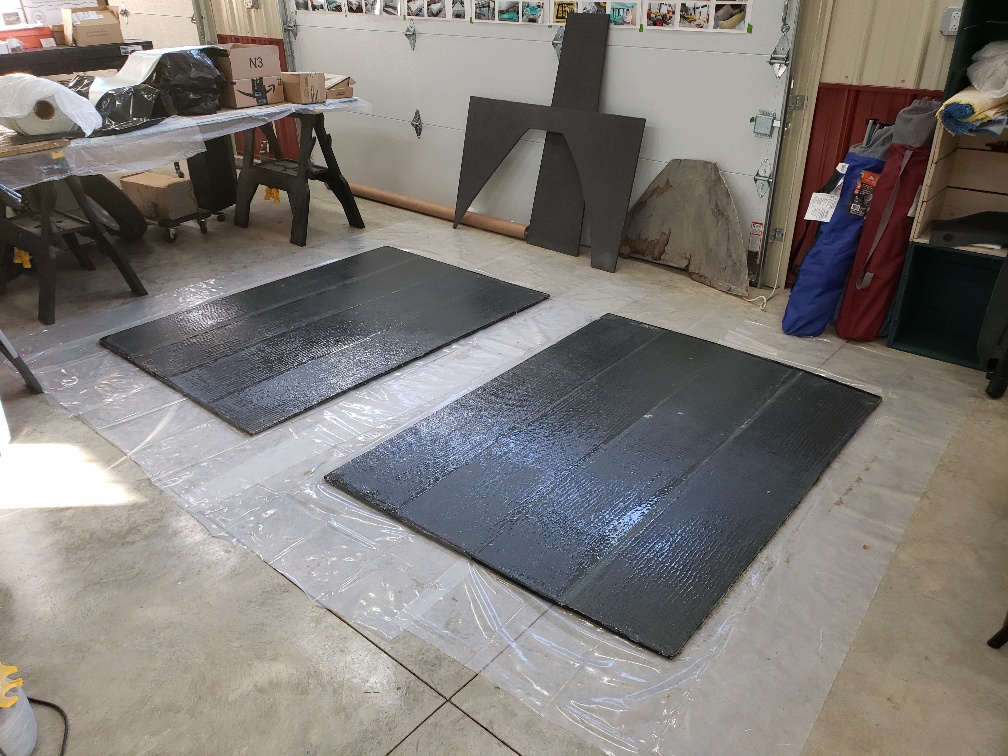
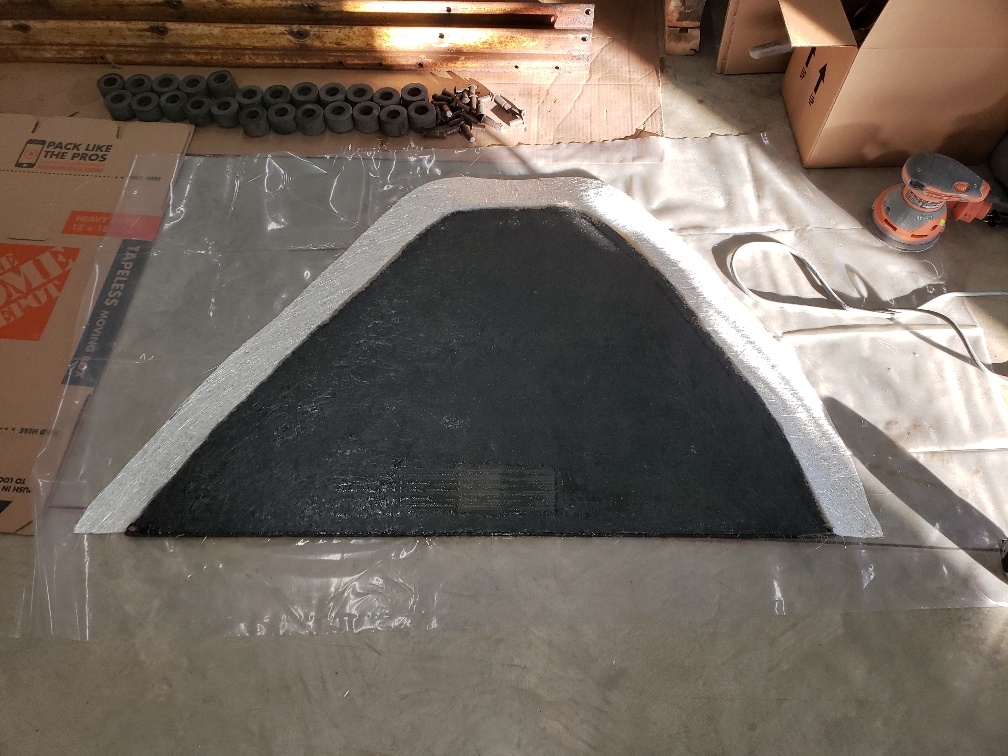
The transom with Coosa core is getting capped with fiberglass channel.
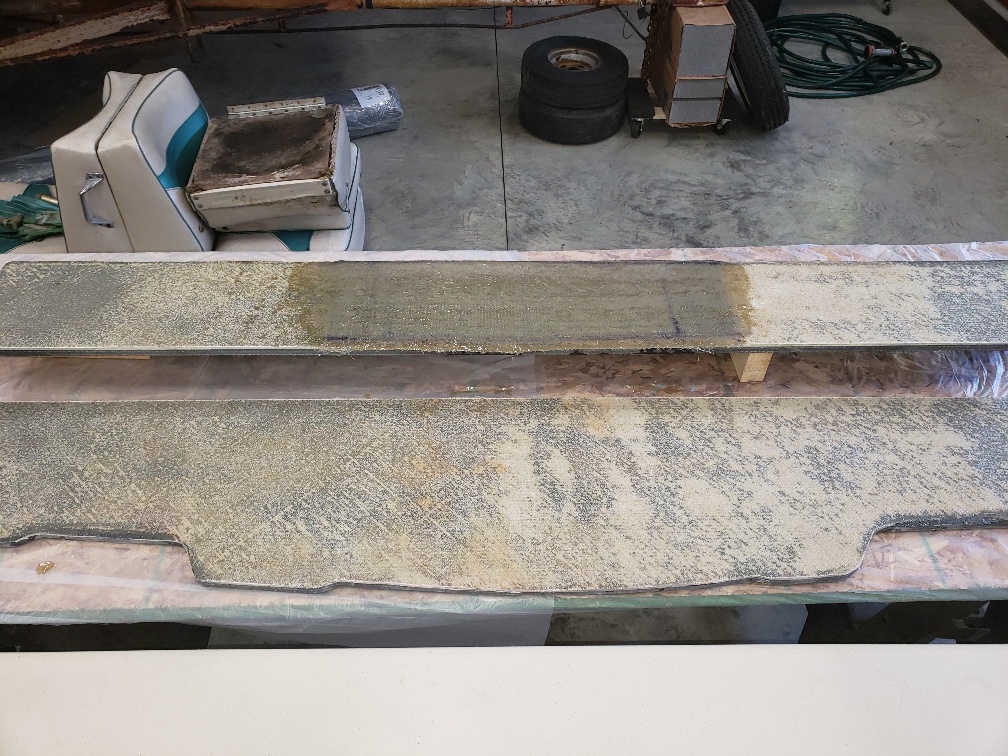
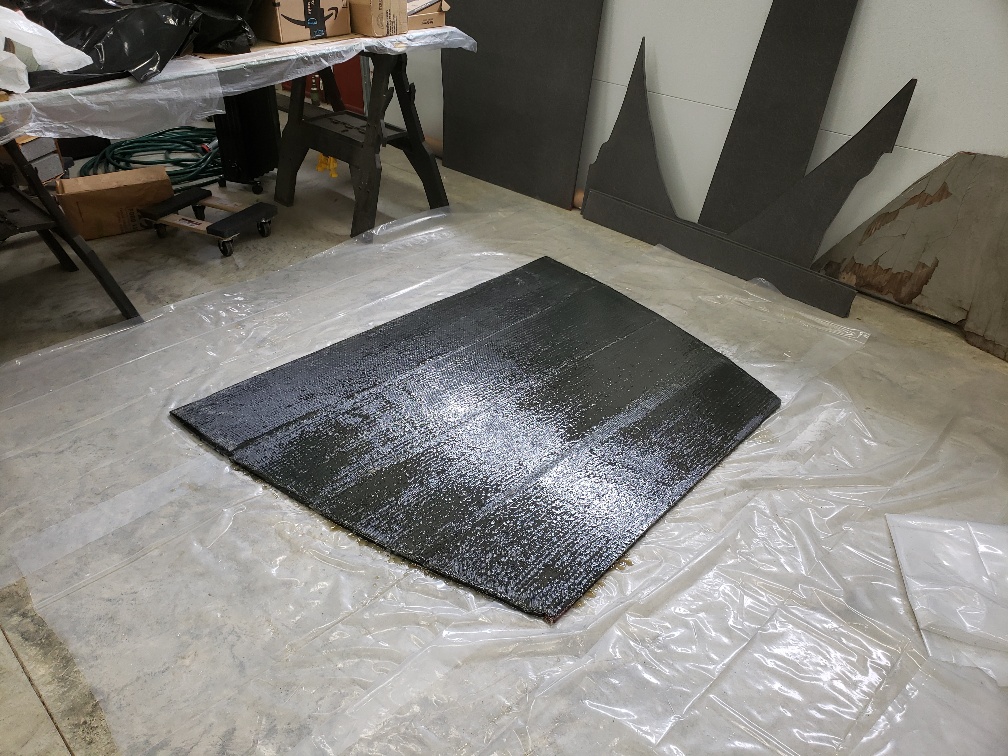
The floor panels are removed and 1708 is adhere to both the bottom and top. Using the 12" wide cloth made it easy to work at a reasonable pace with the vinyl ester resin. coating the Coosa first, placing the pre-cut 1708, rolling out excess, top coating and rolling again. Then moved to the next section.

Pic 37 - Transom cap adhered
Pic 38 - Trying Total Boat 2-part epoxy fairing compound
Pic 39 - All previous mount holes and blemishes filled
Pic 40 - 1708 pre cut and applied
Pic 41 - both sides done

Please Log in or Create an account to join the conversation.

'64 Custom Craft Sunray - cont from Coosa transoms 4 years 2 months ago #141635

Great progress keep up the good work!

Bob
The following user(s) said Thank You: Eric Z

Please Log in or Create an account to join the conversation.

'64 Custom Craft Sunray - cont from Coosa transoms 4 years 2 months ago #141690

  • Eric Z
  • Eric Z's Avatar Topic Author
  • Offline
  • Contributing Member
  • Contributing Member
  • Posts: 237
  • Karma: 2
  • Thank you received: 19
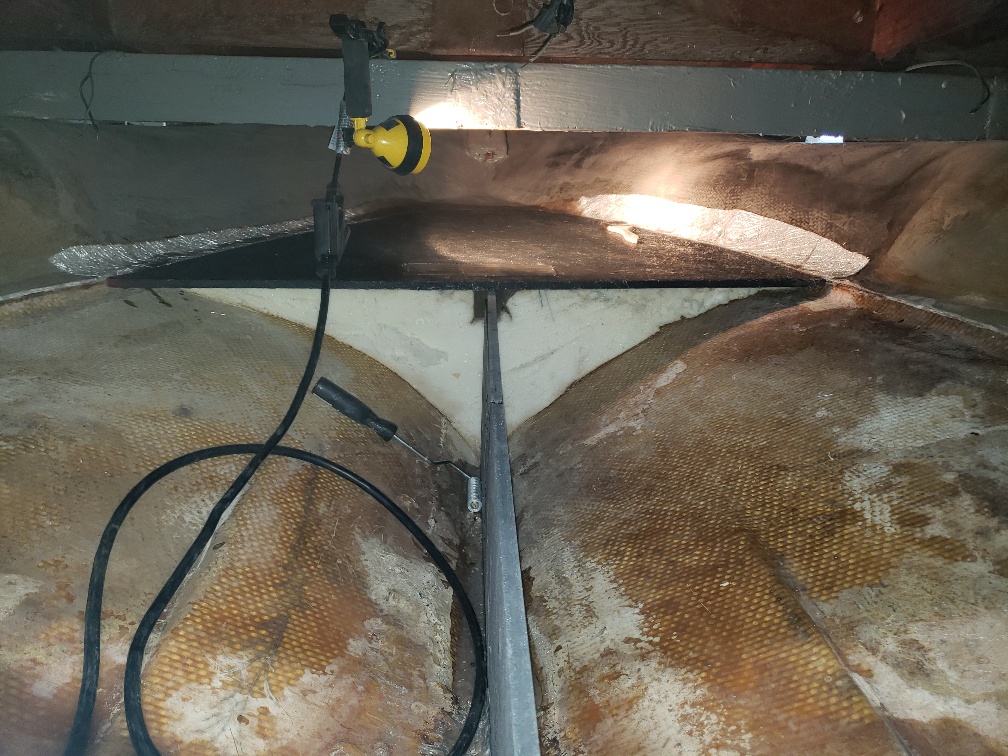
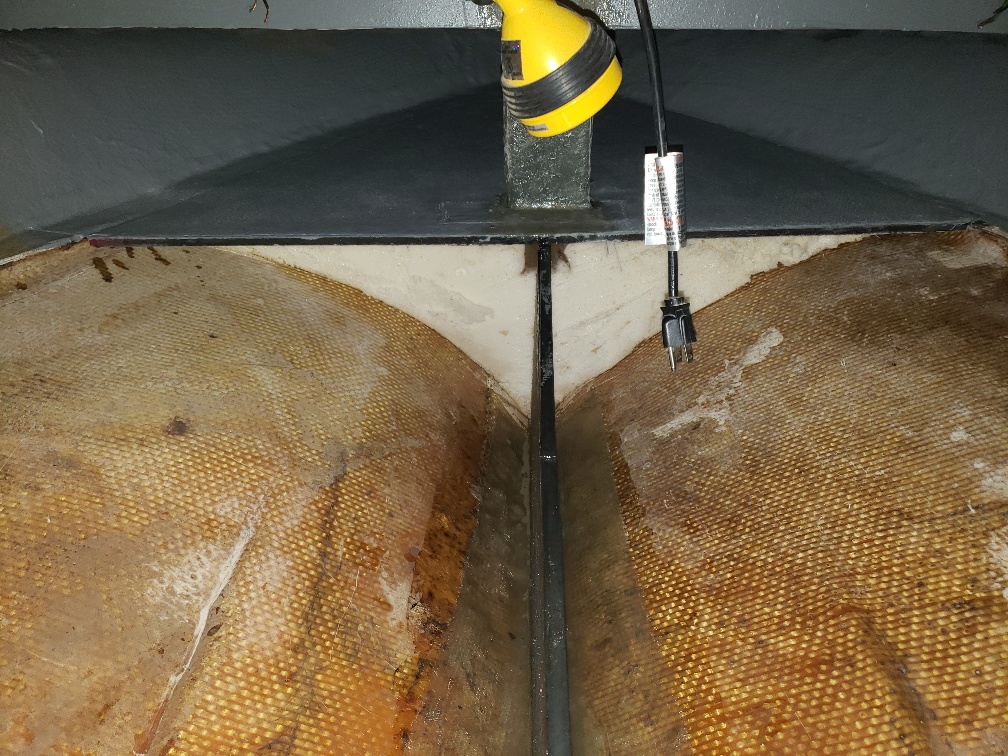
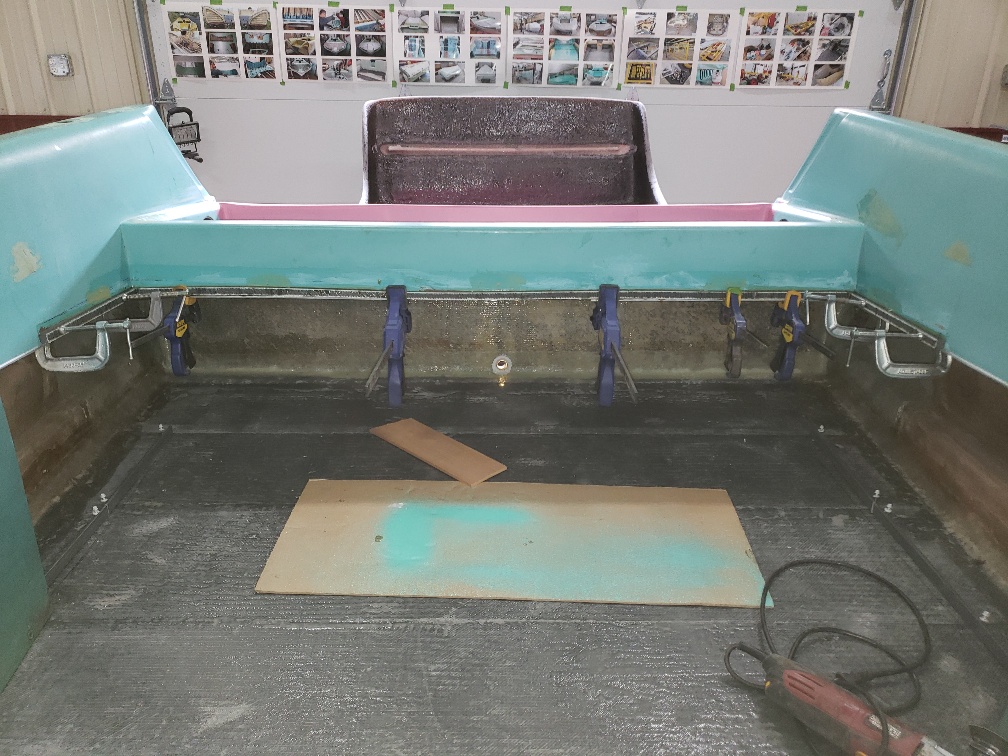
The Coosa board continues to be easy to work with. When coating with resin, you can see little dots where it is penetrating the foam. Then 1708 is rolled on, more resin, and a wide paddle roller used to flatten and squeeze out air bubbles and excess resin.

Pic 42 small bow section, tabbing was added while easy to roll out evenly all around as the space up front is tight.
Pic 43 wetting out the tab
Pic 44 gray epoxy primer rolled on while still easy to access and the middle support was replaced with a Coosa wrapped in glass version
Pic 45 ribs are added under the cockpit section that will get traffic and weight. Tabbed in and covered in glass.
Attachments:

Please Log in or Create an account to join the conversation.

'64 Custom Craft Sunray - cont from Coosa transoms 4 years 1 month ago #141759

  • Eric Z
  • Eric Z's Avatar Topic Author
  • Offline
  • Contributing Member
  • Contributing Member
  • Posts: 237
  • Karma: 2
  • Thank you received: 19
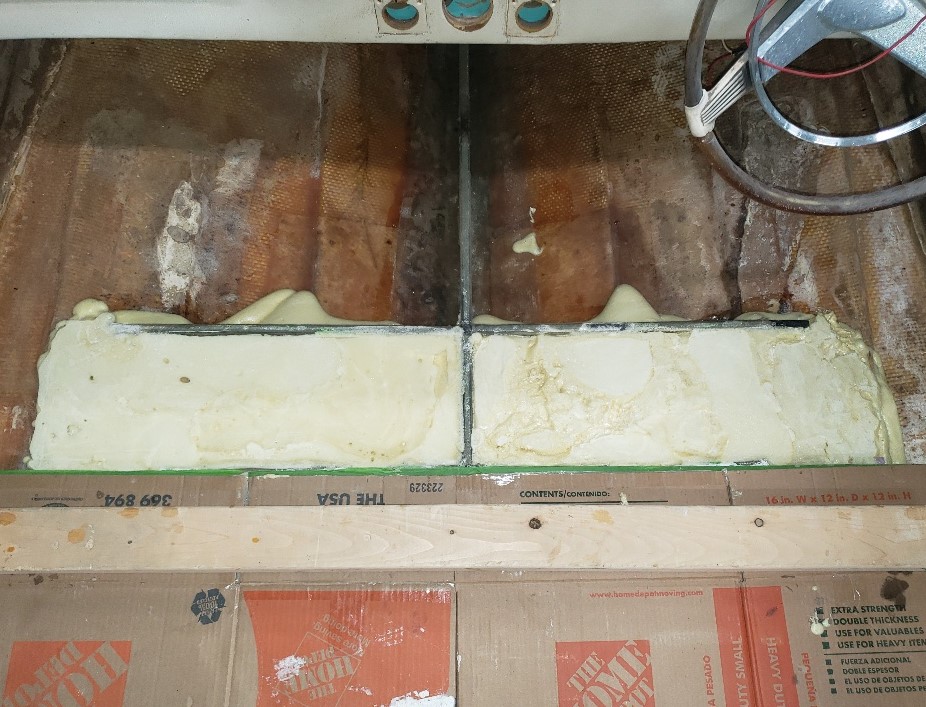
First time using 2 part flotation foam. The guys at US composites were very helpful. I opted to pour into the open cavities rather than pour through holes cut in the sealed deck. Glad I did...pouring in smaller quantities, you can see the foam expand away from the sides like a cake mounding in the center. Seeing this, I could pour the next cup around the perimeter to fill the gaps along the stringer and ribs. Perhaps if I had mixed a larger quantity for a single pour it would have fully expanded out to and up the sides. Hard to say as the videos on line show guys pouring it through holes, usually in multiple pours and then it expands out through the pour hole. Might be a cool experiment to build a box with some clear sides to see whats going on in there during multiple pours in a cavity. Anyway this allowed me to fully fill the cavity. Then using the multi-tool and a level, I trimmed the top overflow. Last, some thickened resin was applied over the top cut "cells" to seal them.

Pic 46 - fill and trim first two cavities
Pic 47 - continue to pour into larger cavities
Pic 48 - top bubble over trimmed
Pic 49 - top coat of thickened resin
Pic 50 - last floor section is laminated with 1708 on both sides

Please Log in or Create an account to join the conversation.

'64 Custom Craft Sunray - cont from Coosa transoms 4 years 1 month ago #141798

  • Eric Z
  • Eric Z's Avatar Topic Author
  • Offline
  • Contributing Member
  • Contributing Member
  • Posts: 237
  • Karma: 2
  • Thank you received: 19
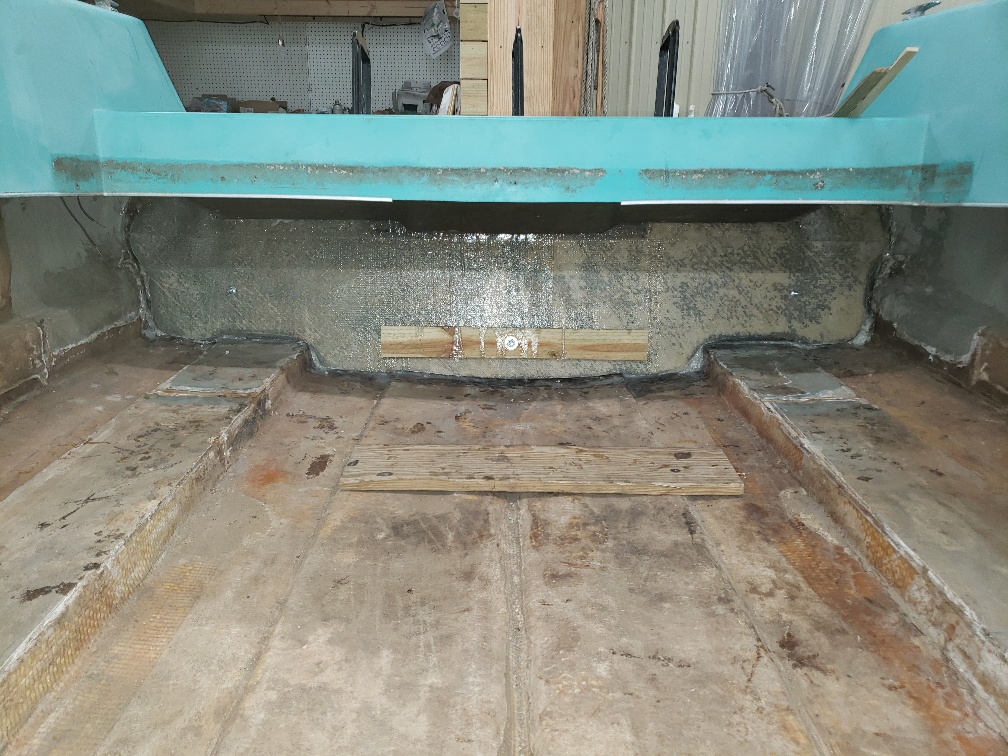
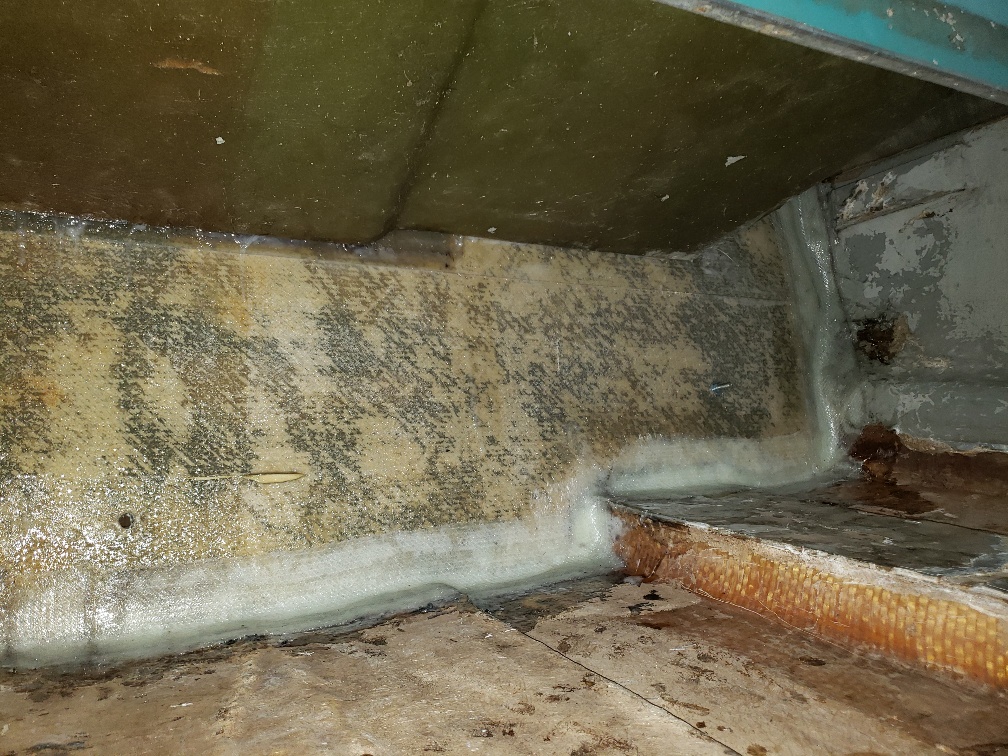
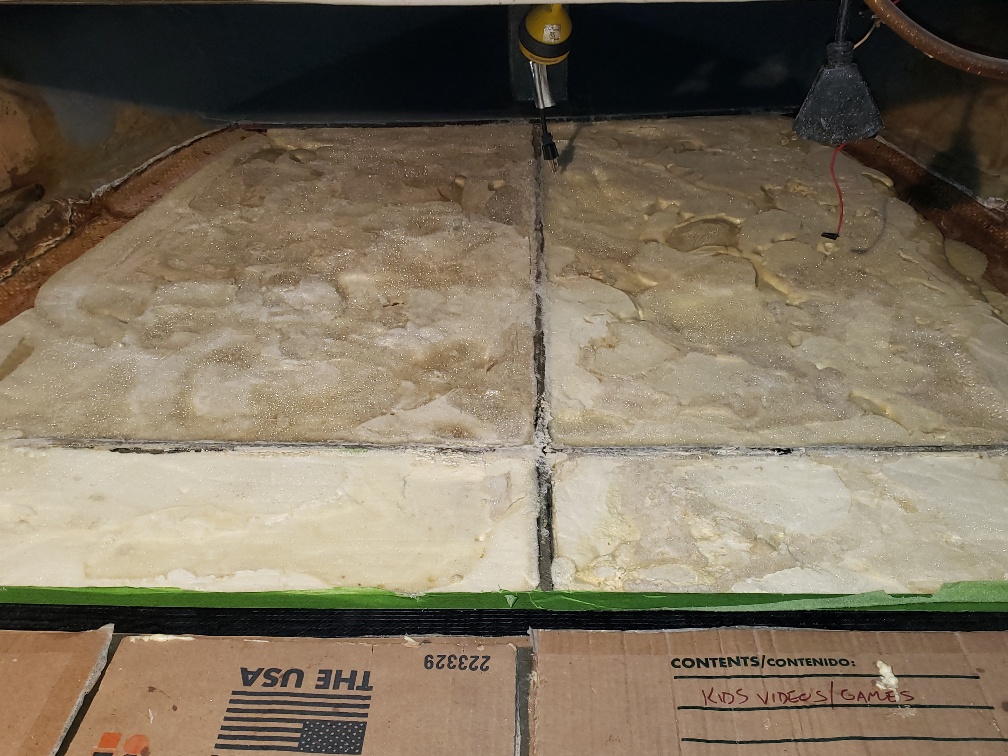
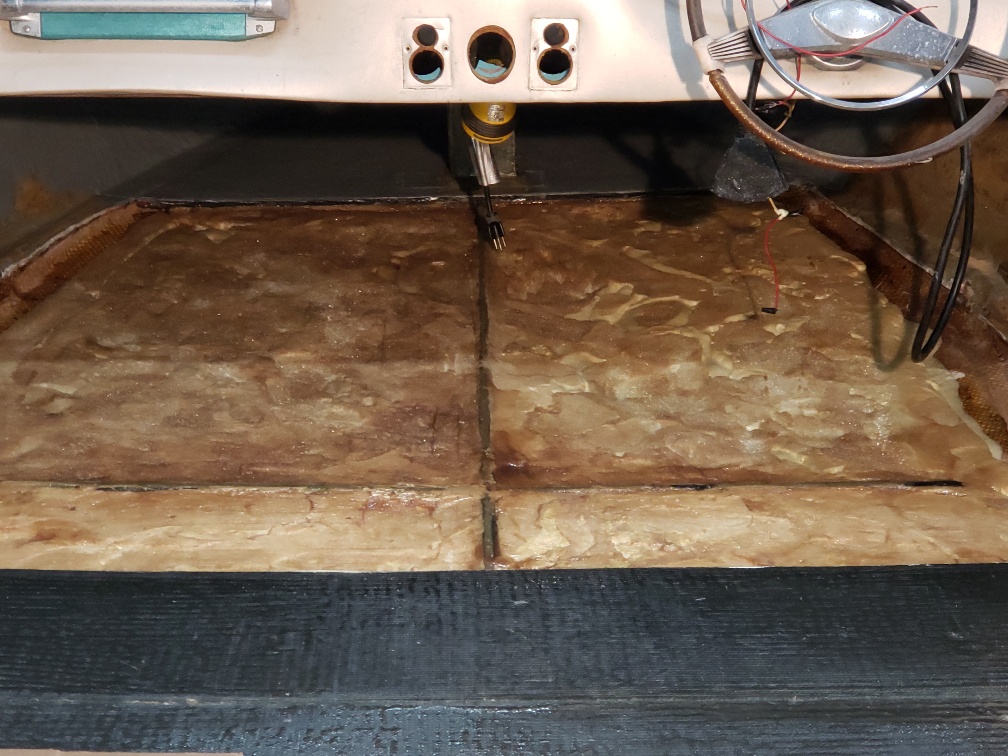
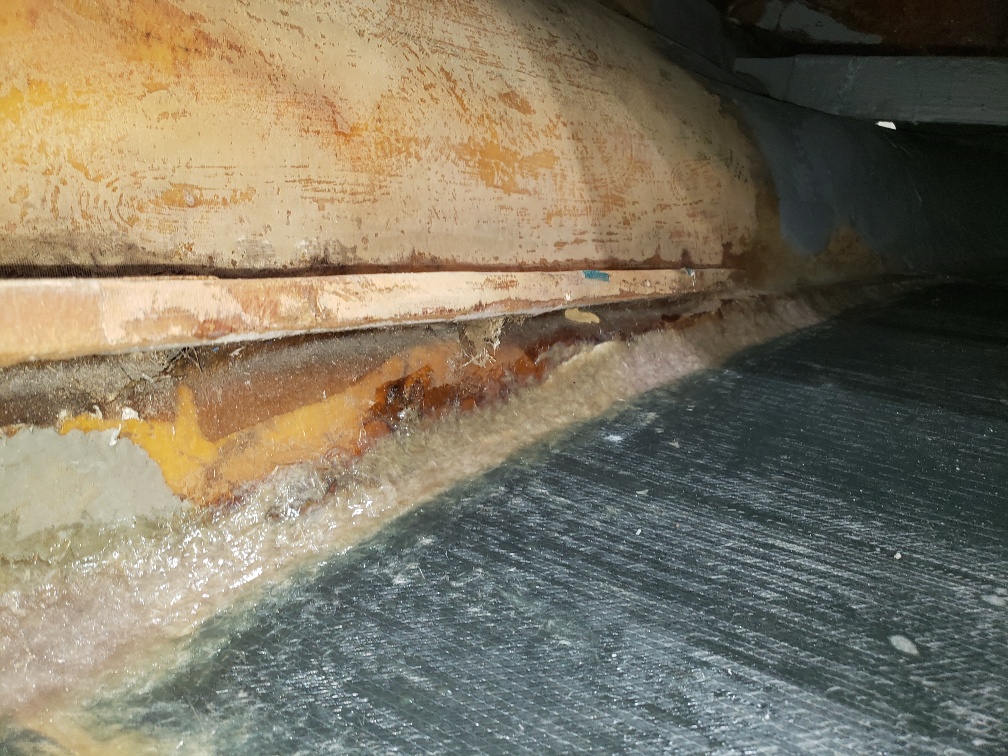
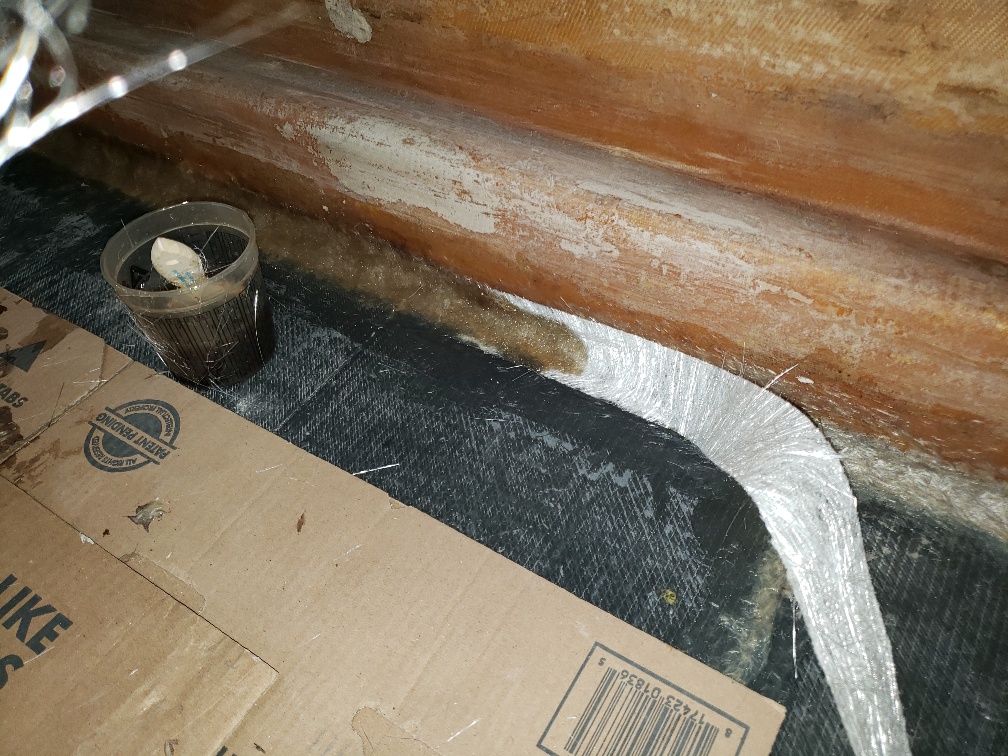
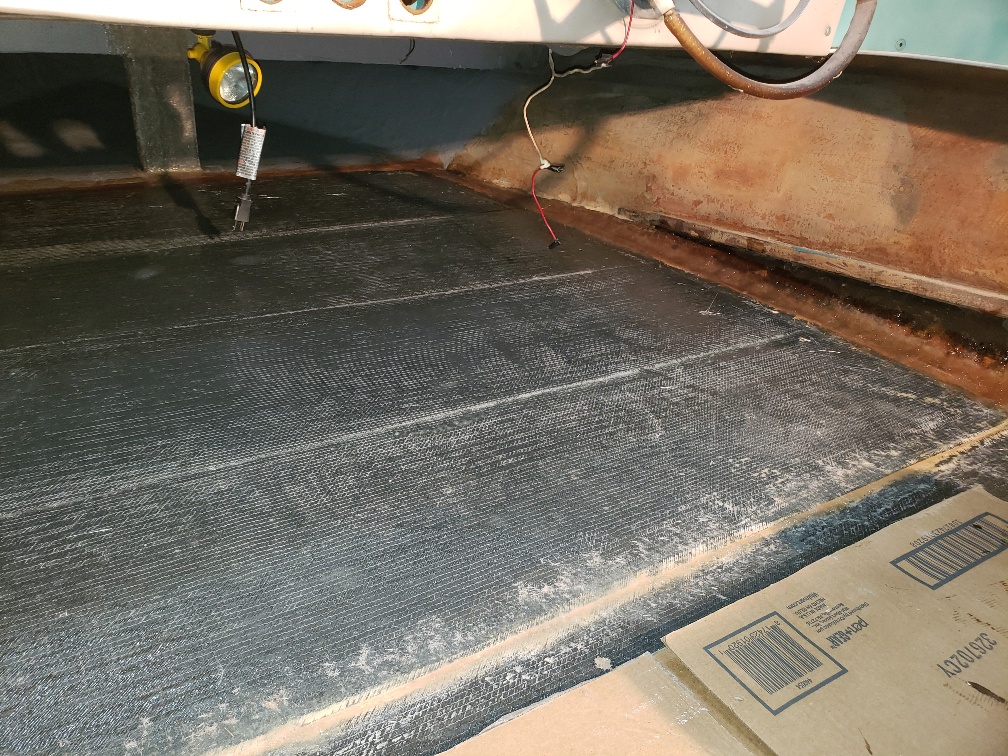
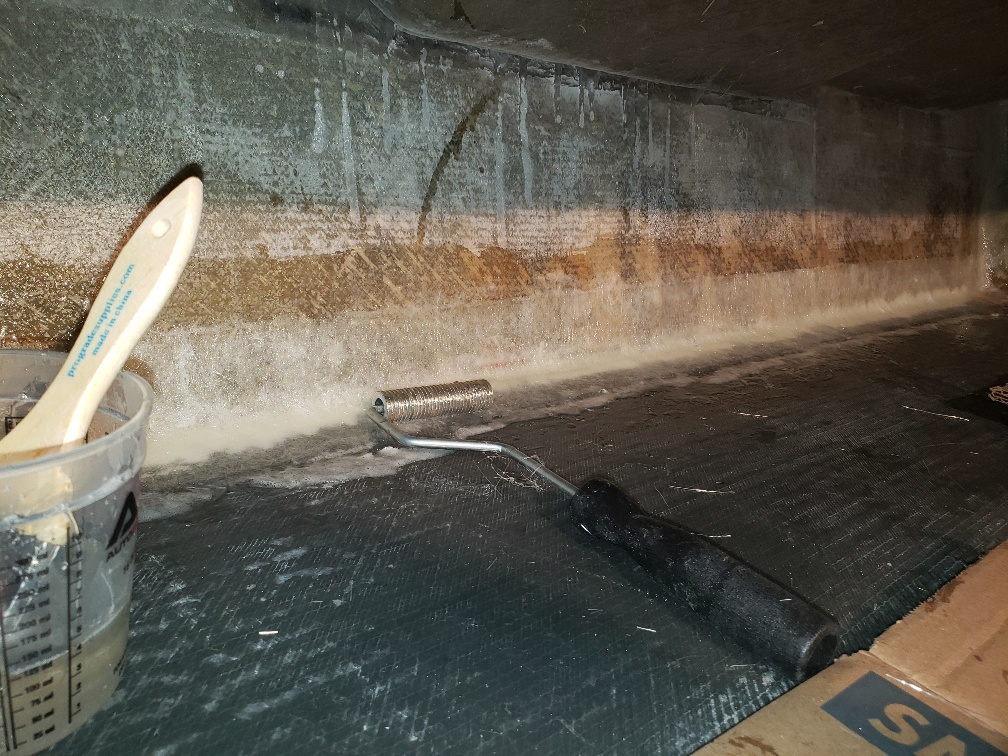
The last floor section was installed. All sections peanut buttered and tabbed in.

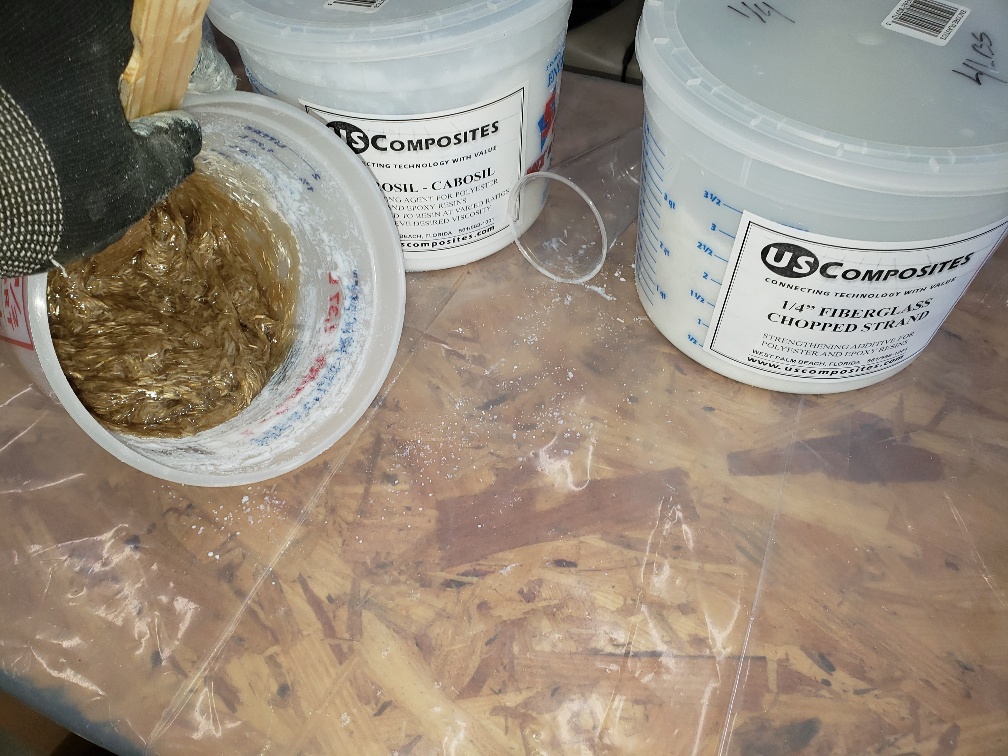
Pic 51 - peanut butter mix of vinylester, cabosil, 1/4" chop strand
Pic 52 - old hotel key corners were cut with larger radius to pull a smooth fillet. nice make shift tool-
Pic 53 - tab wet in
Pic 54 - tab rolled floor to wall for smooth transition
Pic 55 - switched to epoxy at transom where epoxy was used to adhere new transom in hull. Epoxy over vinylester
Pic 56 - nice transition across the back floor to transom
Pic 57 - everything hit with the sander to knock down any drips and rough spots
Pic 58 - another shot facing transom

That's it, Coosa floor & transom are in and sealed all around-

Please Log in or Create an account to join the conversation.

'64 Custom Craft Sunray - cont from Coosa transoms 4 years 1 month ago #141858

  • Eric Z
  • Eric Z's Avatar Topic Author
  • Offline
  • Contributing Member
  • Contributing Member
  • Posts: 237
  • Karma: 2
  • Thank you received: 19
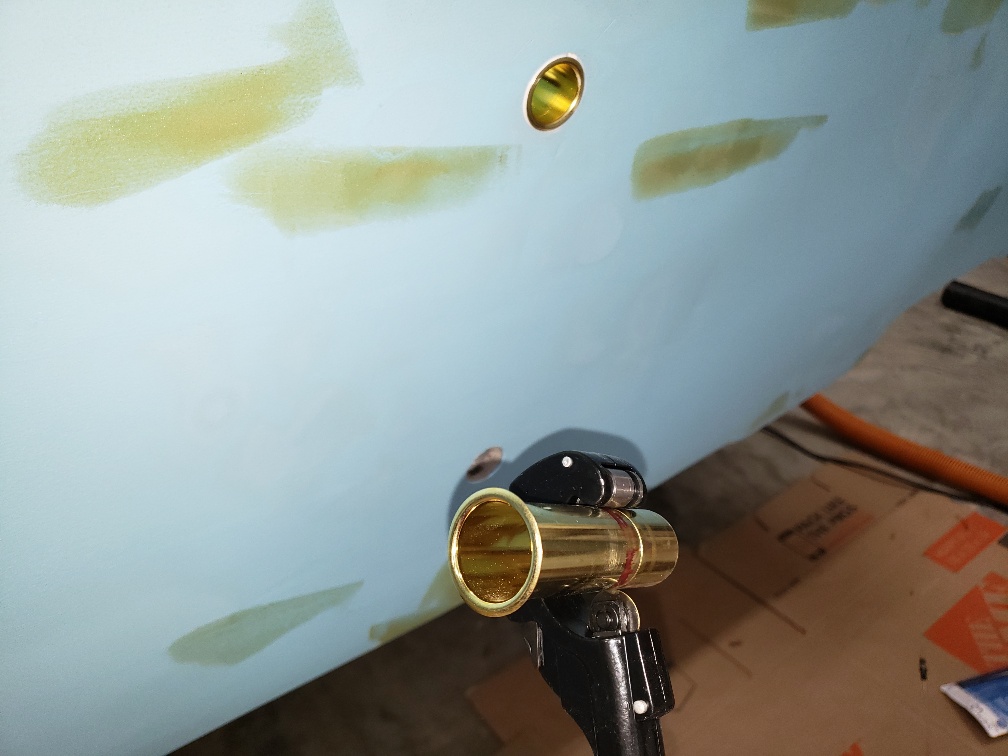
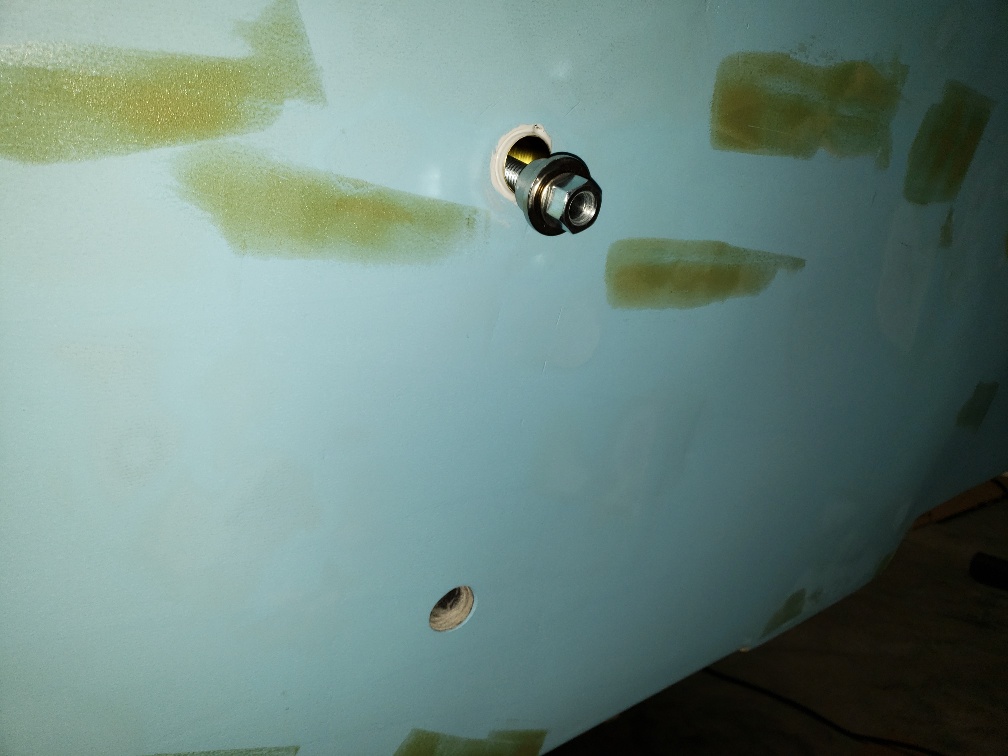
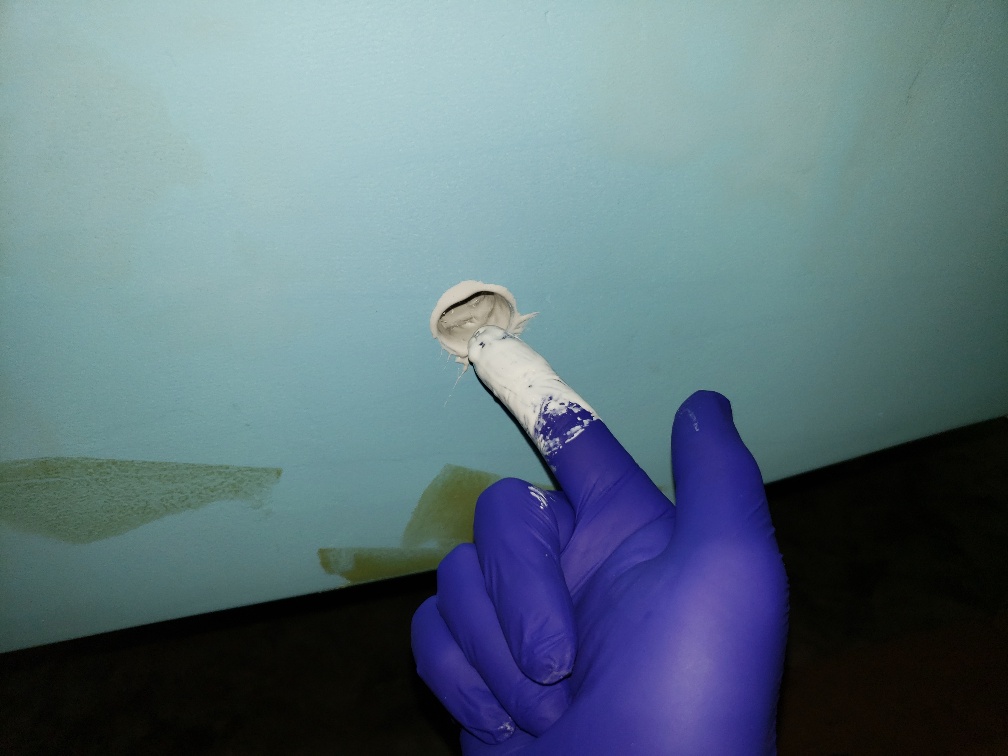
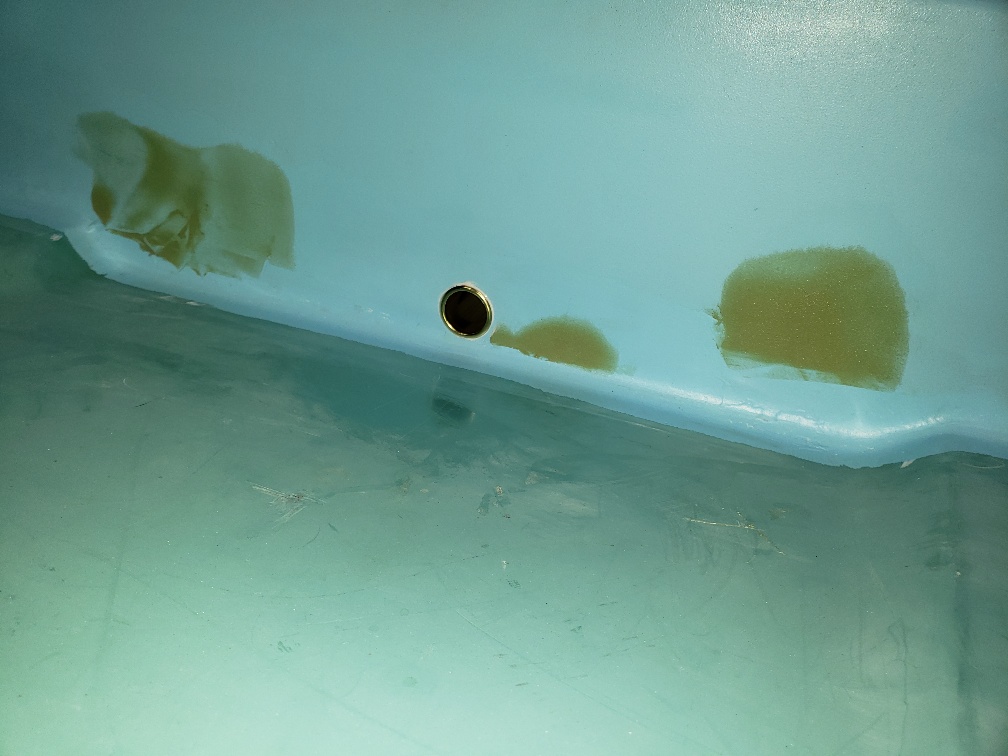
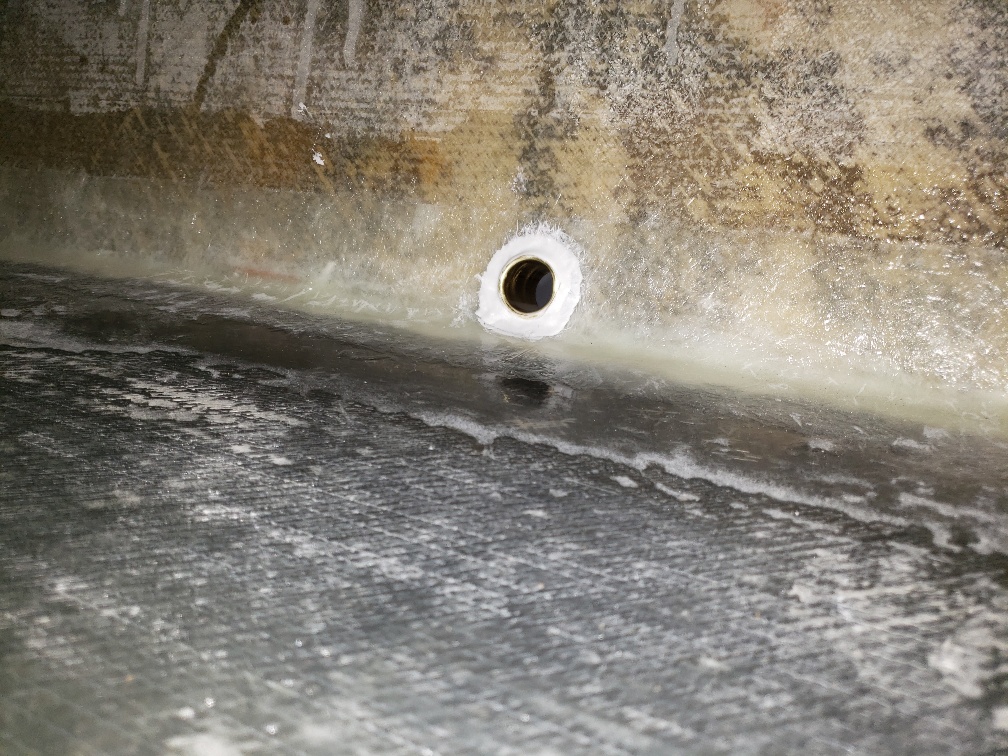
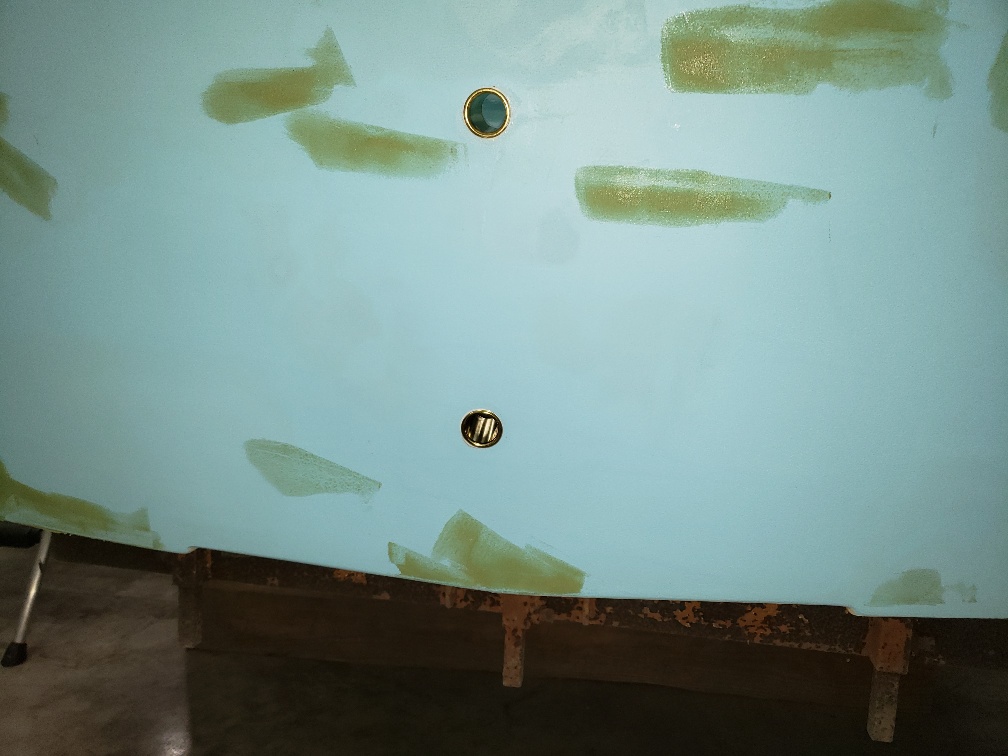
I continued to blend in the new transom cap. A coat of primer and a little more faring compound. Drain tubes were installed and as I had not done this before, here are some pictures to help the next guy. I bought the flaring tool and borrowed a tube cutter.

Pic 60 - holes were first located using a smaller drill bit to ensure I hit the angle right. That way it was easy to adjust and the larger 1" spade bit ate up the extra little holes
Pic 61 - pushed tube through dry hole, hole required a little finish sanding to remove some 1708 fibers. tube marked 3/16 to 1/4" past hull. tube cutter made the slice easy
Pic 62 - flaring tool
Pic 63 - like giving your boat a physical......the inside of the hole was generously coated with 5200
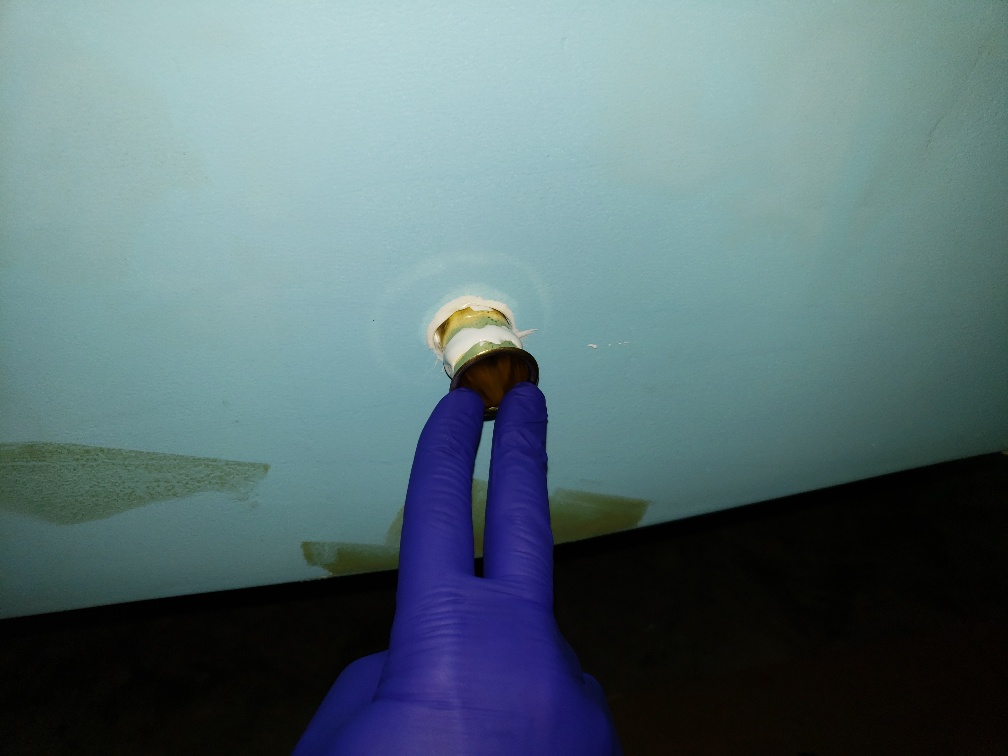
Pic 64 - a little extra before the flare to ensure some squeeze out on this side
Pic 65 - a local club member suggested i put a couple of drop of oil on the side of the flaring tool radius, then tightened. I took it off and checked, then continued a little more. Did not want to split the flare. cleaned up the 5200 squeeze out
Pic 66 - I was a bit generous around the bottom one as the surface was a little rough where I tabbed the new floor to the new transom. It will get primed and probably shot with Zolatone
Pic 67 - exterior of transom ready to fare a little more and prime

I also started to hone in on the type of front seats that we'll use. The wife and I don't like the back to back style, she wants a bench of some type in the back- So I started building some front seat pedestals from Coosa, there was enough left over from my scraps. I'll post some pics when I have enough-
The following user(s) said Thank You: Dr.Go!

Please Log in or Create an account to join the conversation.

'64 Custom Craft Sunray - cont from Coosa transoms 4 years 1 month ago #141861

  • Dr.Go!
  • Dr.Go!'s Avatar
  • Offline
  • Contributing Member
  • Contributing Member
  • Posts: 1719
  • Karma: 19
  • Thank you received: 125
Excellent! I have the new tube in my hardware box for future... now I know the steps thanks to your post and pictures. I will have to buy one of those flare tools. Thanks.

Please Log in or Create an account to join the conversation.

Dr.Go!

'64 Custom Craft Sunray - cont from Coosa transoms 4 years 1 month ago #141863

  • Eric Z
  • Eric Z's Avatar Topic Author
  • Offline
  • Contributing Member
  • Contributing Member
  • Posts: 237
  • Karma: 2
  • Thank you received: 19
:)

Please Log in or Create an account to join the conversation.

'64 Custom Craft Sunray - cont from Coosa transoms 4 years 2 weeks ago #141900

  • Eric Z
  • Eric Z's Avatar Topic Author
  • Offline
  • Contributing Member
  • Contributing Member
  • Posts: 237
  • Karma: 2
  • Thank you received: 19
Hi All,

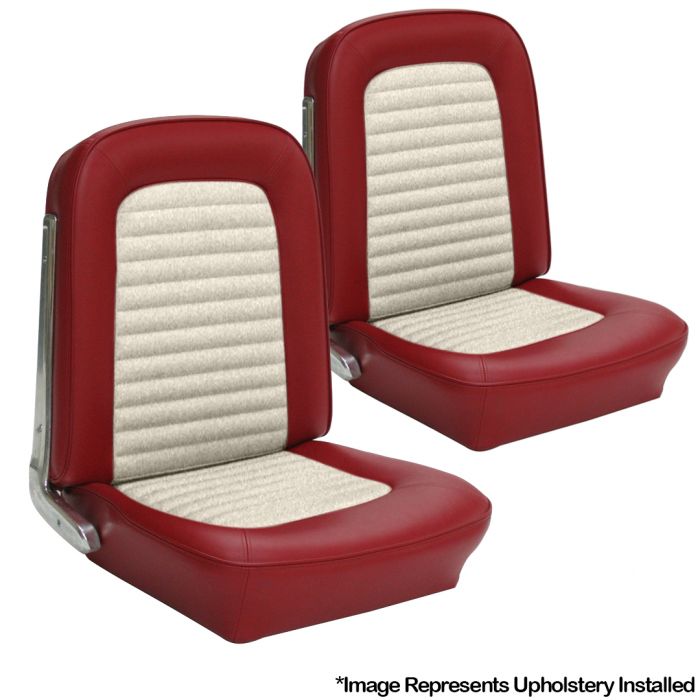
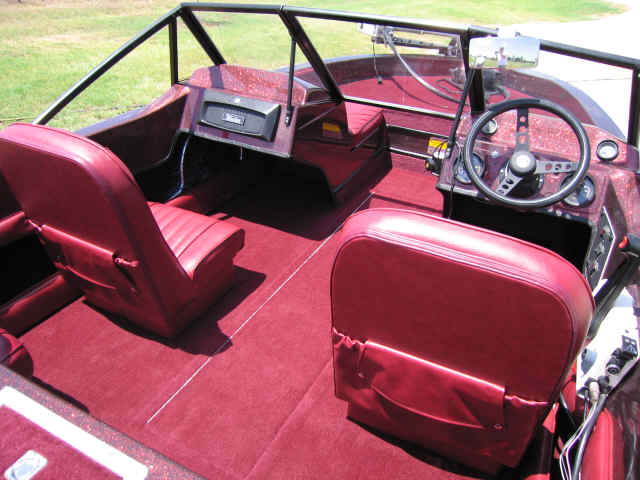
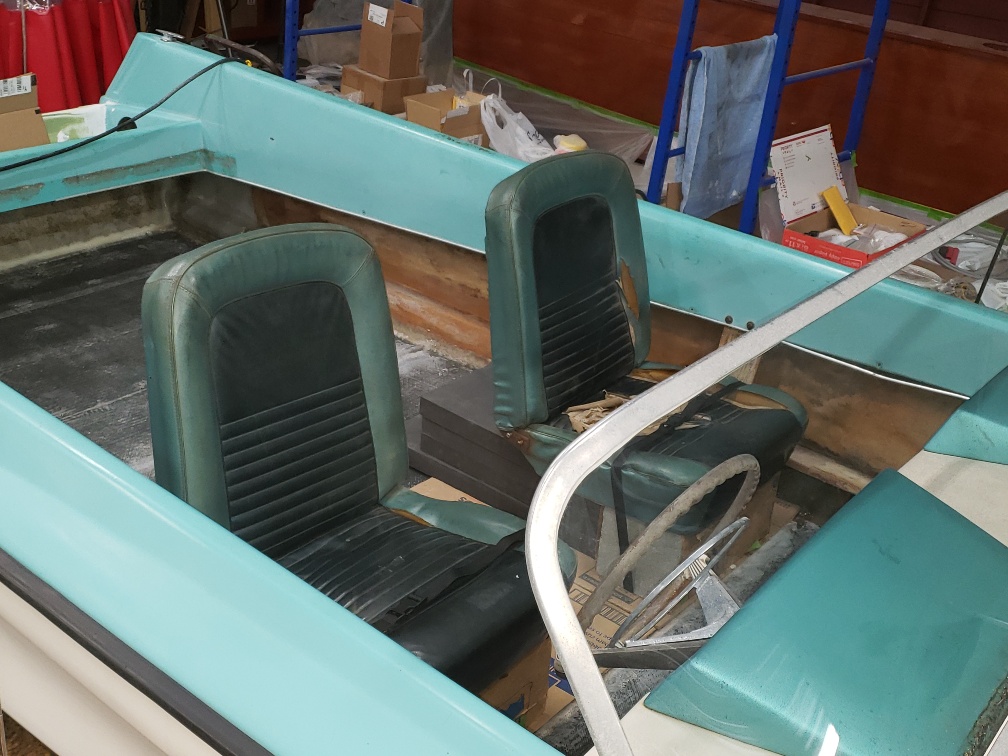
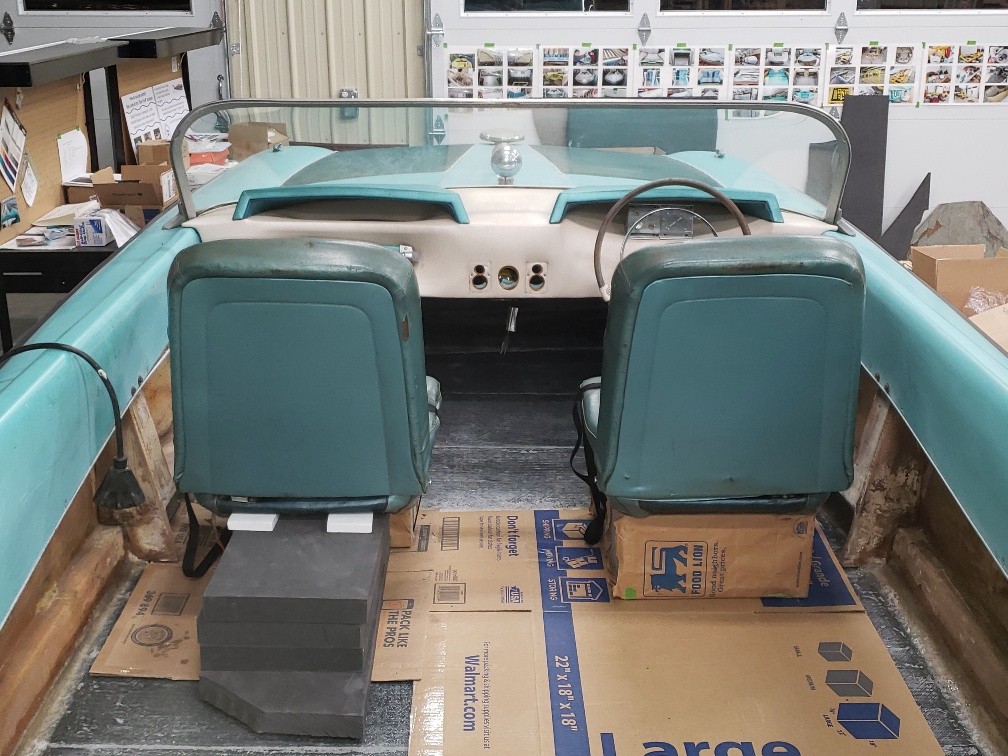
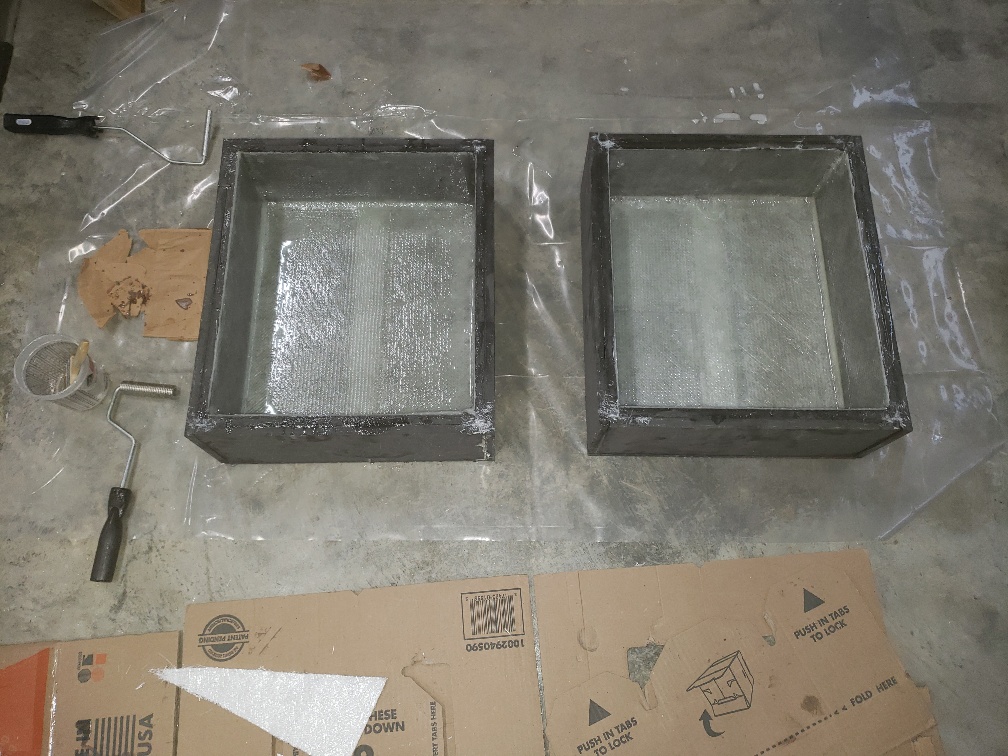
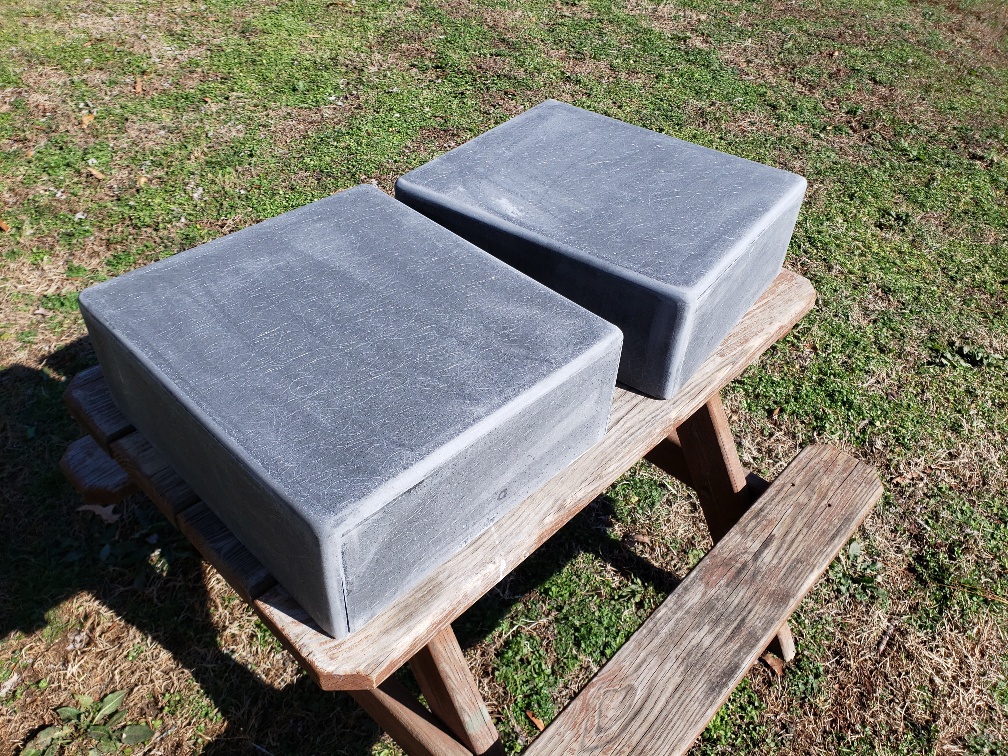
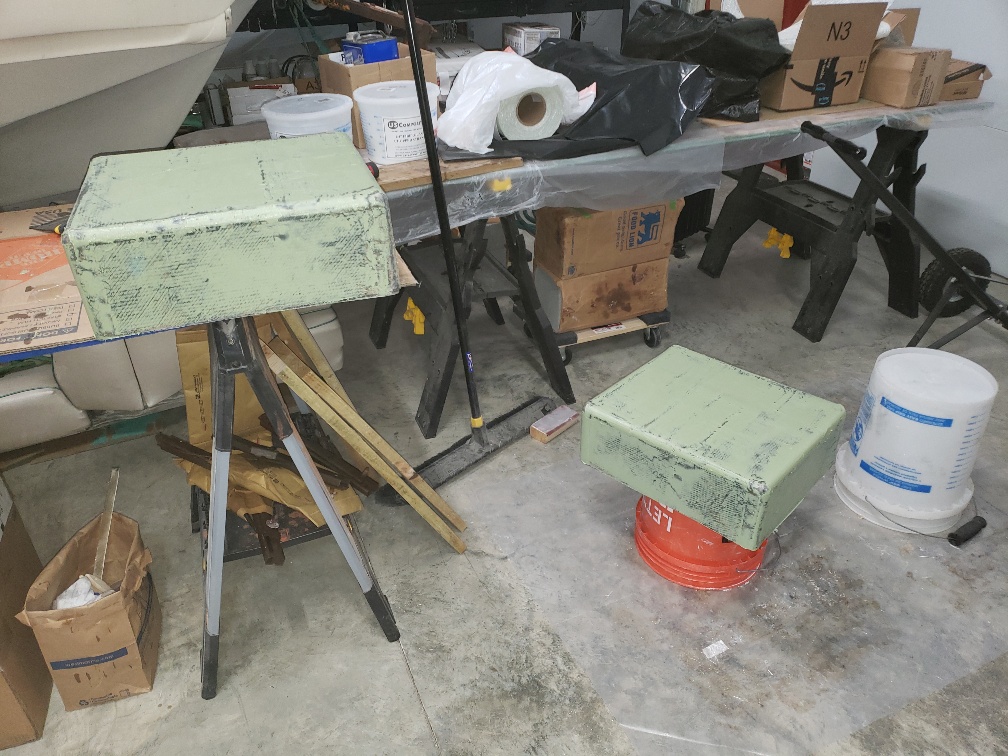
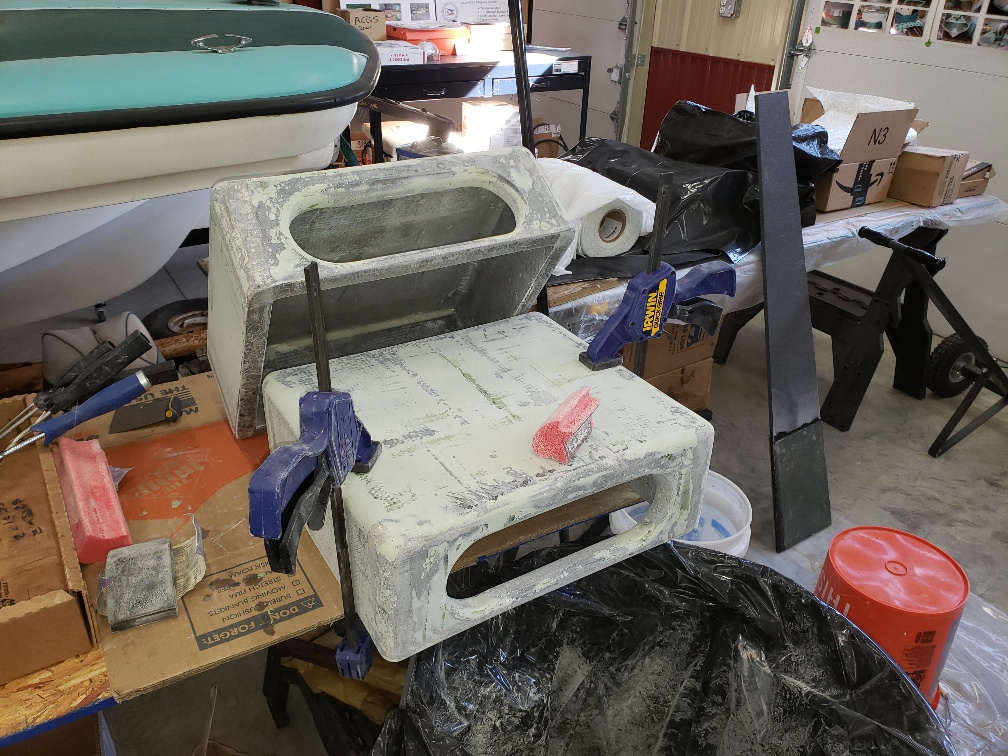
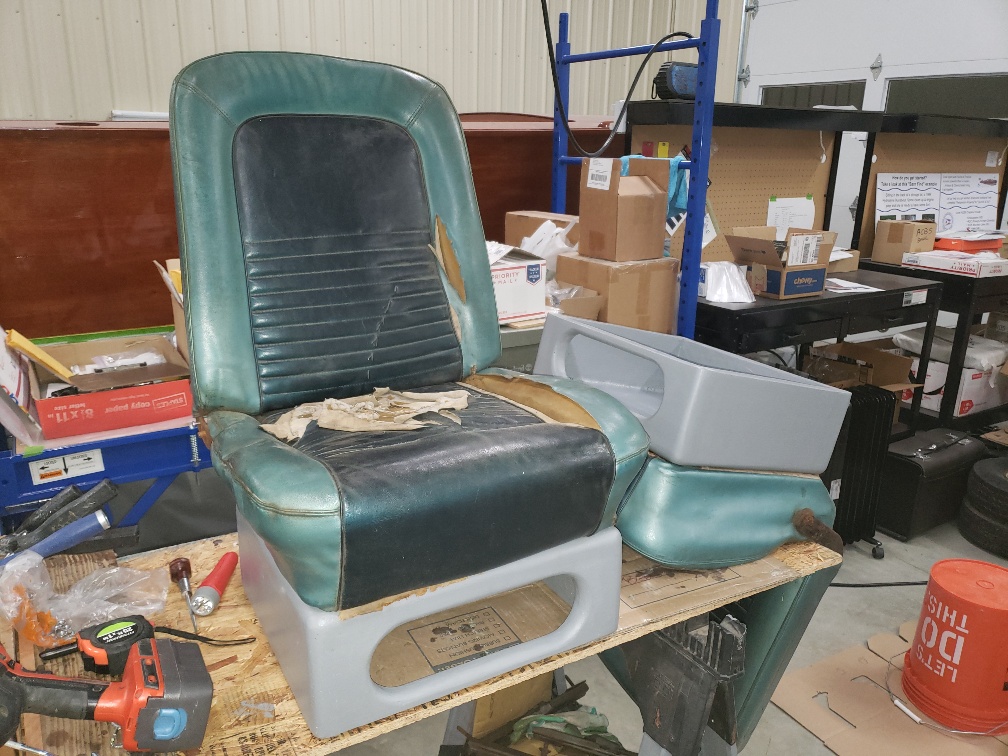
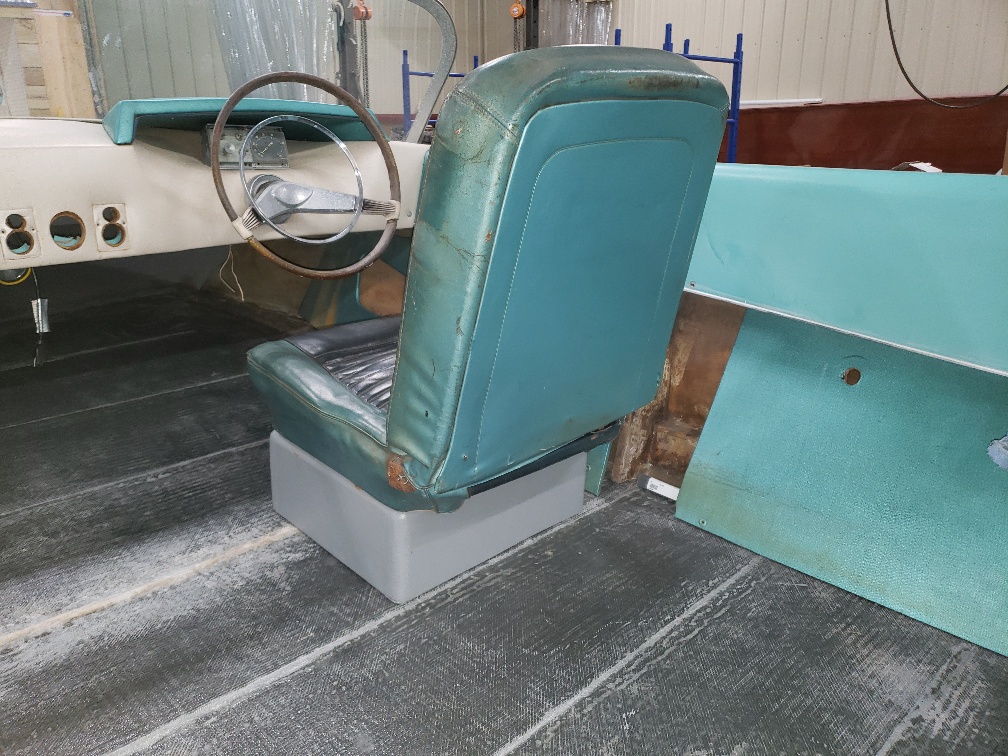
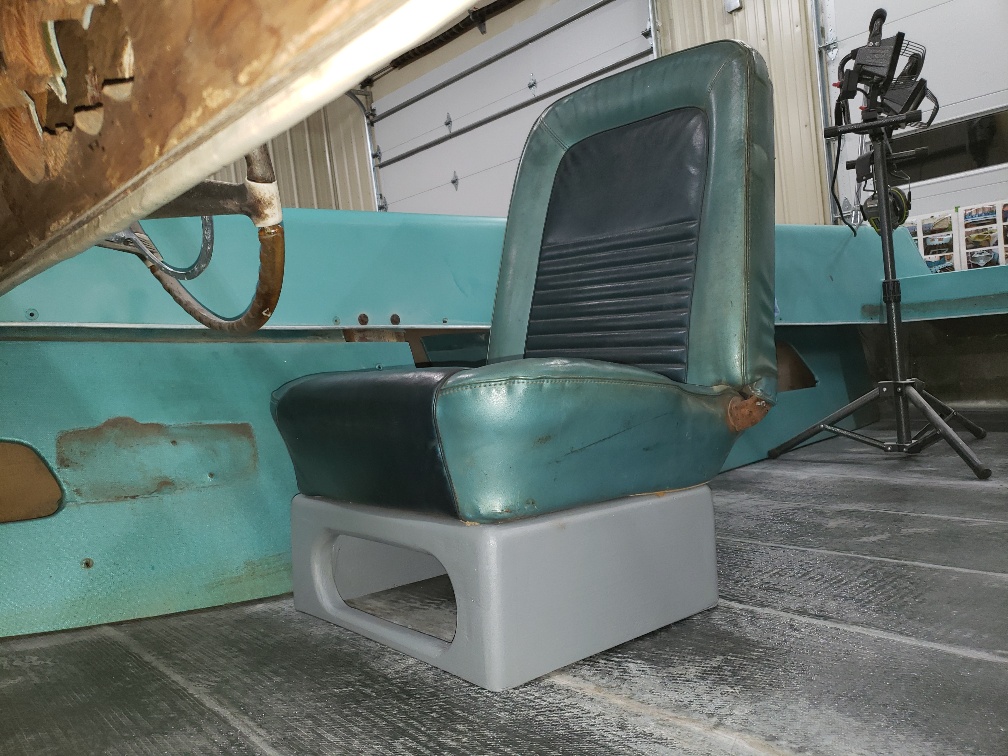
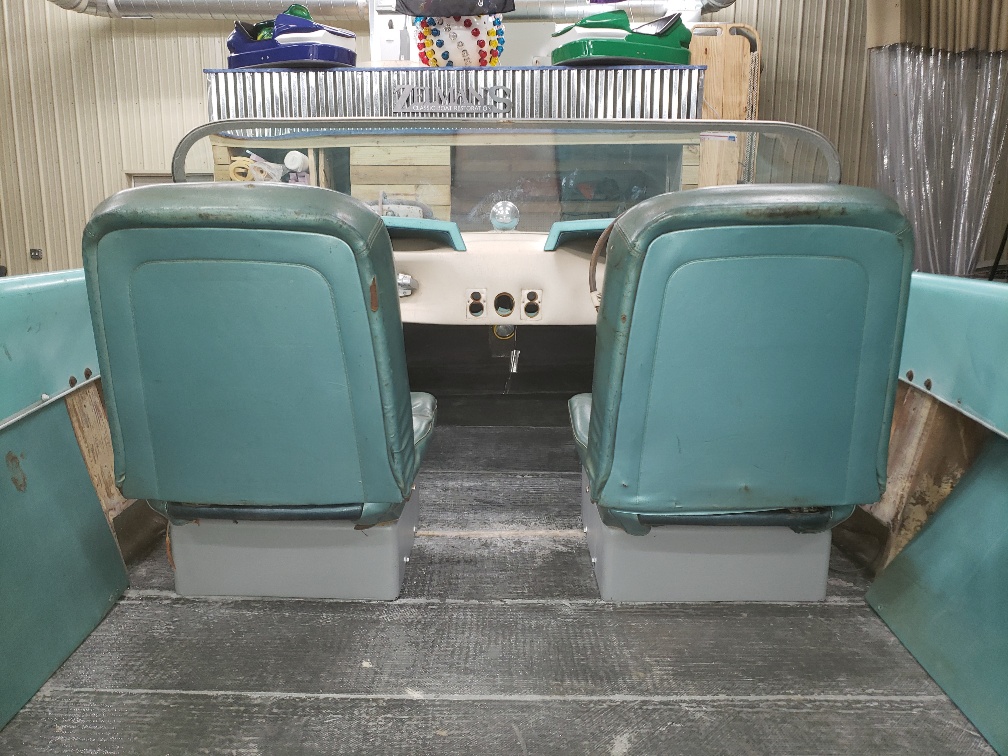
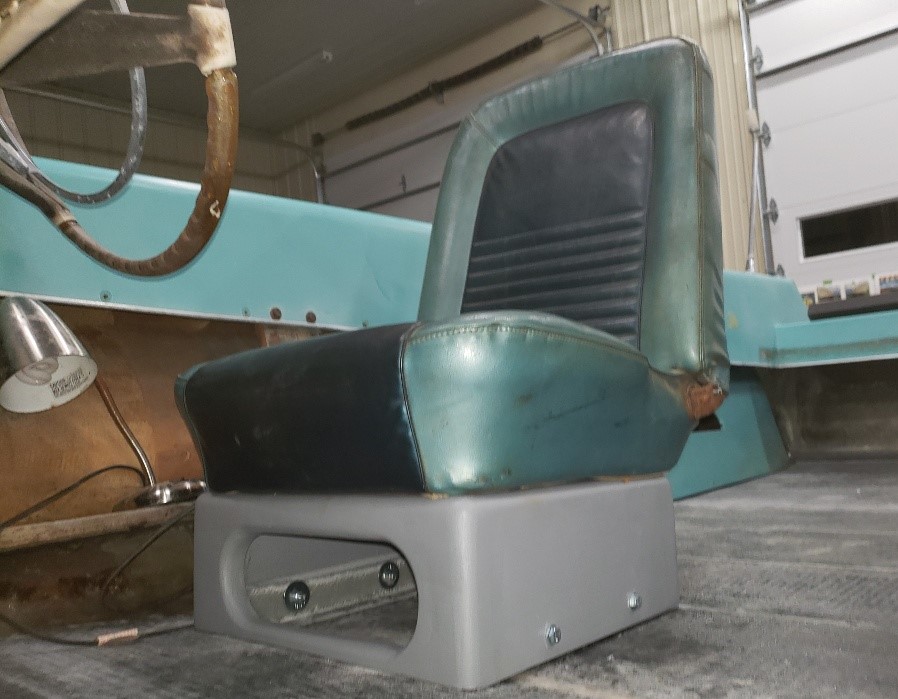
Getting started on the front seat construction. We are going to opt for something a little more comfortable then the back to back seats that were there. Some Custom Crafts had single type jump seats and and other varied layouts. We are going with single seats in the front with room for walk through and a bench style in the rear. After reviewing the single seats of the era, I dug up a pair of 65-67 mustang seat frames. These will be cleaned up, coated and new foam and upholstery kits are readily available for the hobbyist. Base boxes are constructed of Coosa and 1708.
Pic 100, 100.1 & 100.2 are a few of the inspiration collection
Pic 101 & 102 We are trying out different heights for the bases and spacing from the wheel & dash
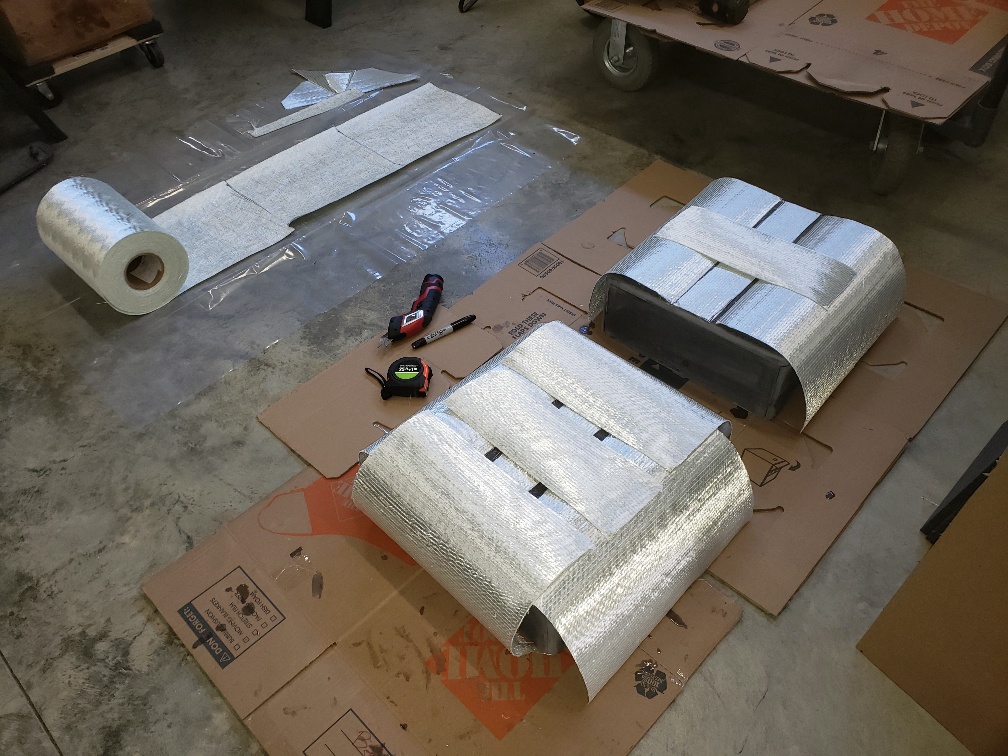
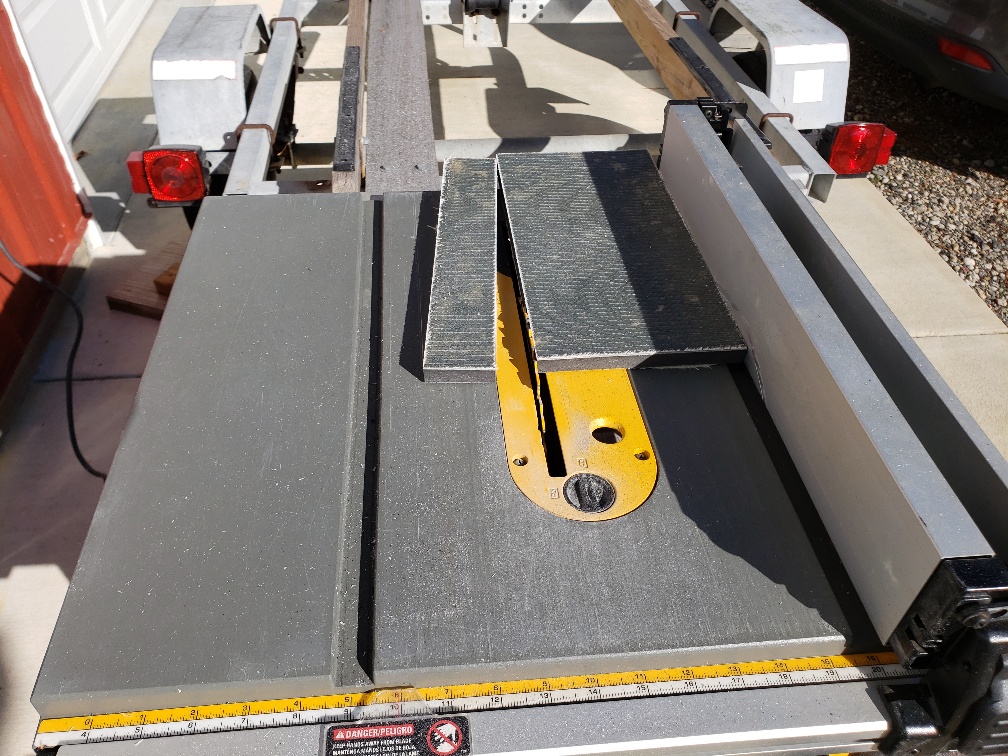
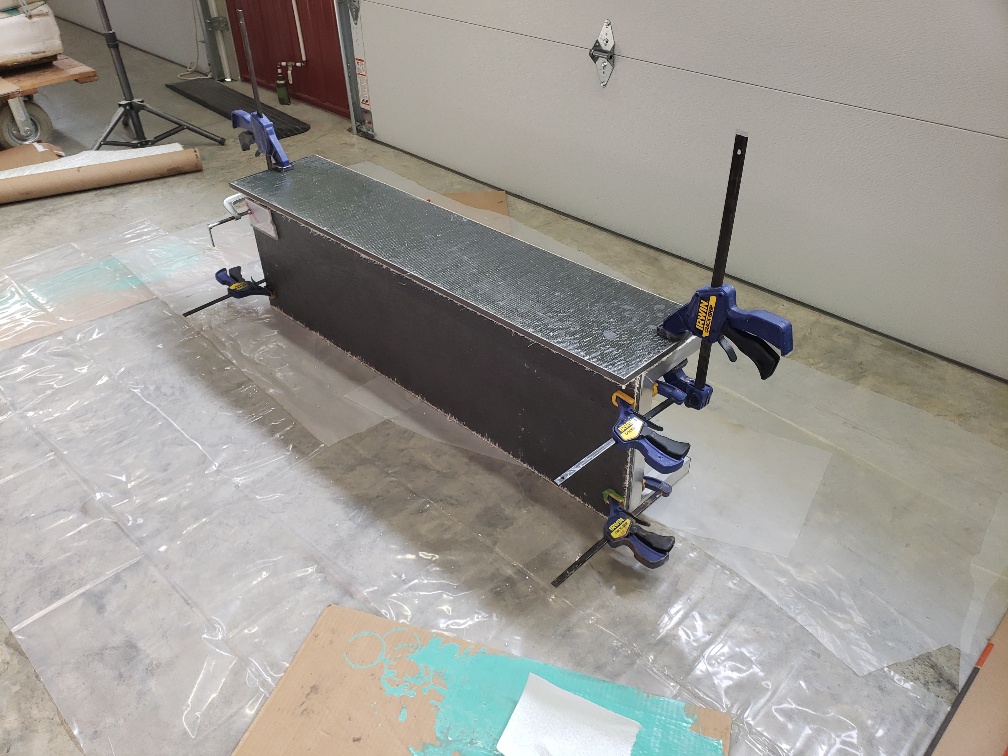
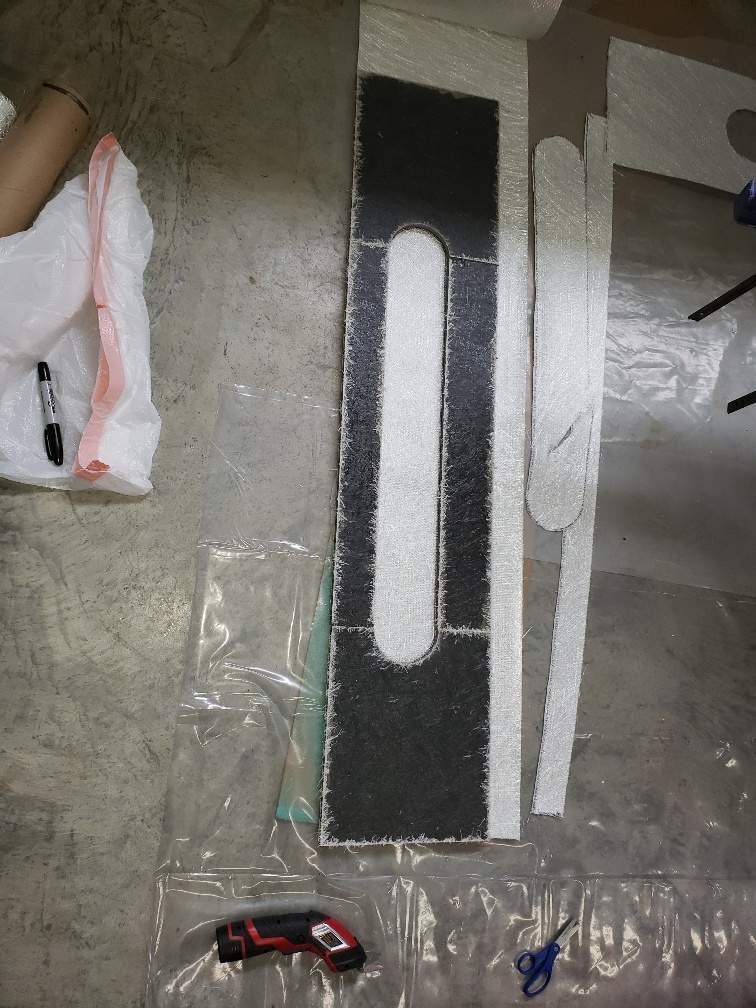
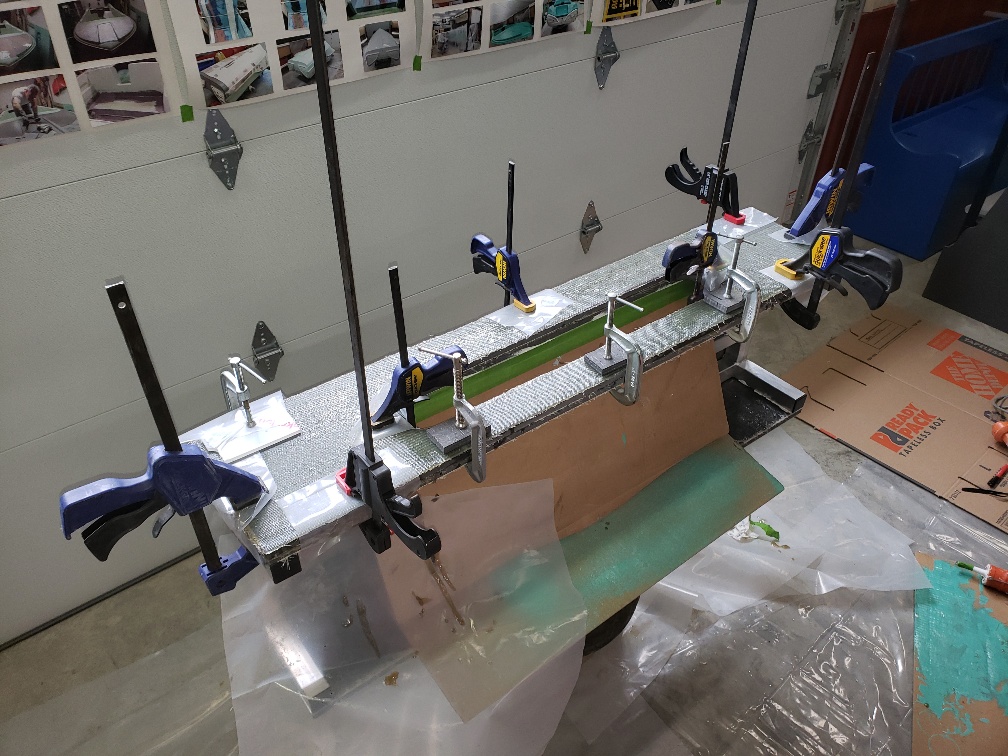
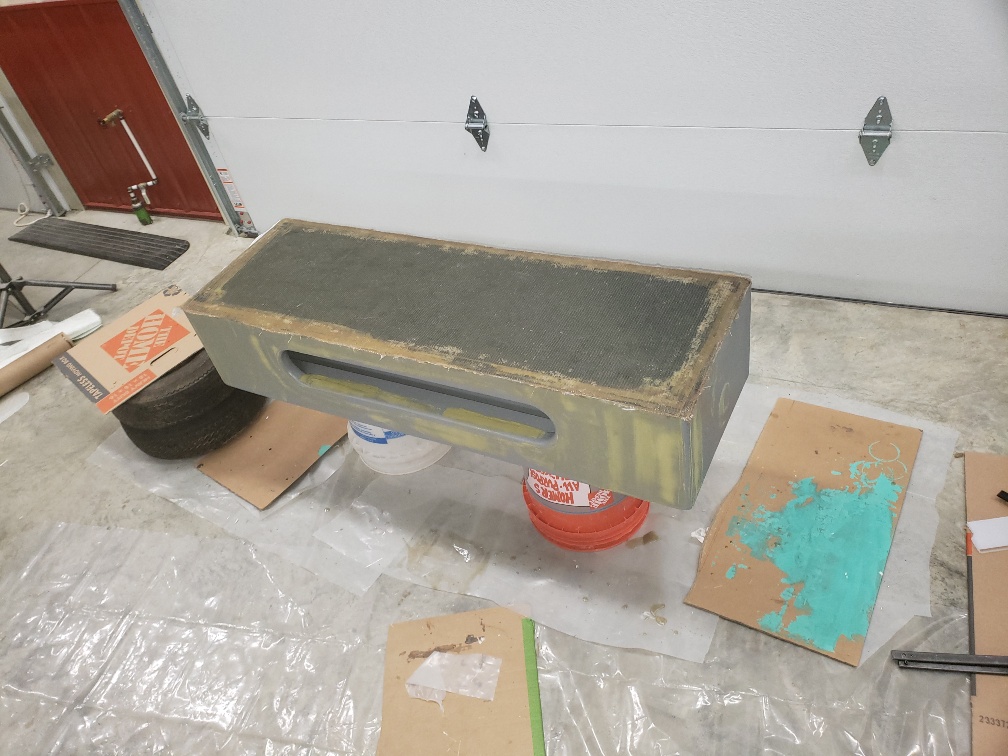
Pic 103 Coosa boxes are constructed using leftover 1/2" pieces doubled up on the sides. 1708 is layered in and oriented so that the thread folds into the 90 nice and tight one way, then the other. net is one layer on the sides and two inside the top.
Pic 104 round over router bit is used on all exterior edges to give a nice eased edge and allow the glass to easily be applied
Pic 105 1708 is applied to the exterior. some chop strand was used around the corners as well
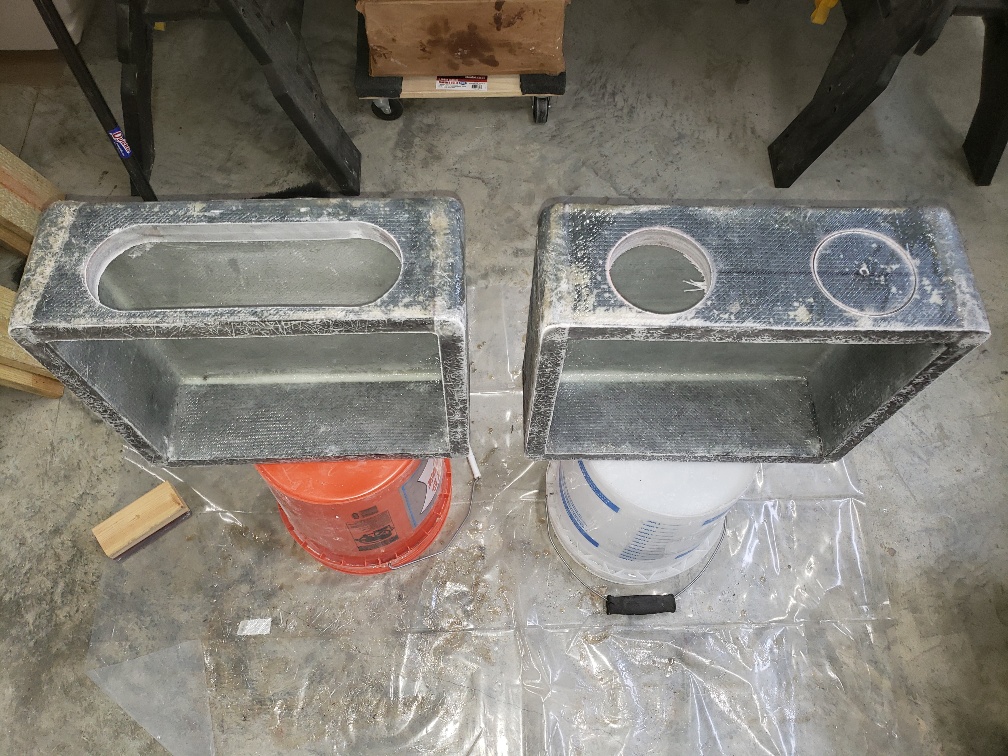
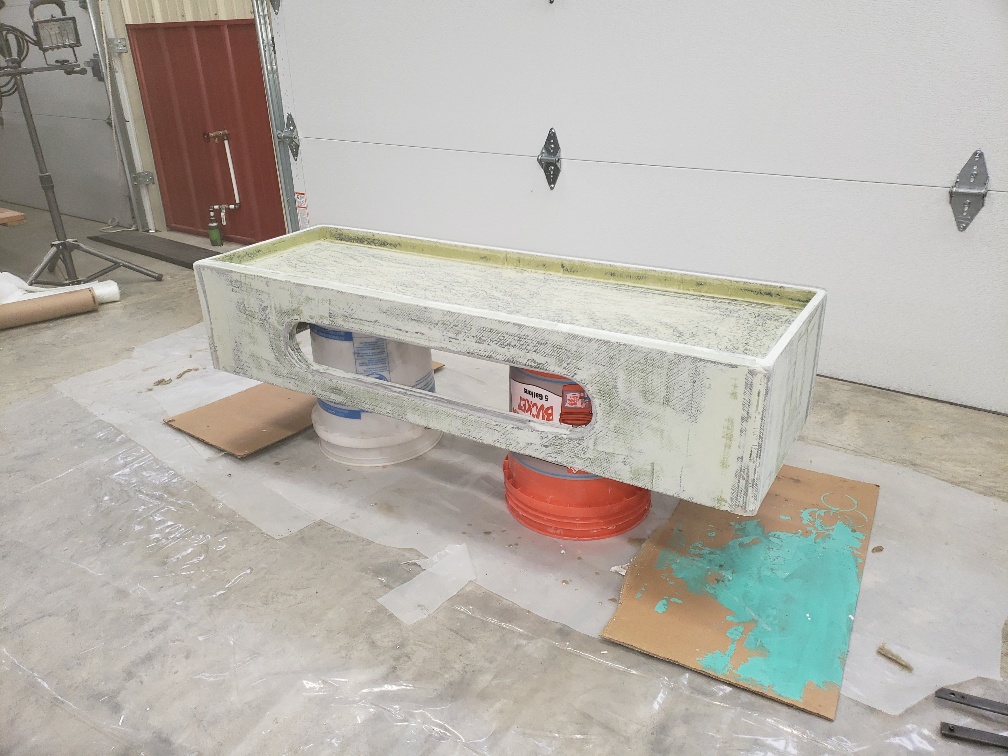
Pic 106 under seat storage access is cut in
Pic 107 a light scrape coat of faring compound
Pic 108 access opening is rounded and exterior sanded

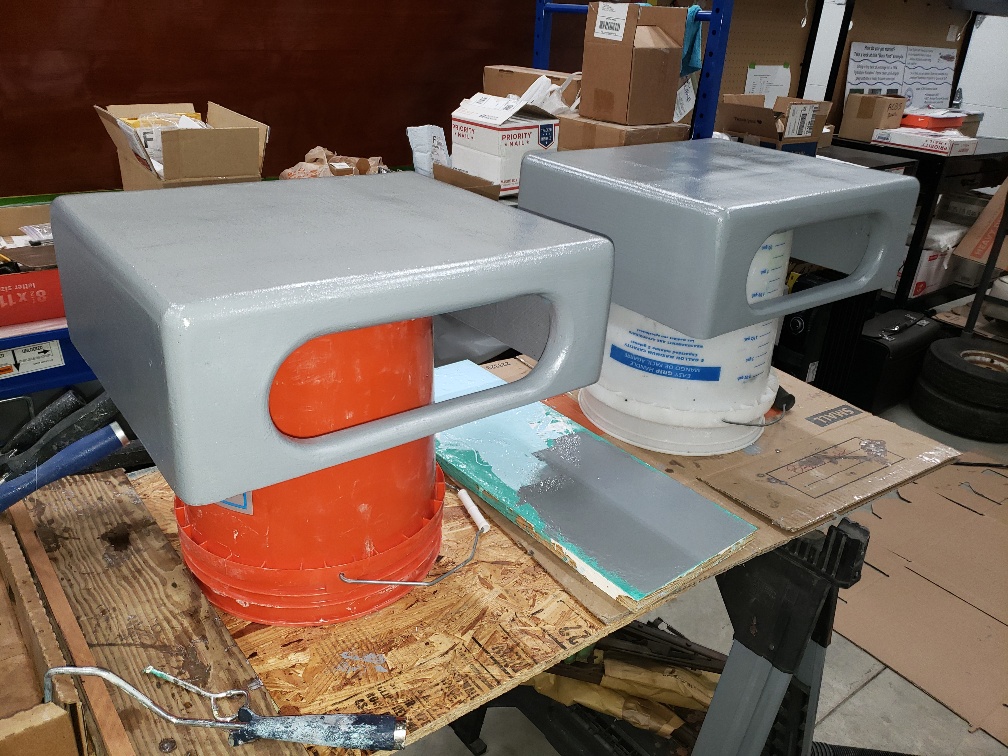
Primer is next and I'm deciding whether to finish in Zolatone or an upholstered skin-

Please Log in or Create an account to join the conversation.

'64 Custom Craft Sunray - cont from Coosa transoms 4 years 13 hours ago #142007

  • Eric Z
  • Eric Z's Avatar Topic Author
  • Offline
  • Contributing Member
  • Contributing Member
  • Posts: 237
  • Karma: 2
  • Thank you received: 19
More progress on the front seat bases.
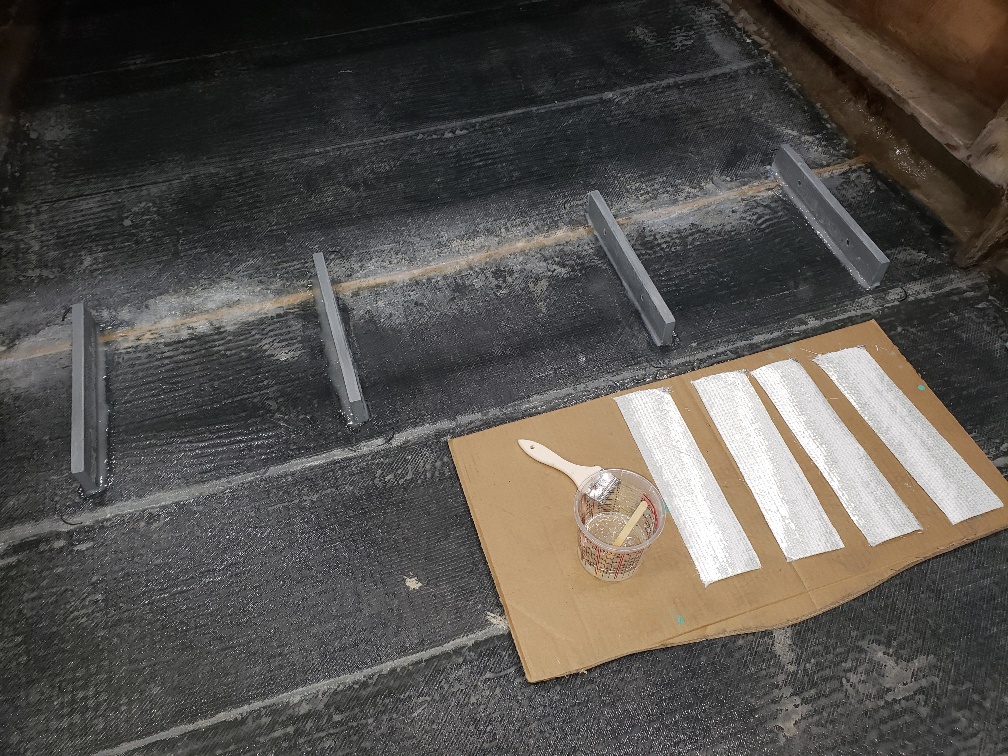
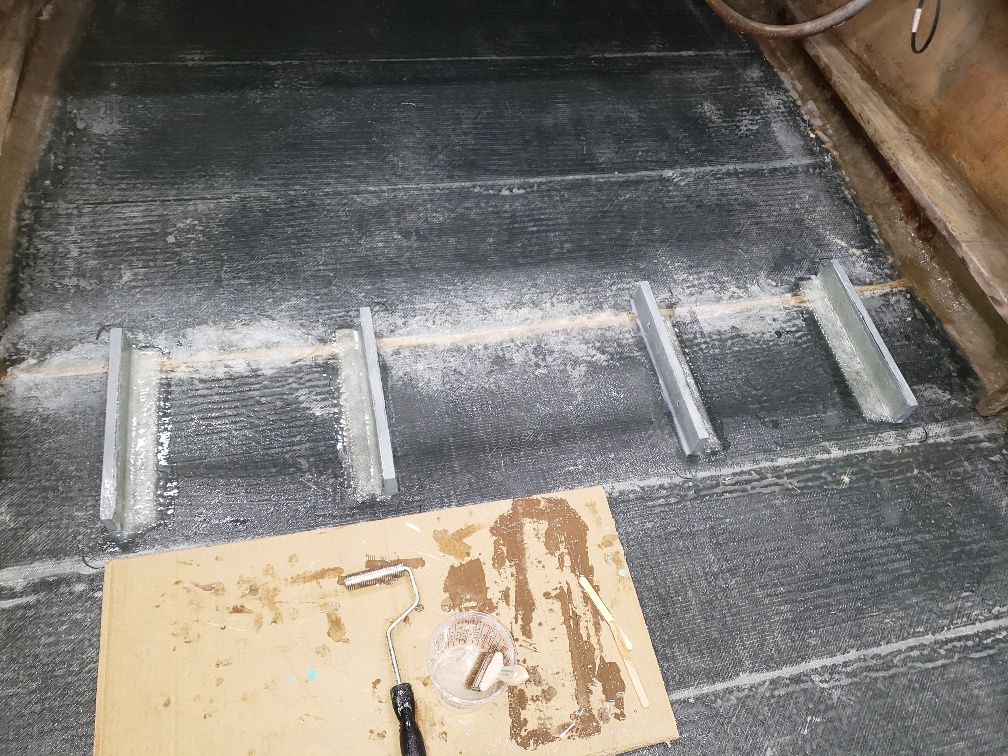
Pic 109 1708 is laminated and the Coosa cut for some cleats that will get epoxied to the floor and allow easy install & removal of seat as needed
Pic 110 gray 2-part primer on bases
Pic 111 the 4 seat frame mounts were able to be used once the sliders are discarded. 5/16" holes are drilled in base to align with the threads
Pic 112 & 113 positioning the base and marking floor where they will mount
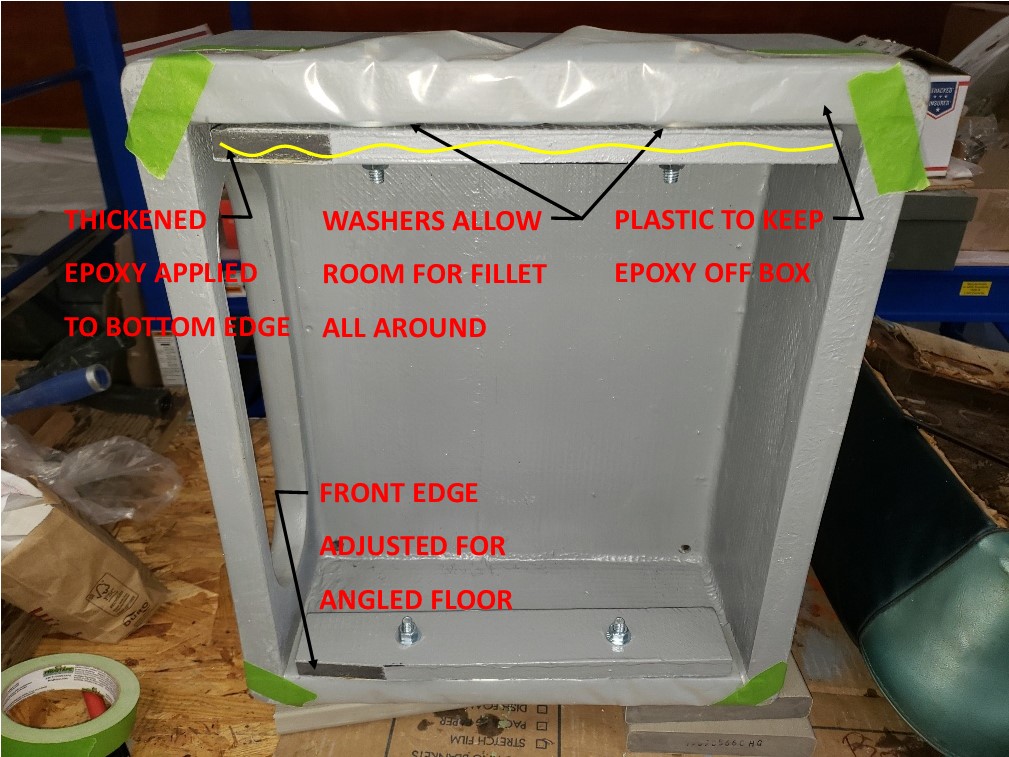
Pic 114 bases are prepped with plastic & cleats. Cleats are mounted inside the bases. thickened epoxy is spread on the bottom edge of the cleat. the base is then flipped over, positioned where the floor was marked and some weight placed on top.
Pic 115 once epoxy cures, the seats are unbolted and set aside
Pic 116 a fillet of thickened epoxy is run around the base and a 1708 tab wet in on the inside edge
Pic 117 & 118 seats are checked bolted back in and ready to set aside until final finish is decided on

Eventually, nice stainless oval head bolts and finish washers will be used to secure them.
Next, I'll move on the the new rear bench seat-
thx

Please Log in or Create an account to join the conversation.

'64 Custom Craft Sunray - cont from Coosa transoms 4 years 5 hours ago #142009

  • Dr.Go!
  • Dr.Go!'s Avatar
  • Offline
  • Contributing Member
  • Contributing Member
  • Posts: 1719
  • Karma: 19
  • Thank you received: 125
Nice. Appreciate pictures with explanations!
The following user(s) said Thank You: Eric Z

Please Log in or Create an account to join the conversation.

Dr.Go!

'64 Custom Craft Sunray - cont from Coosa transoms 3 years 11 months ago #142010

  • 63 Sabre
  • 63 Sabre's Avatar
  • Offline
  • Contributing Member
  • Contributing Member
  • Posts: 4676
  • Karma: 147
  • Thank you received: 167
Sweet! Great work. If that was done at the factory you wouldn't have to do it over.
Thanks for the info.
The following user(s) said Thank You: Eric Z

Please Log in or Create an account to join the conversation.

'64 Custom Craft Sunray - cont from Coosa transoms 3 years 11 months ago #142011

Excellent, she's coming along nicely!

Bob
The following user(s) said Thank You: Eric Z

Please Log in or Create an account to join the conversation.

'64 Custom Craft Sunray - cont from Coosa transoms 3 years 11 months ago #142132

  • Eric Z
  • Eric Z's Avatar Topic Author
  • Offline
  • Contributing Member
  • Contributing Member
  • Posts: 237
  • Karma: 2
  • Thank you received: 19
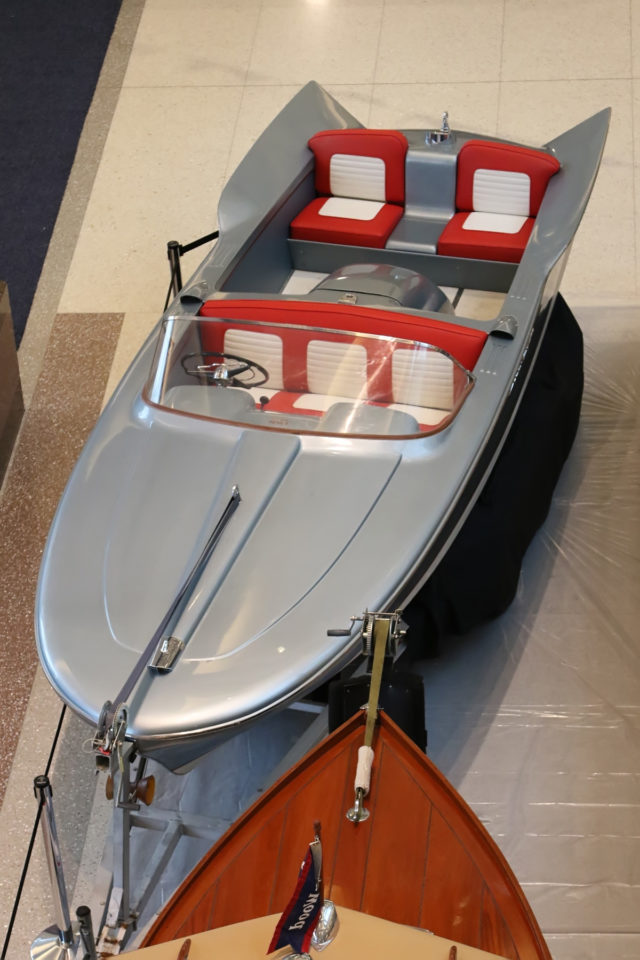
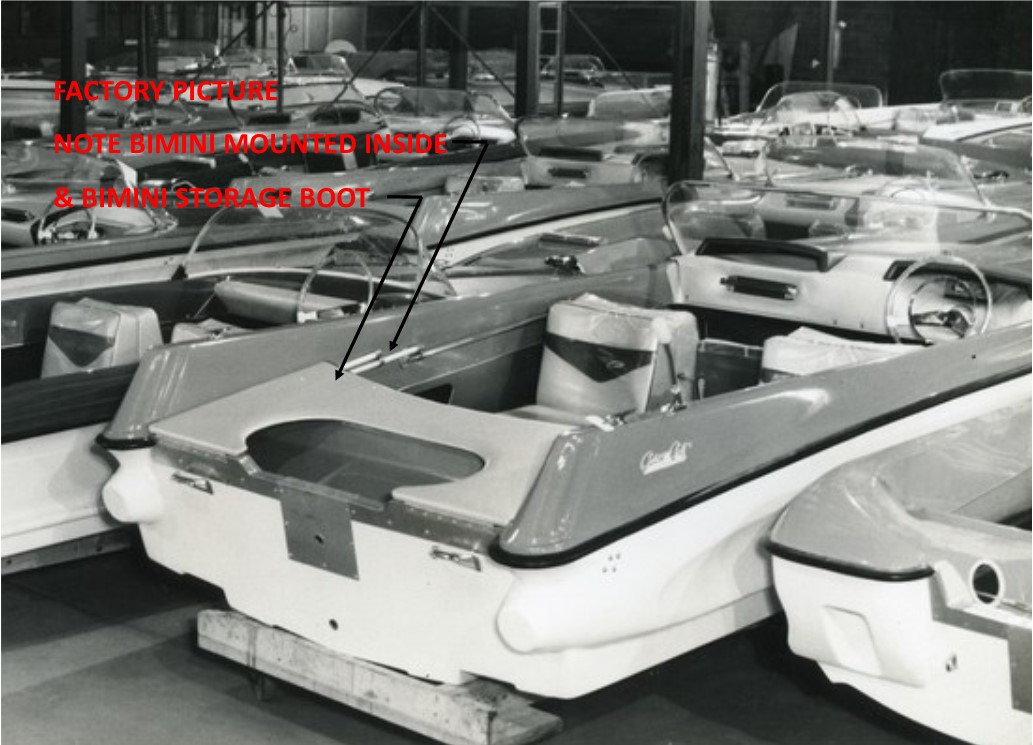
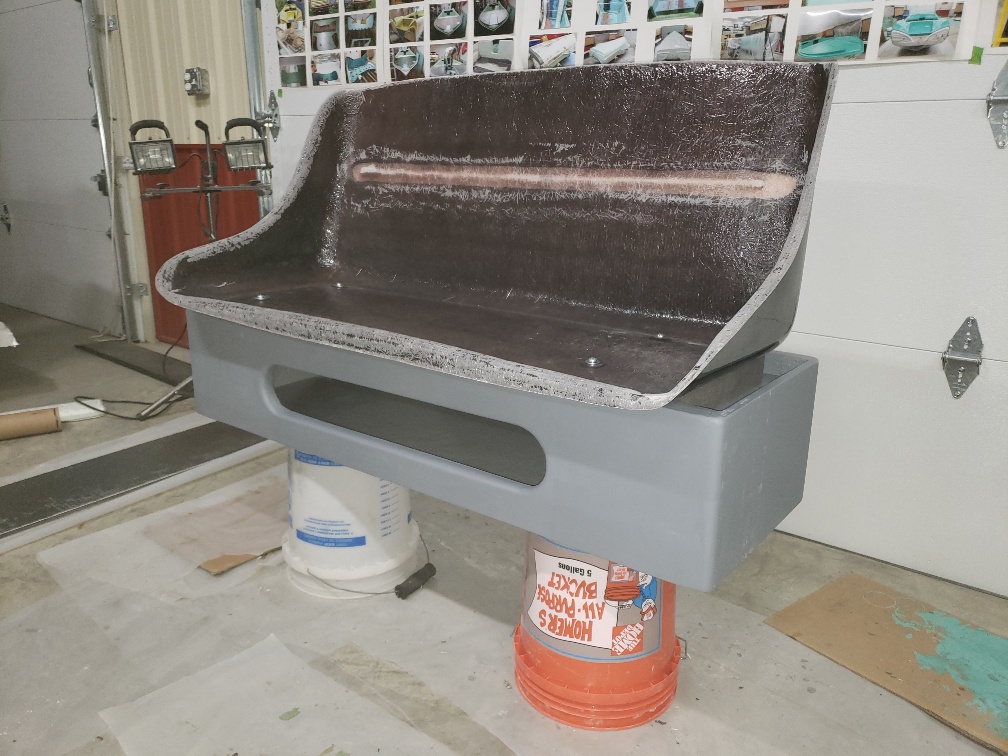
Starting on the rear seating. We decided to come up with a bench seat that can tie in the upholstery pattern of what will be the '65 red & white mustang upholstery skins on the front. The seat shell will be padded and have two white inserts that mirror the front. I'll construct a base like the front seats with interior storage. The entire unit will tilt forward for access to the fuel, (unless we do a direct fill from the engine well) battery and more storage. The boat had a small shelf across the cabin interior in front of the engine well. The first picture below is of this model boat on the factory floor showing a bimini top option and storage of the folded top on that shelf. So we'll come up with a solution to make that happen again.

Pic 120 Custom Craft Sunray on the factory floor - bimini storage
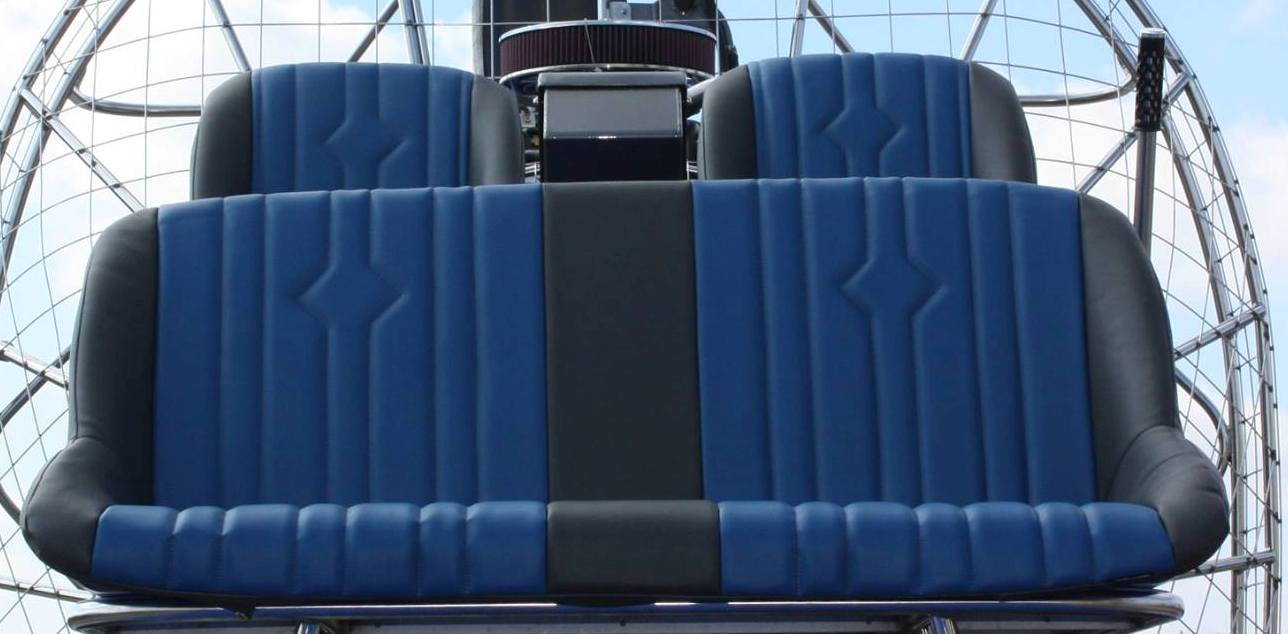
Pic 121 inspiration bench seat
Pic 122 fiberglass seat shell example
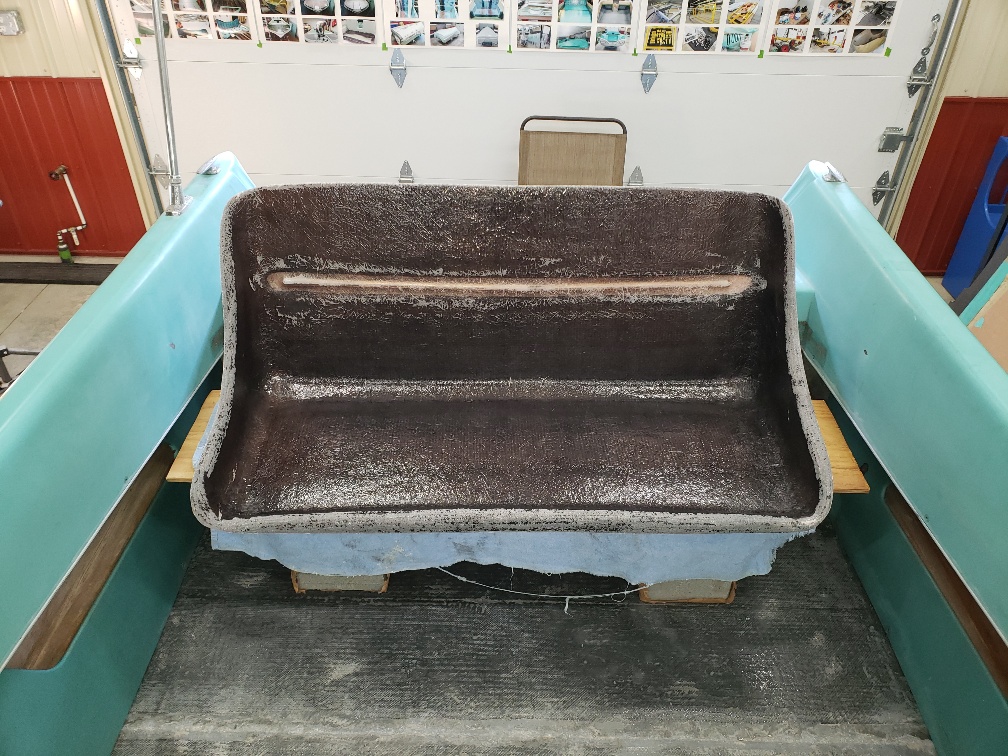
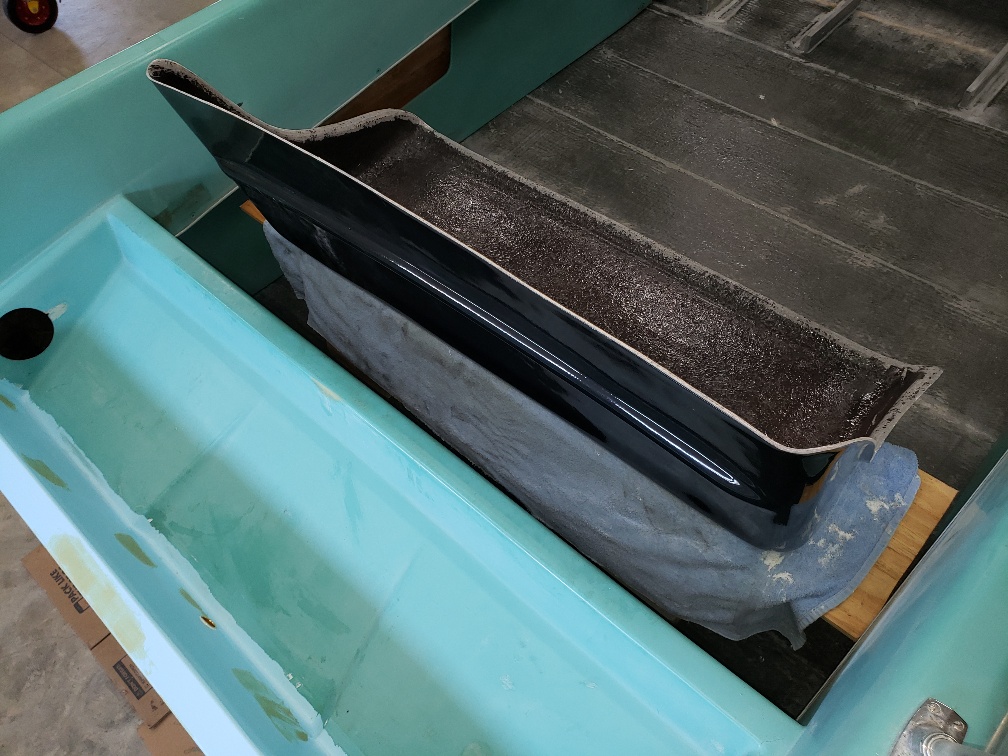
Pic 123 seat shell received and getting positioned
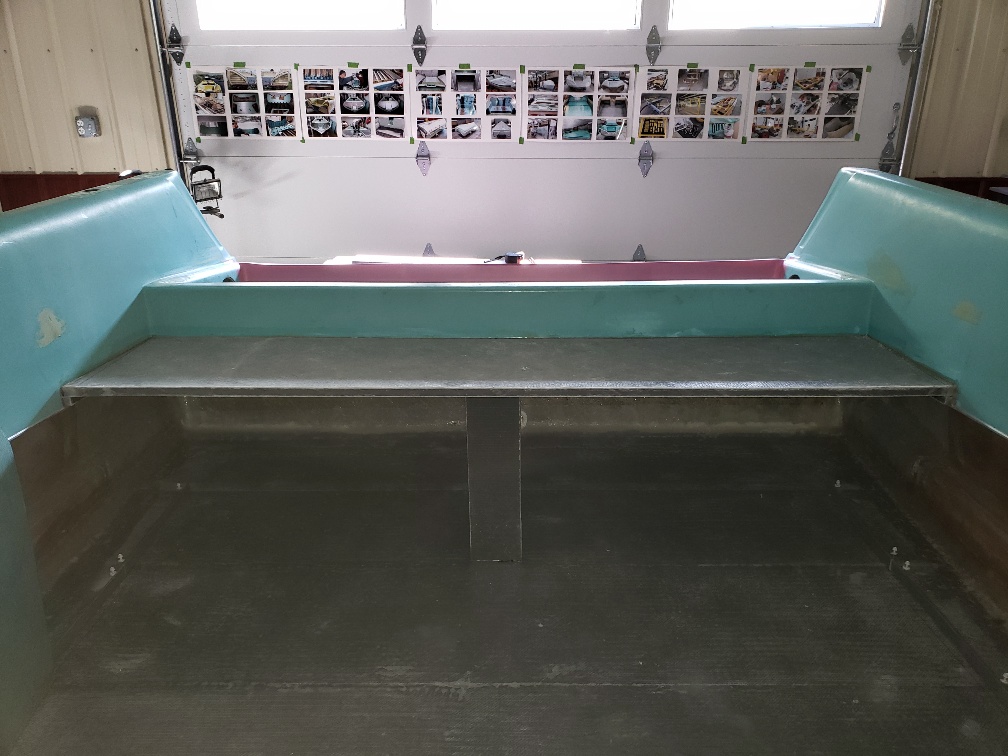
Pic 124 spoke to a couple of bimini mfgs and they suggested a minimum of 10" depth for shelf
Pic 125 found a light weight aluminum keg-dunnage rack 48" wide to use as a base and shroud with the 1708 laminated Coosa
Pic 126 piecing together my remaining Coosa. drilled a hole first this time then cut in half
Pic 127 same process and offset cut then epoxied to first layer. doubled up front as it will have hinges and to create a nice storage opening

Almost done with the construction phase !

Please Log in or Create an account to join the conversation.

'64 Custom Craft Sunray - cont from Coosa transoms 3 years 11 months ago #142203

  • Eric Z
  • Eric Z's Avatar Topic Author
  • Offline
  • Contributing Member
  • Contributing Member
  • Posts: 237
  • Karma: 2
  • Thank you received: 19
here is the continuation of the new rear seat.

Pic 128 a little faring compound to surface the 1708
Pic 129 bottom glassed on
Pic 130 seat shell positioned and mounted
Pic 131 small perimeter cleat adhered to support the bimini shelf
Pic 132 shelf and center support installed, fared in and a small fillet around the sides
Pic 133 assembly in boat
Pic 134 another view
Pic 135 plenty of room and storage...

That's it for the Coosa construction. Easy to work with, do all your cutting outside if possible, pricey but our local supplier in Norfolk, VA offered our club members preferred pricing and no charge for delivery.

Next, I'll flip her over and prep the hull for surfacing and primer.

thx

Please Log in or Create an account to join the conversation.

'64 Custom Craft Sunray - cont from Coosa transoms 3 years 10 months ago #142241

  • Eric Z
  • Eric Z's Avatar Topic Author
  • Offline
  • Contributing Member
  • Contributing Member
  • Posts: 237
  • Karma: 2
  • Thank you received: 19
Compilation video of all pictures

Please Log in or Create an account to join the conversation.

'64 Custom Craft Sunray - cont from Coosa transoms 3 years 10 months ago #142348

  • Eric Z
  • Eric Z's Avatar Topic Author
  • Offline
  • Contributing Member
  • Contributing Member
  • Posts: 237
  • Karma: 2
  • Thank you received: 19
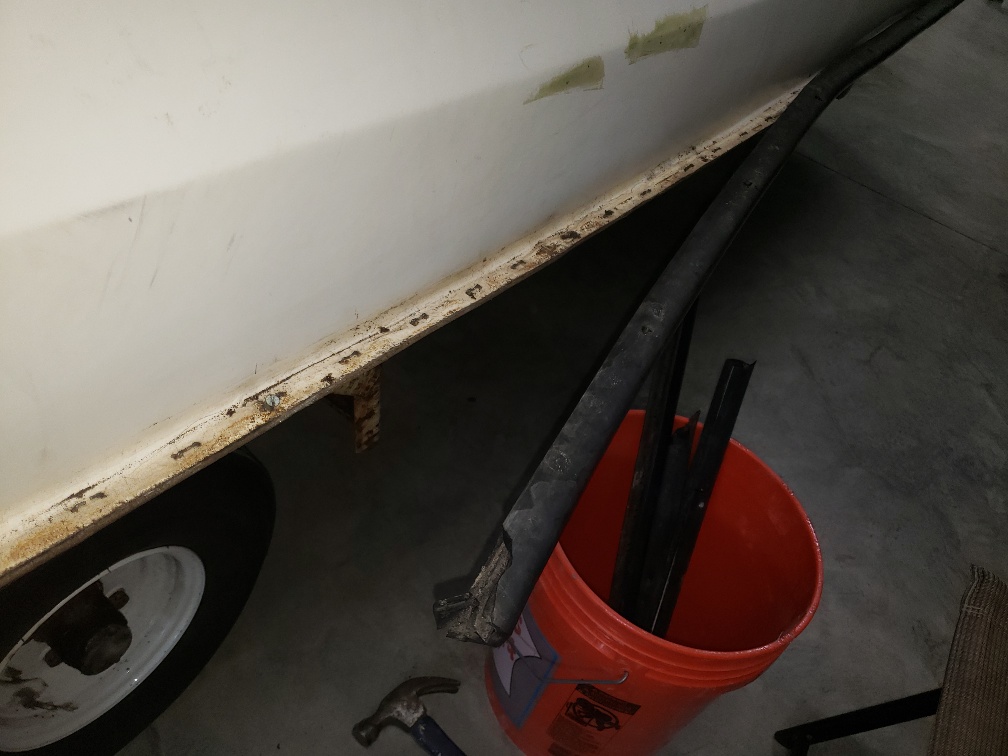
flipping the hull and removal of the rub rail pics.
now sitting on 2 x 6's across the trailer to work on the hull.

Please Log in or Create an account to join the conversation.

'64 Custom Craft Sunray - cont from Coosa transoms 3 years 10 months ago #142349

  • 63 Sabre
  • 63 Sabre's Avatar
  • Offline
  • Contributing Member
  • Contributing Member
  • Posts: 4676
  • Karma: 147
  • Thank you received: 167
Good progress, Don't know about you but every time I flip a boat the ole' heart skips until it's safely set down.

Please Log in or Create an account to join the conversation.

'64 Custom Craft Sunray - cont from Coosa transoms 3 years 10 months ago #142355

  • Eric Z
  • Eric Z's Avatar Topic Author
  • Offline
  • Contributing Member
  • Contributing Member
  • Posts: 237
  • Karma: 2
  • Thank you received: 19
yep! I have been setting them on edge vertically half way through, as with my rig I have to reset - pull the straps back where they started to get full rotation. I had my my son keep hands on it while I worked the chain hoists.....just told him to walk away if he felt too much pressure!

Please Log in or Create an account to join the conversation.

'64 Custom Craft Sunray - cont from Coosa transoms 3 years 10 months ago #142408

  • Eric Z
  • Eric Z's Avatar Topic Author
  • Offline
  • Contributing Member
  • Contributing Member
  • Posts: 237
  • Karma: 2
  • Thank you received: 19
A little more bodywork, sand and prime...
fill pin holes, sand and prime...
alternating white & gray... sanding was really just light faring over the filler. used interprotect 2000e and sanding is not necessary.
not very exciting...literally like watching paint dry!

Please Log in or Create an account to join the conversation.

'64 Custom Craft Sunray - cont from Coosa transoms 3 years 9 months ago #142484

  • Eric Z
  • Eric Z's Avatar Topic Author
  • Offline
  • Contributing Member
  • Contributing Member
  • Posts: 237
  • Karma: 2
  • Thank you received: 19
With the priming done, time to roll her outside and get the surface as smooth as possible.
Started with the random orbital and then used the "soft sander" shaped noodles to hit all of the compound curves.
You can see the layers of primer coming through via the color changes as I worked it.
I'm going to use Jon Gibson's paint color layout (he has many posts on his restoration of this model a few years ago). Maybe a few personal accents-

I picked up a Holsclaw trailer for this boat and will post under the trailer forum pictures of it's tear down and restoration.

thx

Please Log in or Create an account to join the conversation.

'64 Custom Craft Sunray - cont from Coosa transoms 3 years 9 months ago #142578

  • Eric Z
  • Eric Z's Avatar Topic Author
  • Offline
  • Contributing Member
  • Contributing Member
  • Posts: 237
  • Karma: 2
  • Thank you received: 19
Getting some accent color on the ivory. This will also be the main color for the hull. 3 M fine line tape worked great!
Attachments:

Please Log in or Create an account to join the conversation.

'64 Custom Craft Sunray - cont from Coosa transoms 3 years 9 months ago #142644

  • Eric Z
  • Eric Z's Avatar Topic Author
  • Offline
  • Contributing Member
  • Contributing Member
  • Posts: 237
  • Karma: 2
  • Thank you received: 19
Color coat continues from the bottom to chine-spray rail area. using that inside 90 as a strategic tape line area.
Attachments:

Please Log in or Create an account to join the conversation.

'64 Custom Craft Sunray - cont from Coosa transoms 3 years 9 months ago #142649

  • Dr.Go!
  • Dr.Go!'s Avatar
  • Offline
  • Contributing Member
  • Contributing Member
  • Posts: 1719
  • Karma: 19
  • Thank you received: 125
Are you rolling and tipping with a wet chip brush, or are you spraying that. Can’t find my glasses right now so I will have to check back. Looks nice. Any tips are helpful. How many coats, brands of products, thinning ratios? I would love any and all tips as I will need to do this one day. Cool boat and I like the personal touches.

Please Log in or Create an account to join the conversation.

Dr.Go!

'64 Custom Craft Sunray - cont from Coosa transoms 3 years 9 months ago #142652

  • Eric Z
  • Eric Z's Avatar Topic Author
  • Offline
  • Contributing Member
  • Contributing Member
  • Posts: 237
  • Karma: 2
  • Thank you received: 19
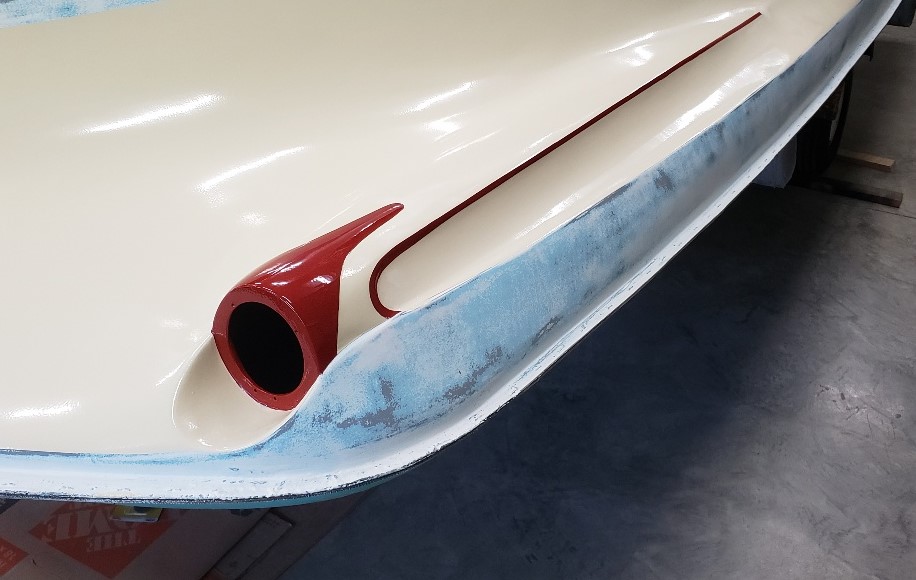
On the last project boat, a '62 Lake n Sea documented in the forum and on the Lake n Sea site, I used Interlux Perfection. I have also read of a lot of the guys using cheap Rustoleum. So i'm trying a something a little unconventional. The red on this boat is Perfection, Rochelle Red darkened with a little black for more of a cherry color. The cream-ivory is the Ace brand of rustoleum. Their higher end base and they color matched it for me to the cream-ivory on the Holsclaw trailer that i'm restoring to go under it. See separate forum entry under "trailer talk". The plan is to use 2K max clear over the portion above the chine-splash rail up to the hull seam, covering where the colors meet and all of the cream. This will allow me to lightly sand out imperfections and I can then cut & buff the clear after it cures. It should seal the "seams" and give a good chemical resistant, high gloss finish. All theory based on videos and entries on the web. I have used 2k over steering wheel restorations in the past as well.
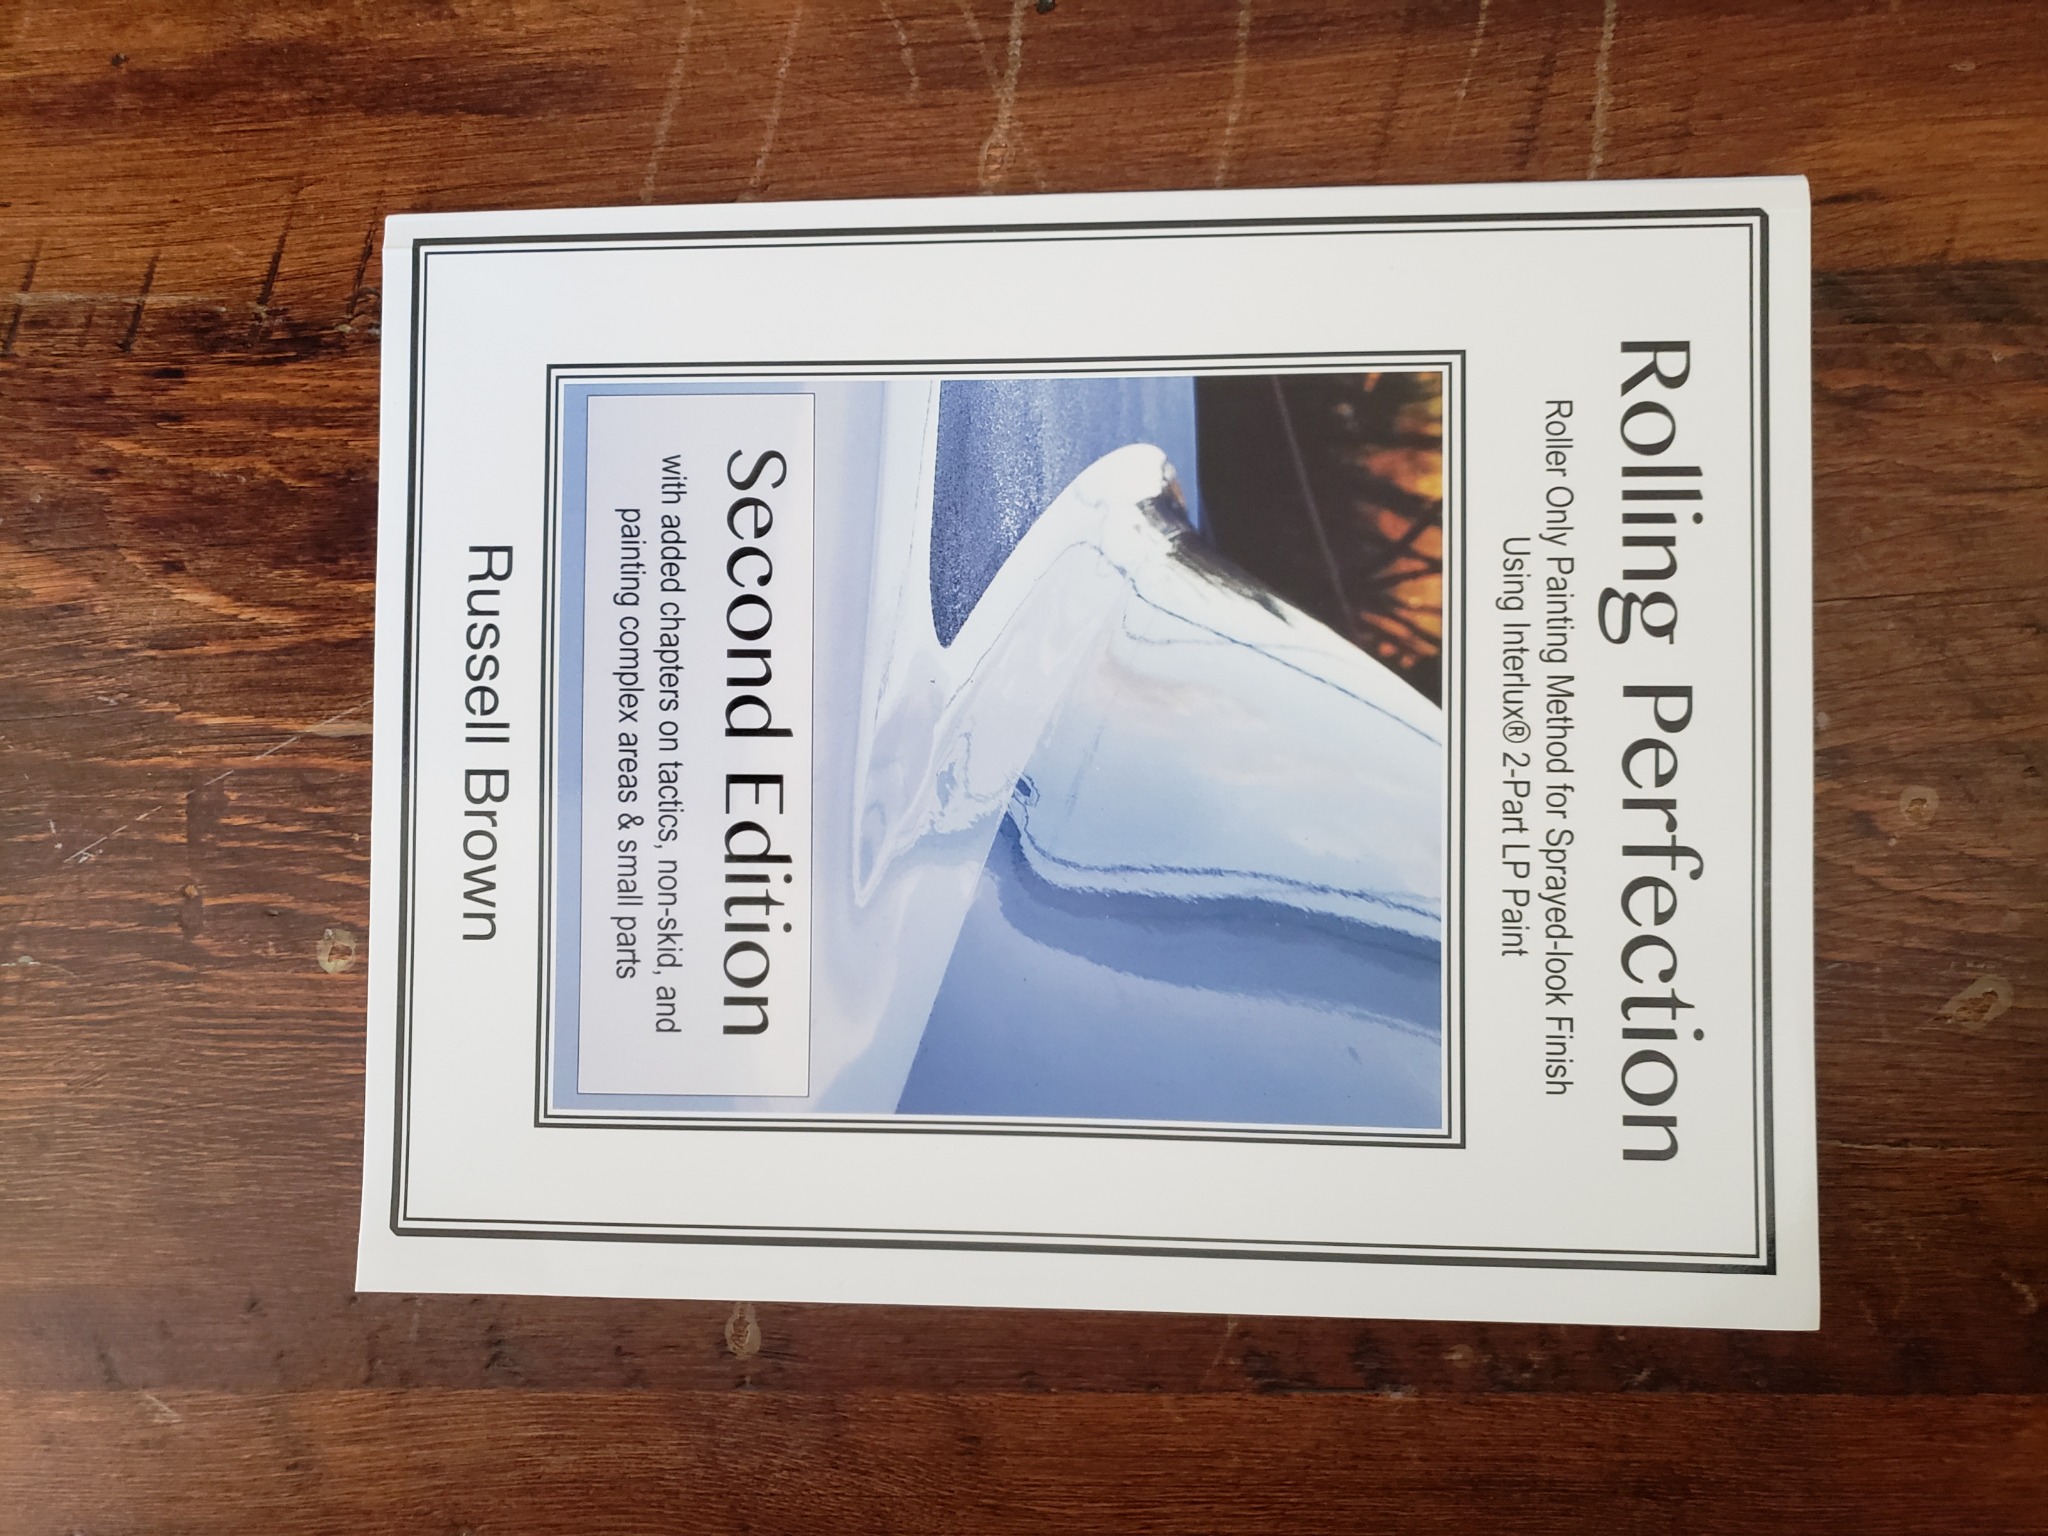
Picture of a good guide book below for using perfection. Its a quick read that you can find on Amazon. I use a small foam or cheap walmart bush to cut in and then pretty much just roll. If i do tip, is with a higher end brush. Perfection is thinned approx 15% and then I need to add a few drops as I go. Rustoleum or Rust Stop is 5 parts paint, 2 parts mineral spirits, 1 part valspar or tractor supply enamel hardener. Roller is an extremely thin foam roller that he uses in the book. I found ones I like at Chesapeake Light Craft Boats clcboats.com you have to ask for the really thin ones. I get the 9" and use a Japanese blade to cut them into 3-3" sections and use a 3" roller frame.

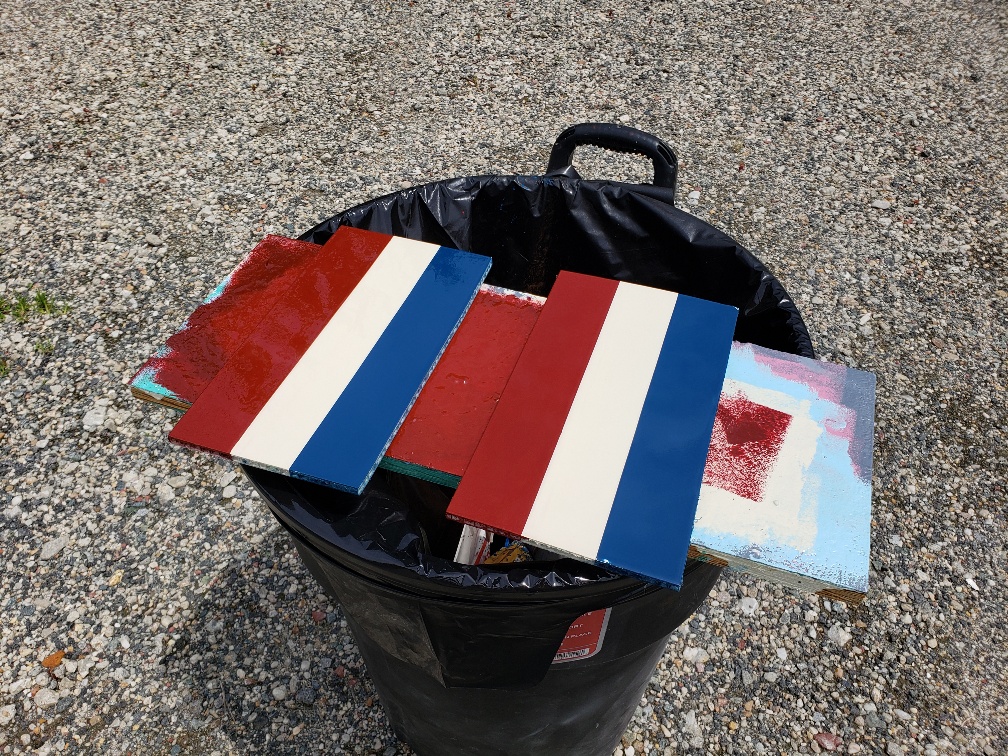
I made up 2 test panels to make sure the paints don't have an adverse reaction to the 2K. they were painted, lightly sanded and than sat a few days to make sure the solvents gas off. I literally just sprayed the 2K on this morning, 2nd picture, so we'll see in a day or so if all is good to proceed on the boat. Then I'll also be able to try sanding the clear with some 2000 grit and then buffing compound. Not sure if any of that is really needed...the fish won't care! But it's a hobby, and Covid is crap...so why not experiment and have some fun-

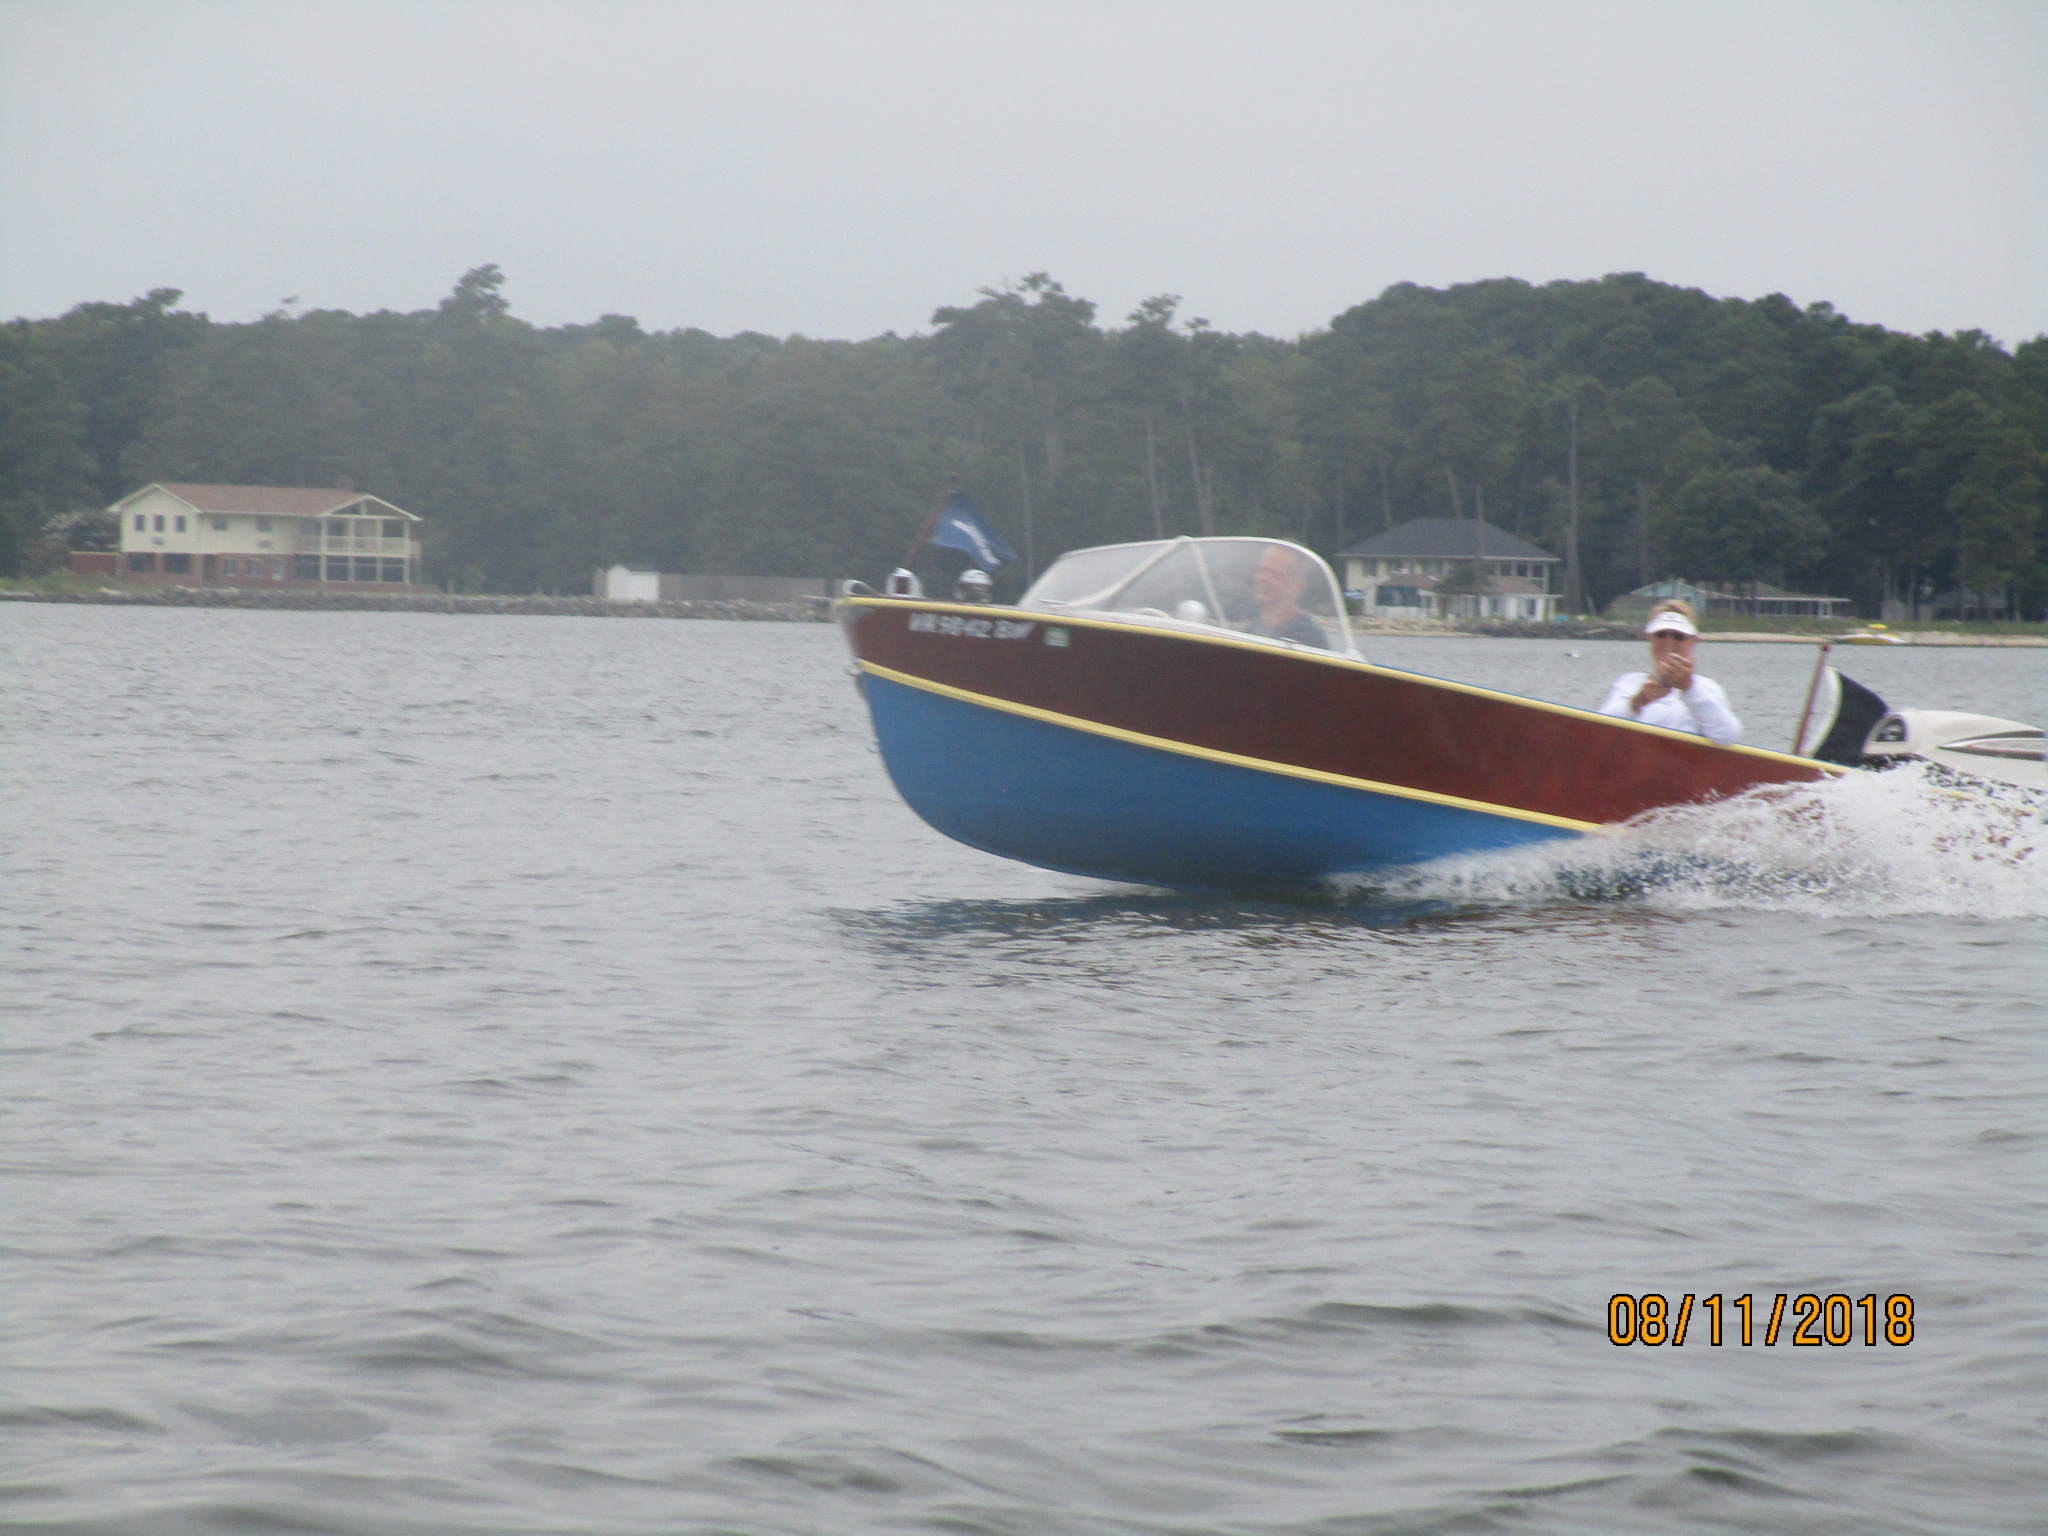
3rd pic is my mahogany wagemaker that has Kirbys enamel (med blue & lemonade yellow) on it, no clear. Not as glossy 6 years later but has held up very well-

hope that helps! long winded, but you asked!
Attachments:

Please Log in or Create an account to join the conversation.

'64 Custom Craft Sunray - cont from Coosa transoms 3 years 9 months ago #142654

  • 63 Sabre
  • 63 Sabre's Avatar
  • Offline
  • Contributing Member
  • Contributing Member
  • Posts: 4676
  • Karma: 147
  • Thank you received: 167
Experience with the Rustoleum the more hardner you use the faster it will set up. Usually dry to touch in about 20 minutes depending on weather/temp. You can sand and repaint the next day without any issues. If you sand it can be with a 400 or 600 wet/dry. When I roll and tip it's about 3 coats depending on your coverage. Usually the final coat is thinner. Do not overwork the brush, it will flow out and brush marks will disappear. No need to sand the final coat it should be like glass, if not you can buff with McGuire's polish.

Please Log in or Create an account to join the conversation.

'64 Custom Craft Sunray - cont from Coosa transoms 3 years 9 months ago #142664

  • Eric Z
  • Eric Z's Avatar Topic Author
  • Offline
  • Contributing Member
  • Contributing Member
  • Posts: 237
  • Karma: 2
  • Thank you received: 19
thanks for the tips. on the test panel the 2 k clear made the cream and blue Rustoleum look like glass, very nice. However the red Perfection has some light spots. I'll see what the final coat of cream looks like on the boat and then decide- The Perfection won't get touched on the boat it looks good now and not worth trying to put 2 k on it. The light spots could be that when I sanded the test panel, the Perfection gloss top layer was destroyed and then the 2K did not go over a common substrate. Whereas the Rustoleum is the same all the way through. It was worth the experiment.

Please Log in or Create an account to join the conversation.

'64 Custom Craft Sunray - cont from Coosa transoms 3 years 9 months ago #142694

  • Dr.Go!
  • Dr.Go!'s Avatar
  • Offline
  • Contributing Member
  • Contributing Member
  • Posts: 1719
  • Karma: 19
  • Thank you received: 125
Excellent information from both of you gentlemen. The long winded versions are what I need so that I don’t miss important steps. I like the tip about doing test panels so I don’t just jump in and ruin a repaired bare smooth hull.

Please Log in or Create an account to join the conversation.

Dr.Go!

'64 Custom Craft Sunray - cont from Coosa transoms 3 years 8 months ago #142737

  • Eric Z
  • Eric Z's Avatar Topic Author
  • Offline
  • Contributing Member
  • Contributing Member
  • Posts: 237
  • Karma: 2
  • Thank you received: 19
paint that has been applied should be cured enough now for some taping.
fine line tape and paper used to prep for the rest of the red.
Attachments:

Please Log in or Create an account to join the conversation.

'64 Custom Craft Sunray - cont from Coosa transoms 3 years 8 months ago #142883

  • Eric Z
  • Eric Z's Avatar Topic Author
  • Offline
  • Contributing Member
  • Contributing Member
  • Posts: 237
  • Karma: 2
  • Thank you received: 19
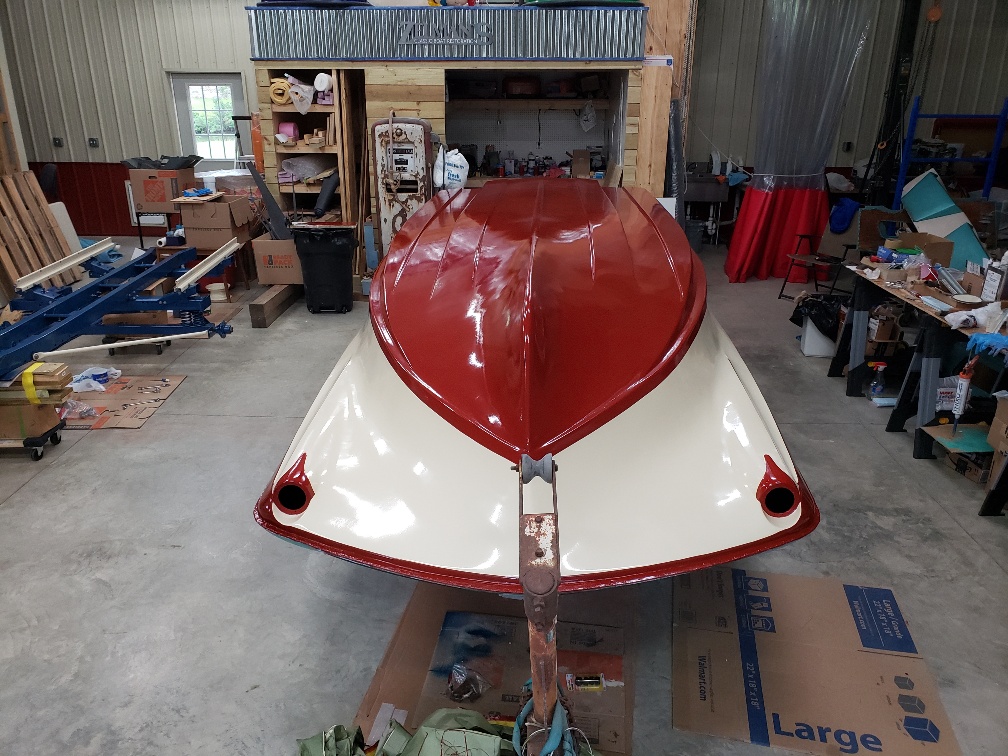
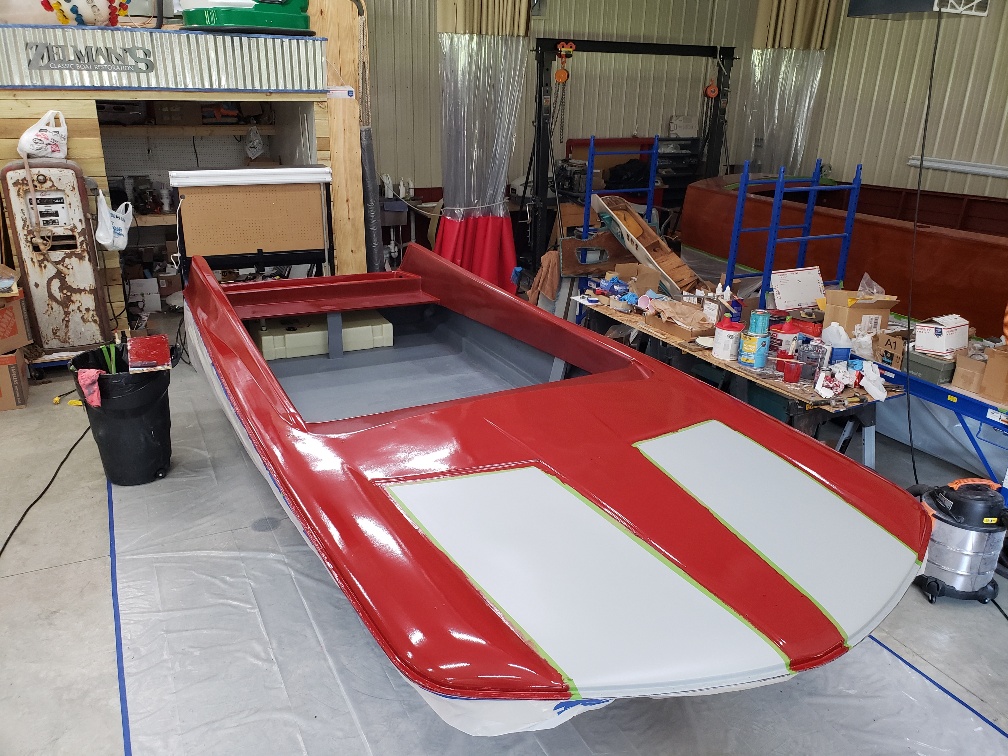
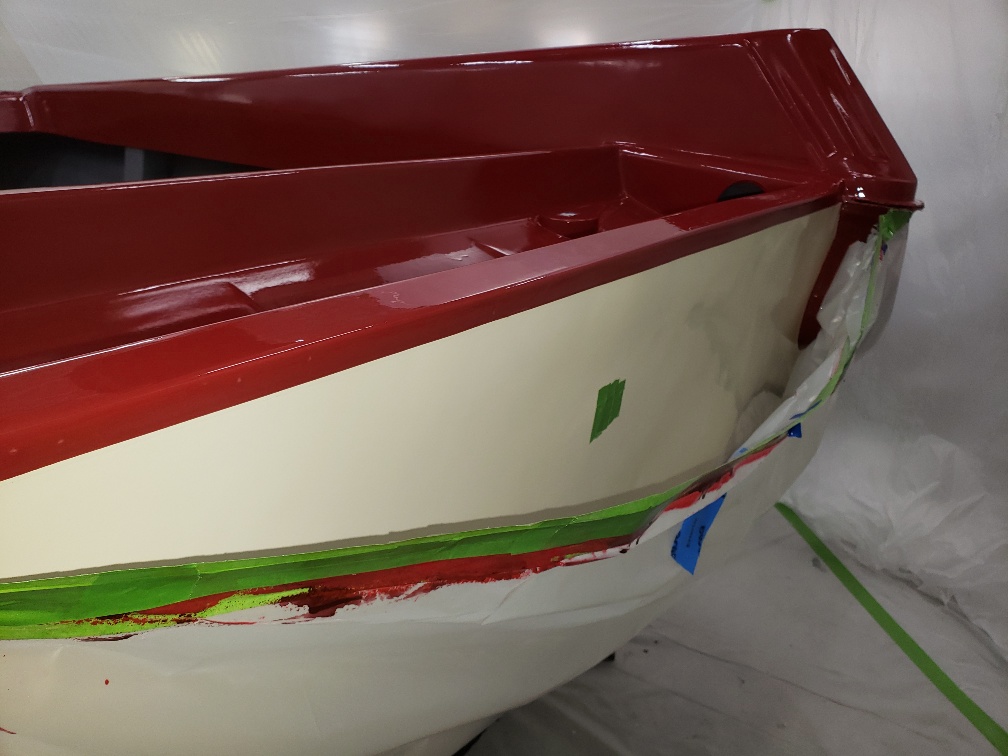
Time to catch up on the post! The rest of the red has been applied to the hull bottom. the red is interlux perfection. the ivory is an Ace rust stop custom mix to match the ivory on the Holsclaw trailer. rust stop was mixed with some tractor supply catalyst-hardener and mineral spirits. I plan to wet sand the ivory and clear coat with 2k glamour coat. this should seal the "seam" and level between the two colors.

Please Log in or Create an account to join the conversation.

'64 Custom Craft Sunray - cont from Coosa transoms 3 years 8 months ago #142885

Very nice. Looking forward to the final product.

Please Log in or Create an account to join the conversation.

'64 Custom Craft Sunray - cont from Coosa transoms 3 years 7 months ago #142977

  • Eric Z
  • Eric Z's Avatar Topic Author
  • Offline
  • Contributing Member
  • Contributing Member
  • Posts: 237
  • Karma: 2
  • Thank you received: 19
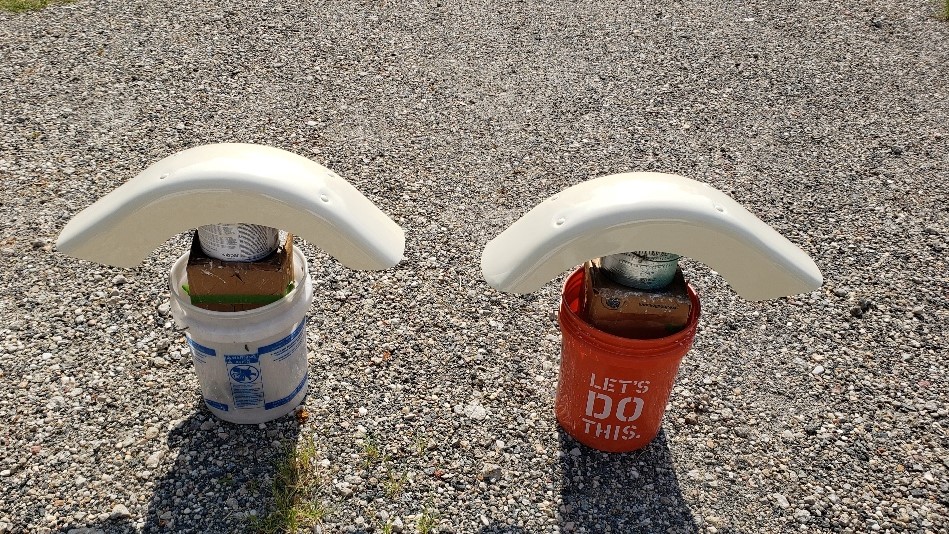
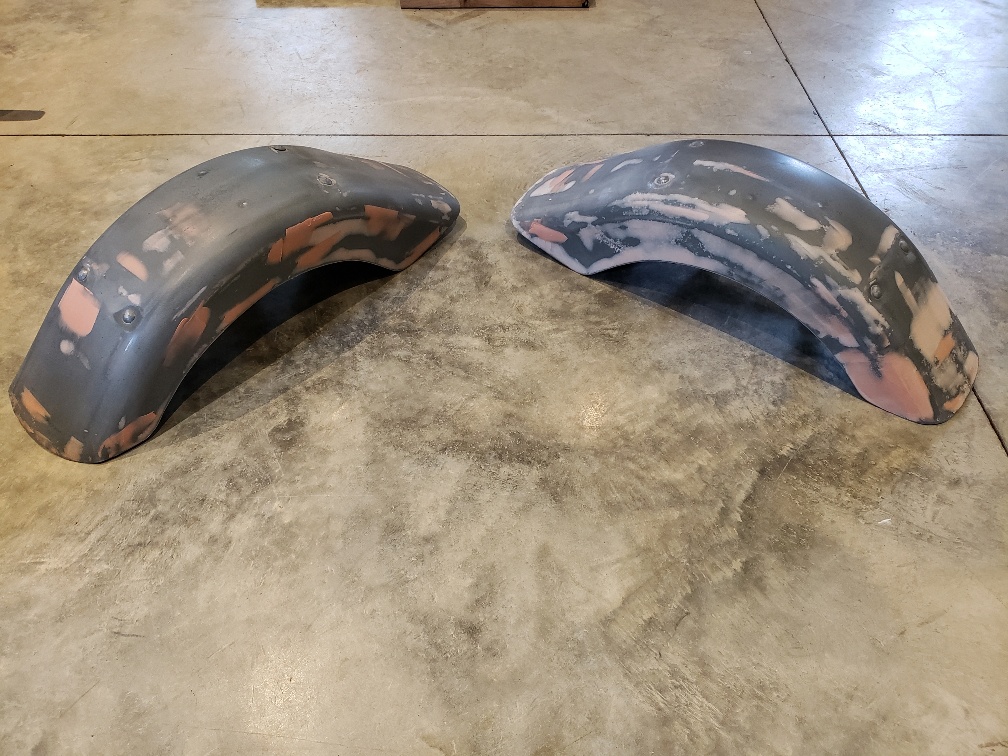
Pic 187 all of the red is covered with plastic to protect it. then the ivory Ace Rustoleum was sanded smooth to remove any orange peel. wiped down with water to remove residue. 2k Glamour clear coat was applied in 3 coats over the ivory. I followed that with a wet sand using 1500 then 2000. next was a pass with some McGuire's ultimate compound. Basically I was following the Youtube videos of the guys that paint some cars with Rustoleum. It came out really nice and will shine even more once waxed. The clear has UV protection as well as great shine and protection from the elements. They say to wait 60-90 days to wax to allow the clear coat to vape off as wax would seal it. The clear coat covered and sealed the seam to the red. I'll get her covered and ready to flip back over next. I used the same process on the Holsclaw fenders. The rest of the trailer was powder coated but the fenders needed a lot of body work. 2 pictures here and I'll put the rest in the trailer thread. thx

Please Log in or Create an account to join the conversation.

'64 Custom Craft Sunray - cont from Coosa transoms 3 years 7 months ago #143005

  • Eric Z
  • Eric Z's Avatar Topic Author
  • Offline
  • Contributing Member
  • Contributing Member
  • Posts: 237
  • Karma: 2
  • Thank you received: 19
It's boat flipp'in Friday!

Please Log in or Create an account to join the conversation.

'64 Custom Craft Sunray - cont from Coosa transoms 3 years 7 months ago #143071

  • Eric Z
  • Eric Z's Avatar Topic Author
  • Offline
  • Contributing Member
  • Contributing Member
  • Posts: 237
  • Karma: 2
  • Thank you received: 19
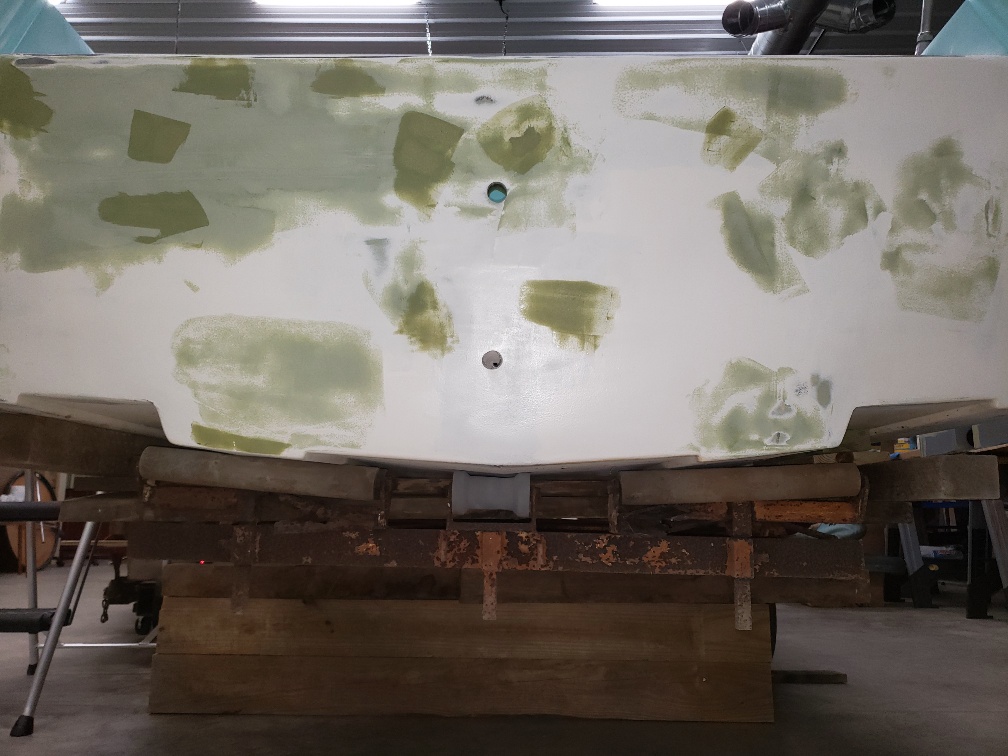
after the flip, the vinyl on the bow deck was removed, and a little more faring was done. I decided to install a permanent fuel tank so I'm making a small pedestal for the fill cap and tube that will be positioned in the splash well area.

Any comments on Moeller Fuel Tanks? Looks like they make two models / sizes that will fit under the splash well.

thx

Please Log in or Create an account to join the conversation.

'64 Custom Craft Sunray - cont from Coosa transoms 3 years 7 months ago #143073

She's coming along great! Sorry no experience with Moeller tanks.

Bob

Please Log in or Create an account to join the conversation.

'64 Custom Craft Sunray - cont from Coosa transoms 3 years 6 months ago #143200

  • Eric Z
  • Eric Z's Avatar Topic Author
  • Offline
  • Contributing Member
  • Contributing Member
  • Posts: 237
  • Karma: 2
  • Thank you received: 19
progress continues:
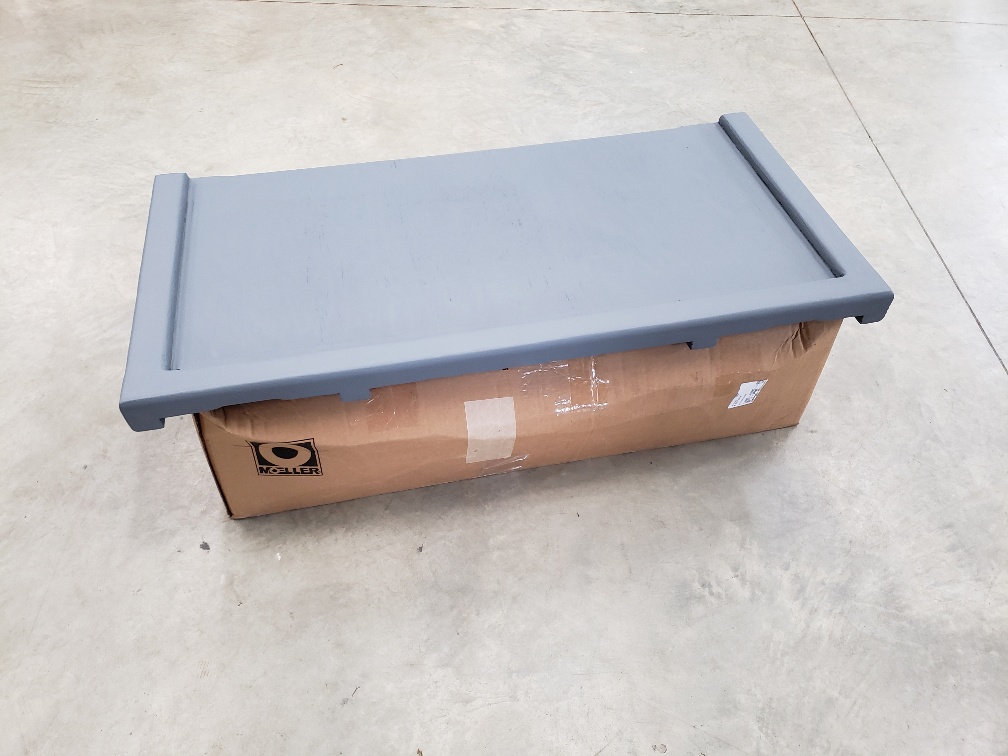
got the 17-18 gallon tank moeller tank.
fabricated a mounting tray for it.
primed the tray and interior and will eventually shoot with zolatone.
a couple of coats of red now on. light sand and then a couple more.
Attachments:

Please Log in or Create an account to join the conversation.

'64 Custom Craft Sunray - cont from Coosa transoms 3 years 4 months ago #143449

  • Eric Z
  • Eric Z's Avatar Topic Author
  • Offline
  • Contributing Member
  • Contributing Member
  • Posts: 237
  • Karma: 2
  • Thank you received: 19
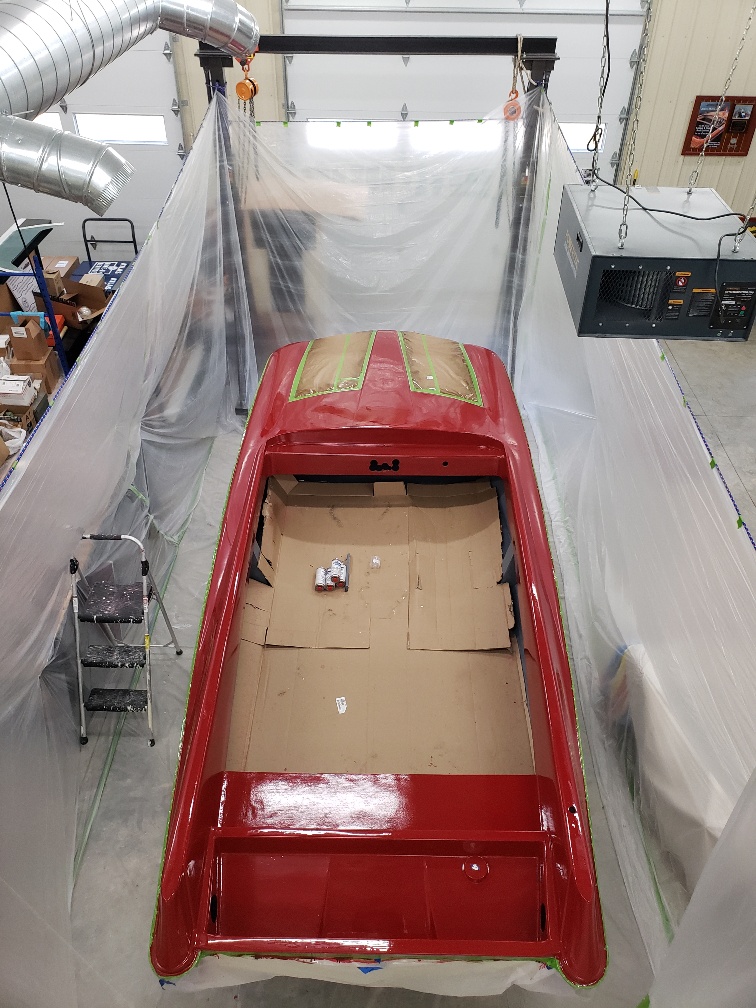
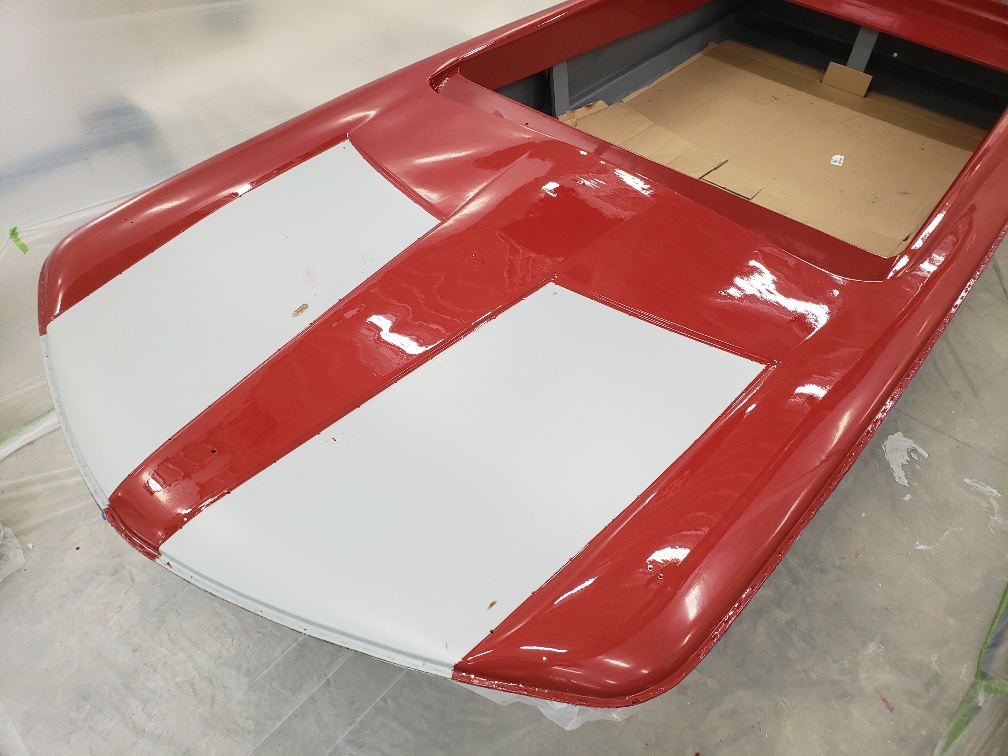
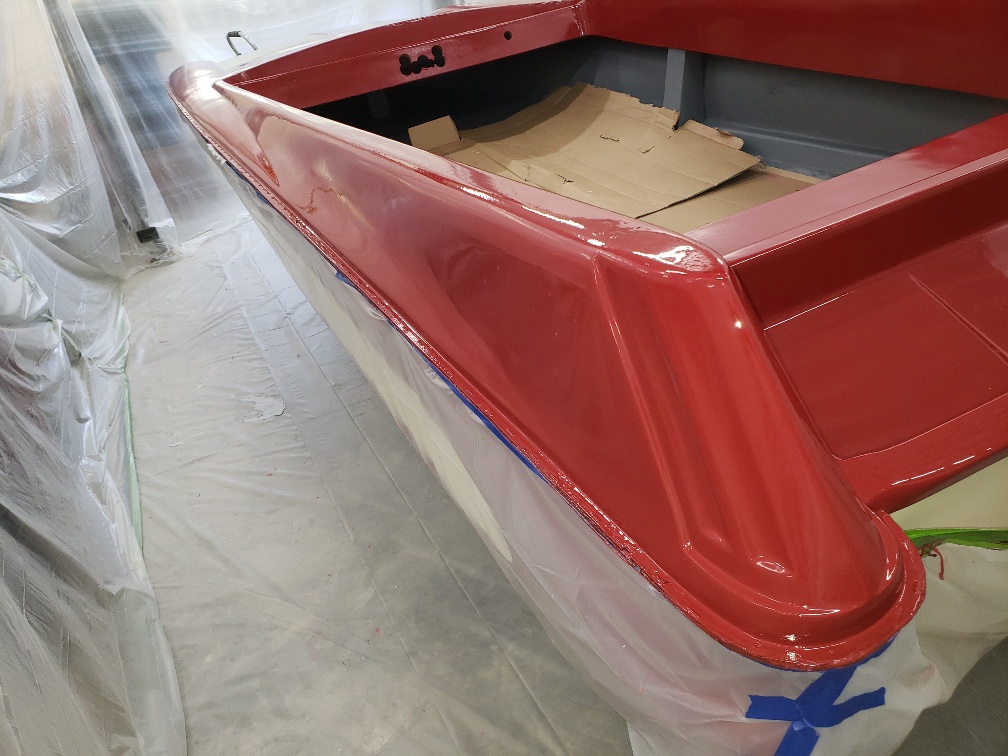
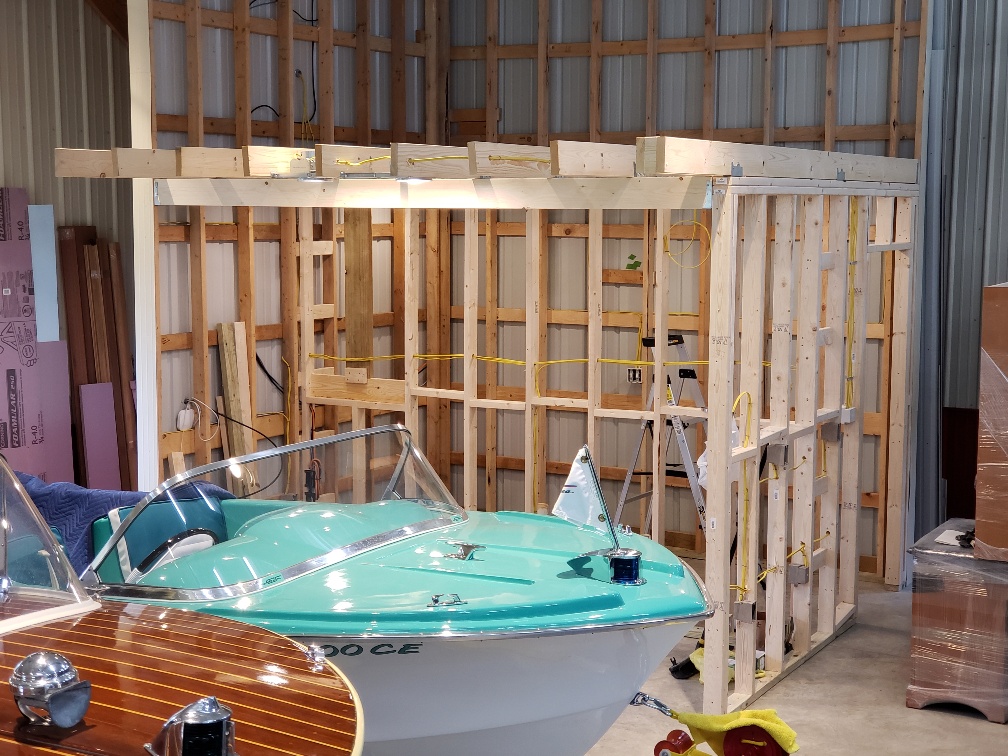
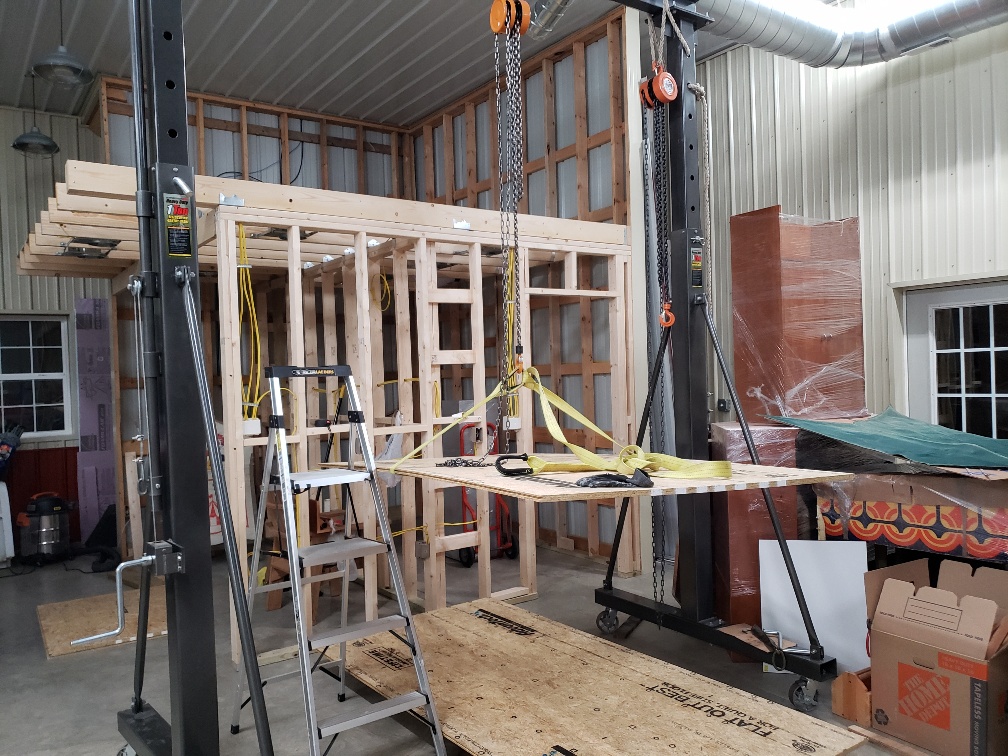
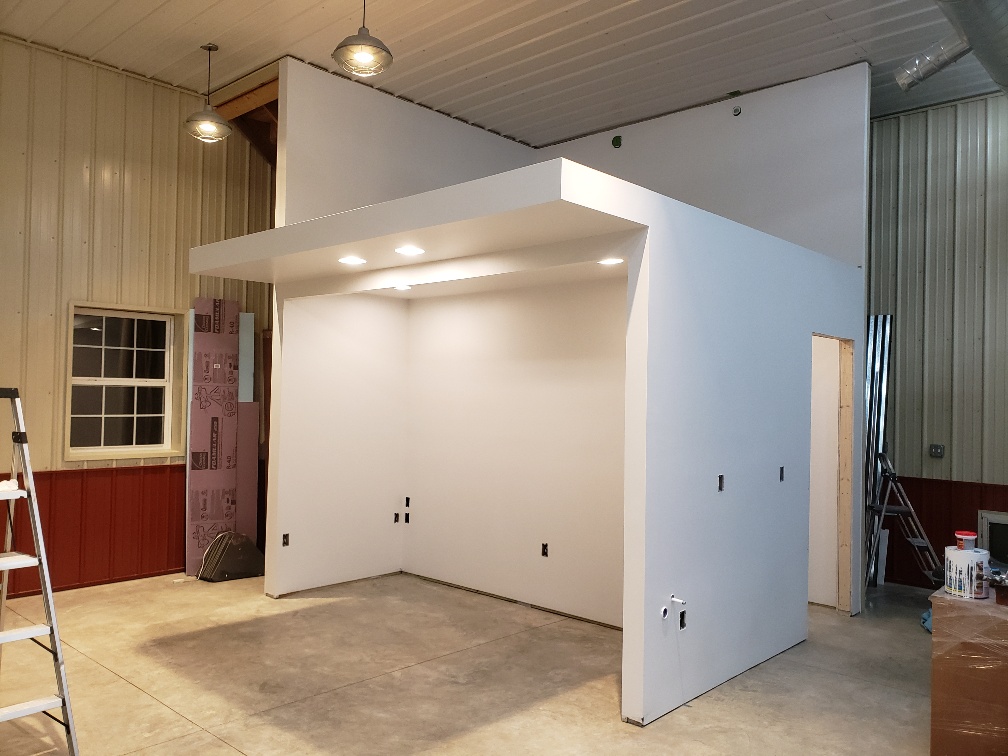
Its been a while since I posted .....another one of the 101 uses for a harbor freight gantry. Rope and plastic strung for a make shift spray booth while a got the clear coat on. I'm experimenting here with an Ace Hardware custom mixed Rust Stop red (paint-thinner & hardener), let in vape out for a couple of months and now clear with 2K Glamour Coat. I'll let this cure a few days and then hit any nibs, dust or runs with 1500, 2000 and then buff. Got the office and bathroom area in the workshop started while waiting on the red paint ...

Please Log in or Create an account to join the conversation.

'64 Custom Craft Sunray - cont from Coosa transoms 3 years 4 months ago #143586

  • Eric Z
  • Eric Z's Avatar Topic Author
  • Offline
  • Contributing Member
  • Contributing Member
  • Posts: 237
  • Karma: 2
  • Thank you received: 19
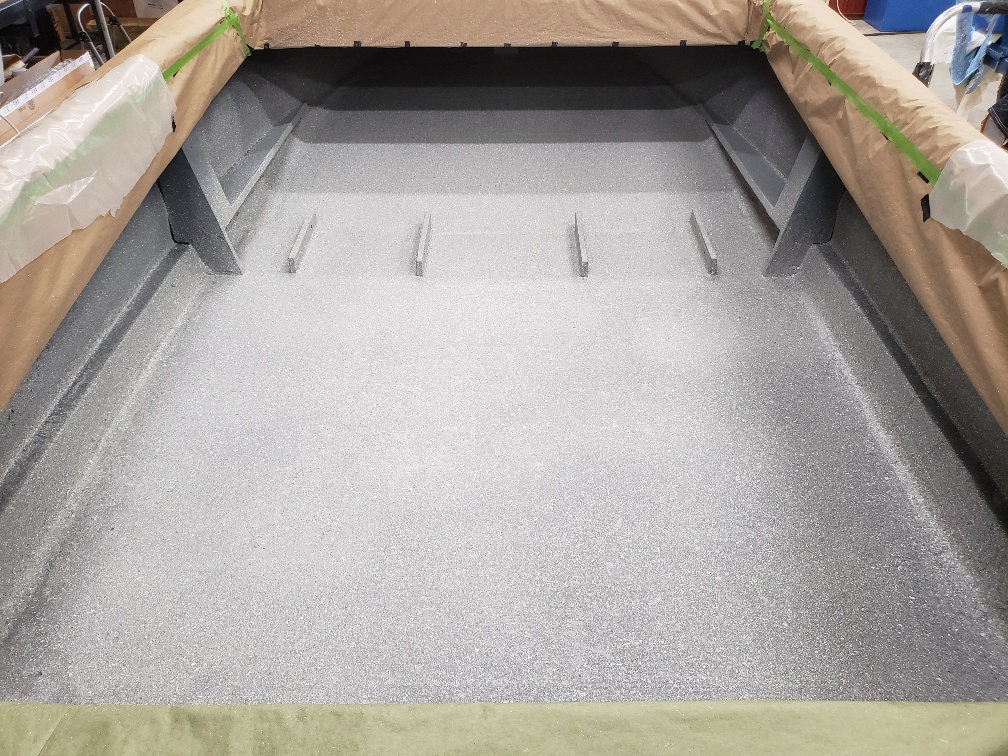
paper and plastic masked off the fresh topside red and clear.

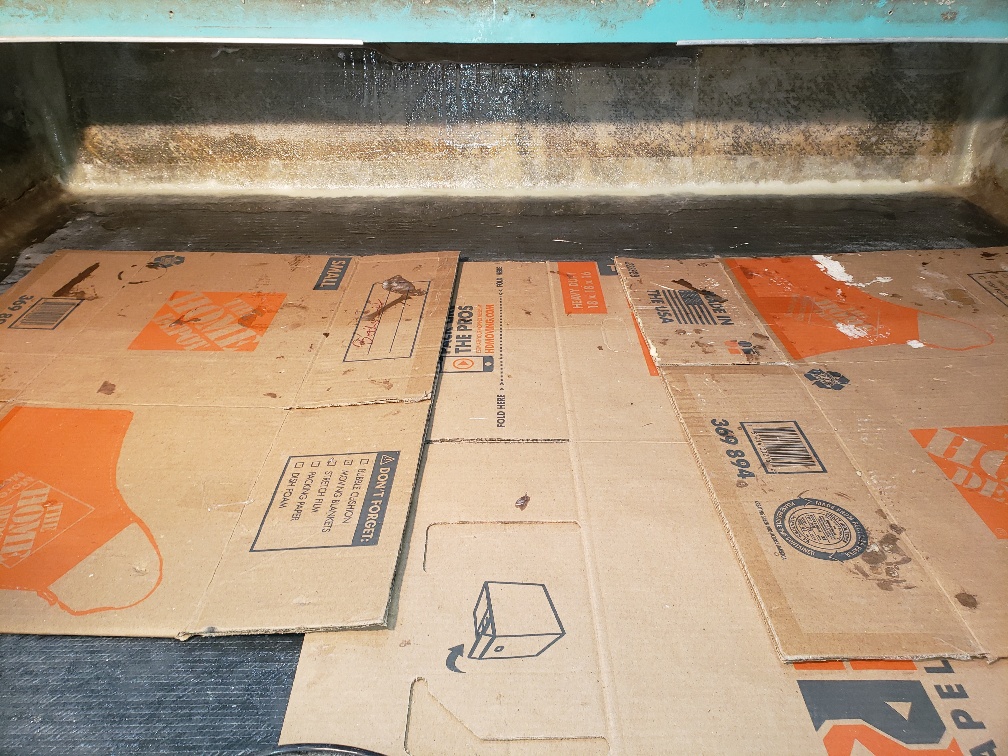
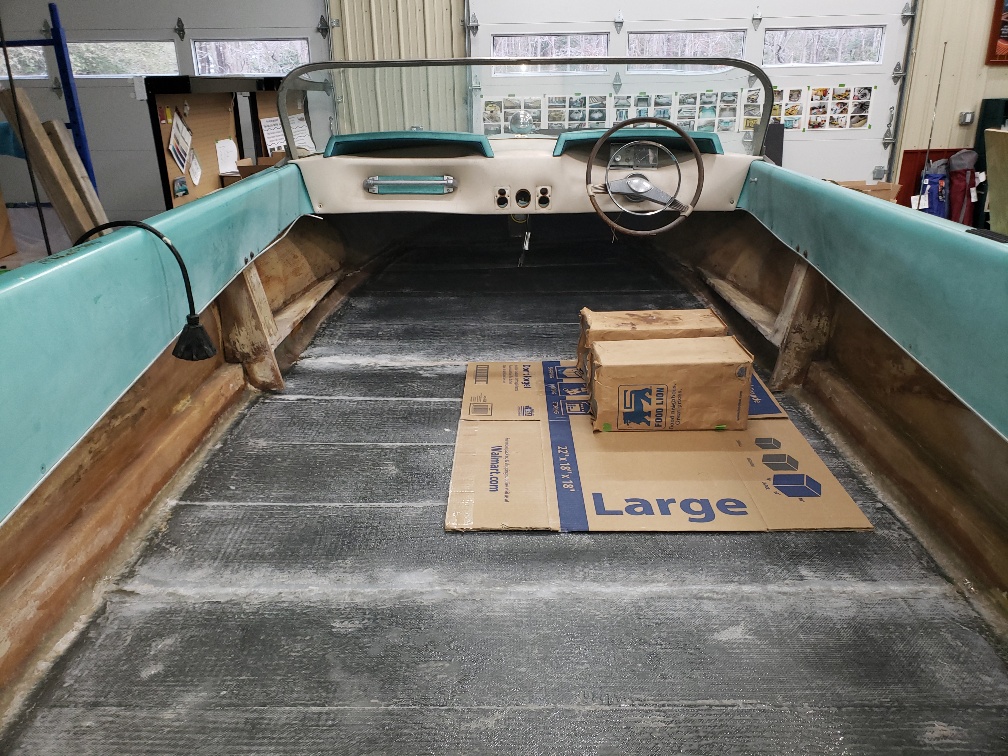
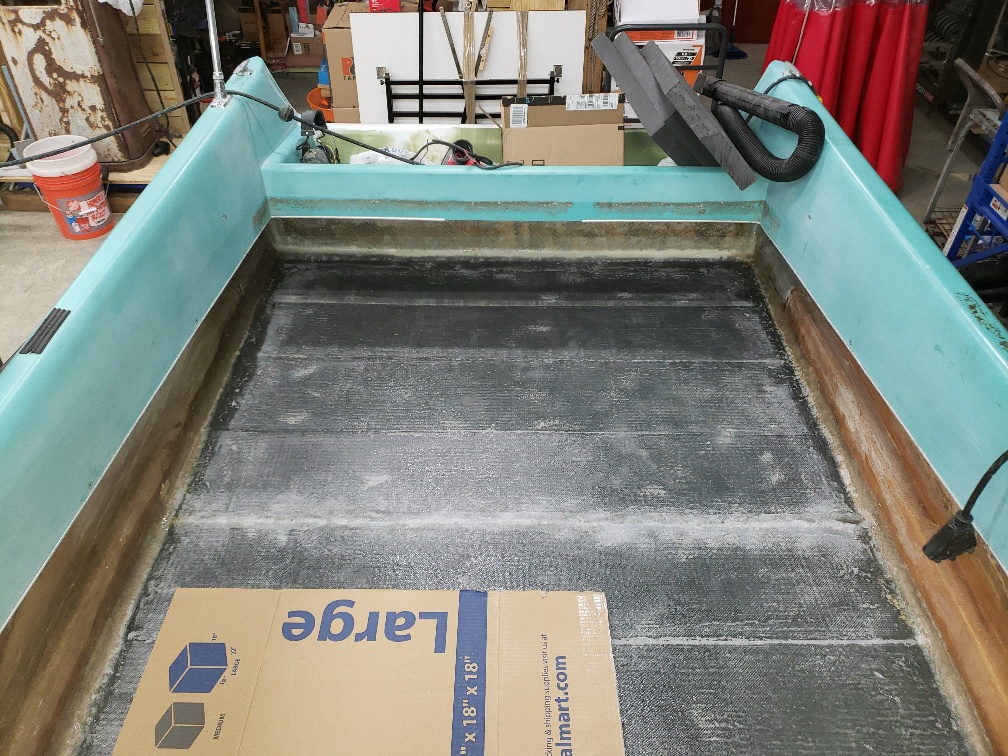
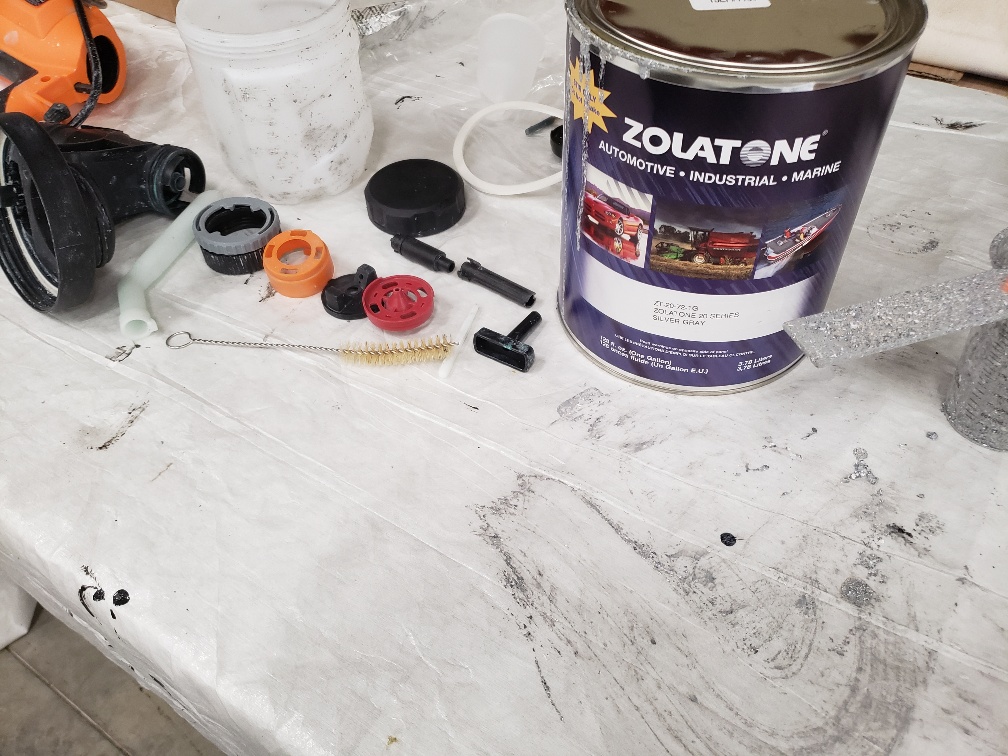
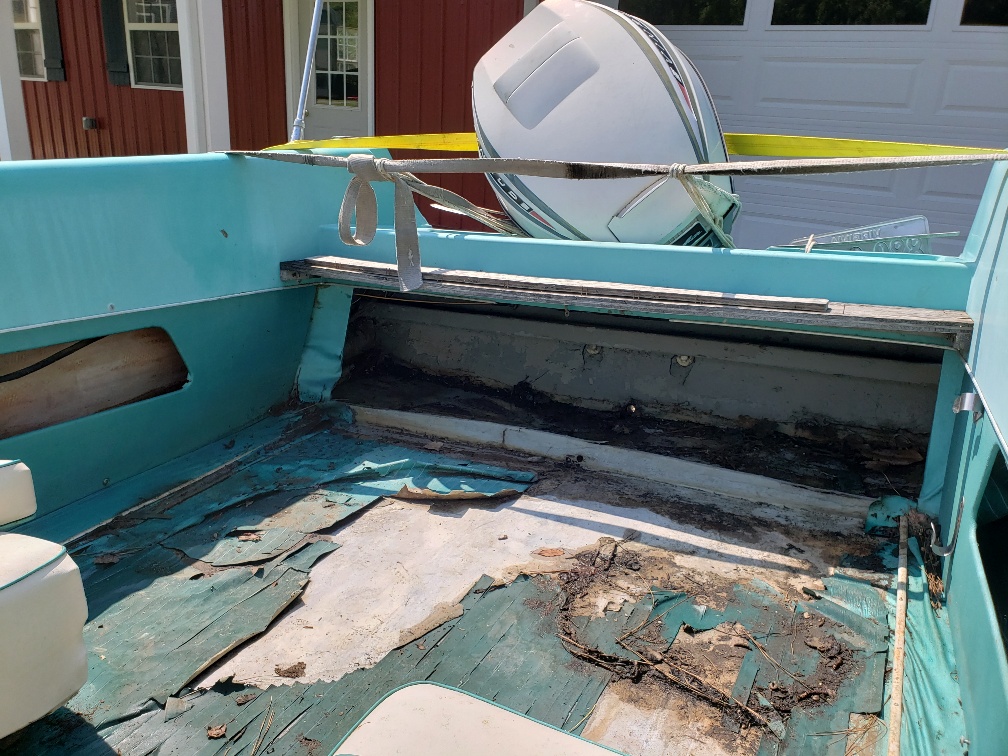
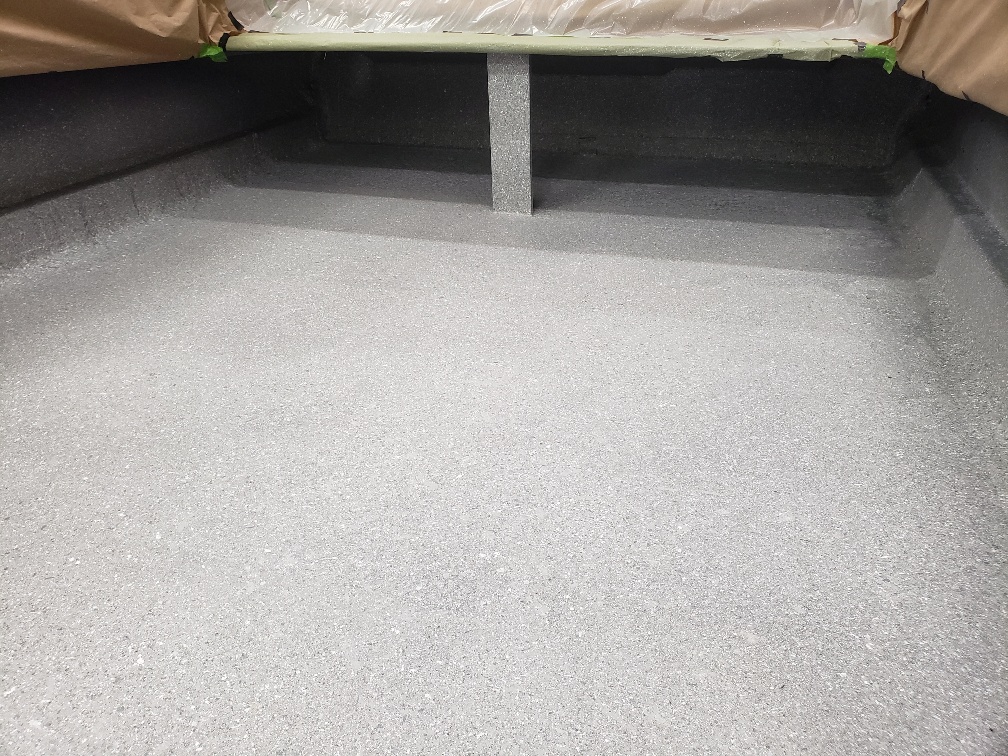
Zolatone arrived, a little on the pricey side but gives a great vintage OEM finish. Auto Body Toolmart is running a 15% off coupon this month. The original floor in this boat had gray primer and ribbed vinyl to match the interior per picture. The Zolatone should be easier to maintain and more durable.

After this has cured for a week, it will get a coat of 2K clear semi matte 368 0067 like I used on the Lake n' Sea interior

Happy Thanksgiving!
Attachments:

Please Log in or Create an account to join the conversation.

Time to create page: 0.436 seconds

Donate

Please consider supporting our efforts.

FG Login

Glassified Ads

1975 16ft Cobalt
( / Boats)

1975 16ft Cobalt
03-27-2024

Homelie/Bearcat
( / Engines)

noimage
03-17-2024

Thunderbird Apache 1956 hardtop
( / Boats)

noimage
03-10-2024

FiberGoogle

Who's Online

We have 9543 guests and one member online