The windshield on my Lake N Sea was beyond salvage-
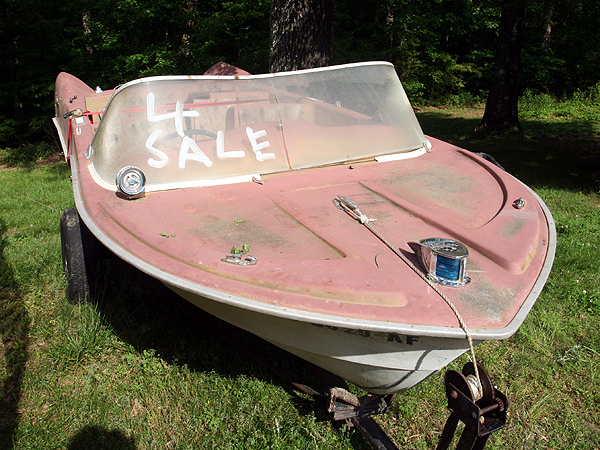
I looked for a replacement, without luck. So, I decided that I would have to make one.
The old one was acrylic- 1/4" thick. Making an acrylic windshield would require heat bending, and since I don't have access to an oven large enough to heat a part that large, and trying to do it with a heat gun would be tough. So, After doing some research, I decided to try to use Polycarbonate instead. Polycarbonate is stronger, and more flexible. With the extra strength, a thinner sheet can be used, which will conform to the curves better.
But first, I had to make a new frame. The frame is aluminum, and happens to be EXACTLY the same as a profile that you can get at almost any home improvement store. It is a "u" channel designed to put over the edge of a 1/4" sheet of plywood.
To bend it properly without it distorting and crushing, it has to be annealed first to soften it. Annealing requires heating it close to it's melting temperature, then allowing it to cool. I use a propane torch to anneal-
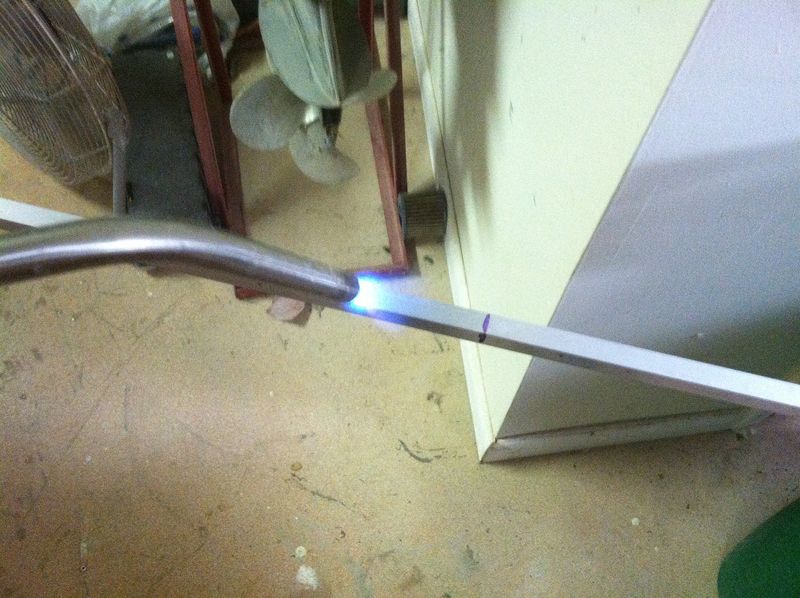
Keep the torch moving- It's tough to tell when aluminum is hot enough, it won't start glowing like steel does, it'll just melt. To tell if it's hot enough yet, I run a piece of scrap wood across it-
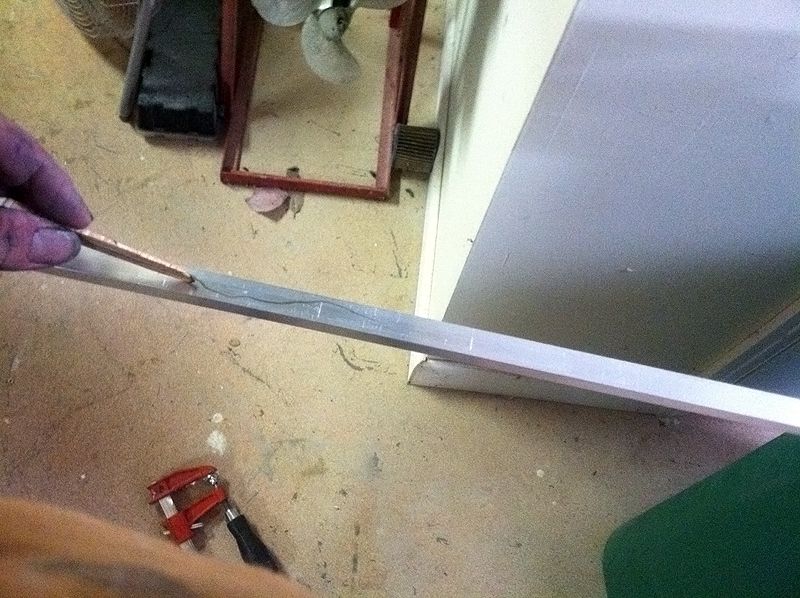
The wood should burn instantly, and leave a nice trail of carbon behind. This isn't an exact science- But it gives you a pretty good idea if the metal is hot enough. Once it is, you let it cool slowly. You don't need to anneal all the aluminum, only the area that you intend to bend.
I made a wooden buck that matches the curve on the old windshield frame, and will be using that to bend the new piece-
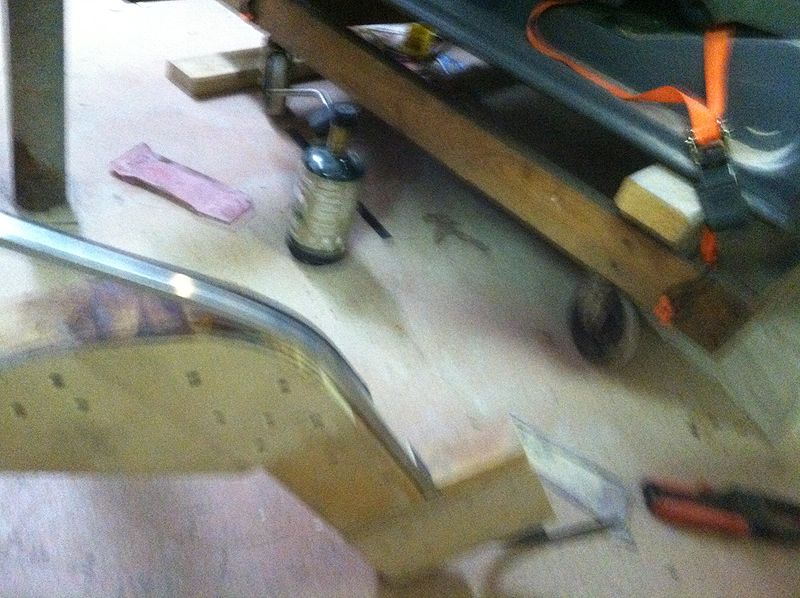
In order to keep the channel from collapsing when it is bend, I filled it with cardboard strips-
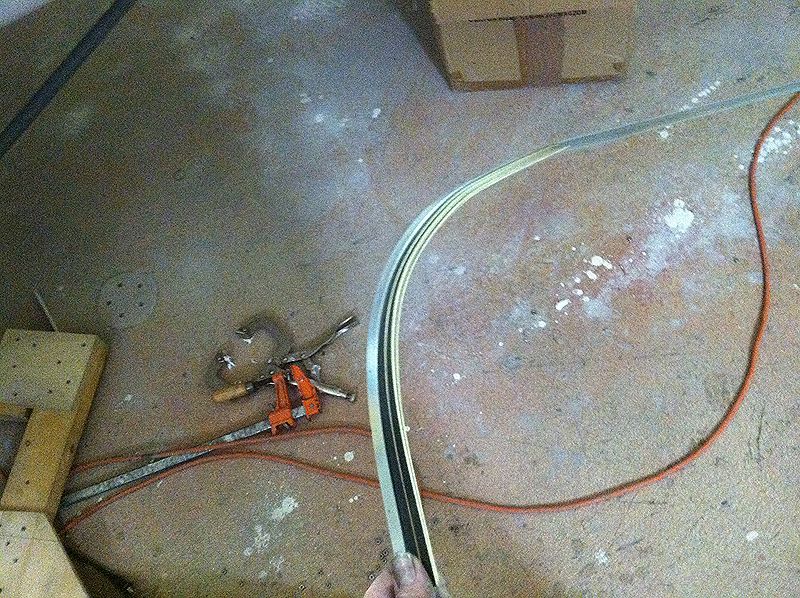
Once the bend is made, the same bend is made in the other side, and the cardboard removed. The result is a new frame that matches the curve on the old one exactly-
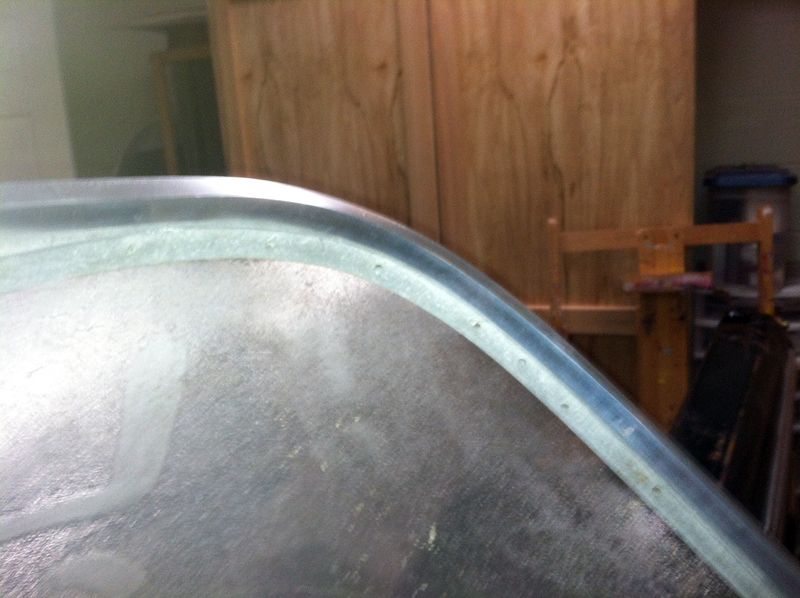
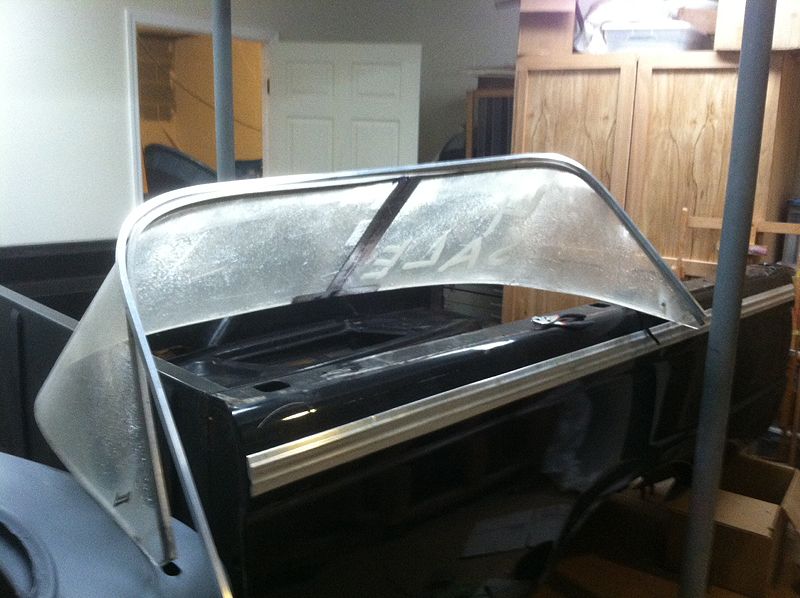
After a quick polish, the new frame is ready to go.
Now for some Polcarbonate...
I chose polycarbonate rather than acrylic because it's stronger, and easier to work cold. Acrylic (commonly called by the trade name Plexiglass) is pretty tough stuff, but Polycarbonate is something like 30 times stronger. The biggest advantage is that it bends easily without heating or cracking. If you doubt this, take a look at this-
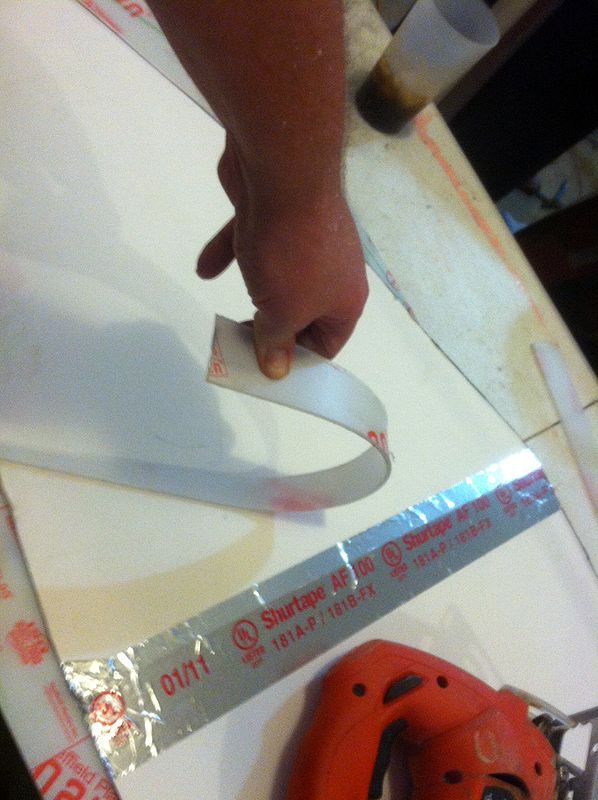
There are some drawbacks to using polycarbonate sheet, however. One disadvantage is that it is somewhat less UV resistant than acrylic, and tends to yellow a bit more over time. I'm not overly concerned about this, as I know my boat will be stored under cover or inside, so it'll last for decades. Polycarbonate isn't as optically clear as acrylic, but that is a non-issue with the thicknesses we're using here.
I used 1/8", because it seemed to be the ideal thickness in terms of the most flexibility with most strength. You COULD use much thinner- It's tough stuff- But it might not look 'right'. There is no need to use anything thicker, the 1/4" would be hard to bend!
The first thing to do is make a template. I had the old windshield to use. I made the template out of heavy mat board-
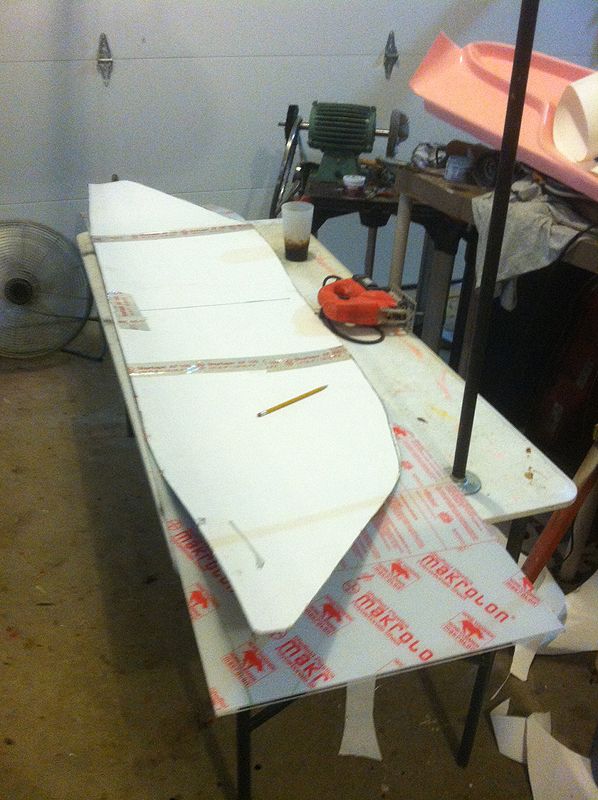
Once the pattern is transferred, I used a jigsaw to cut it out-
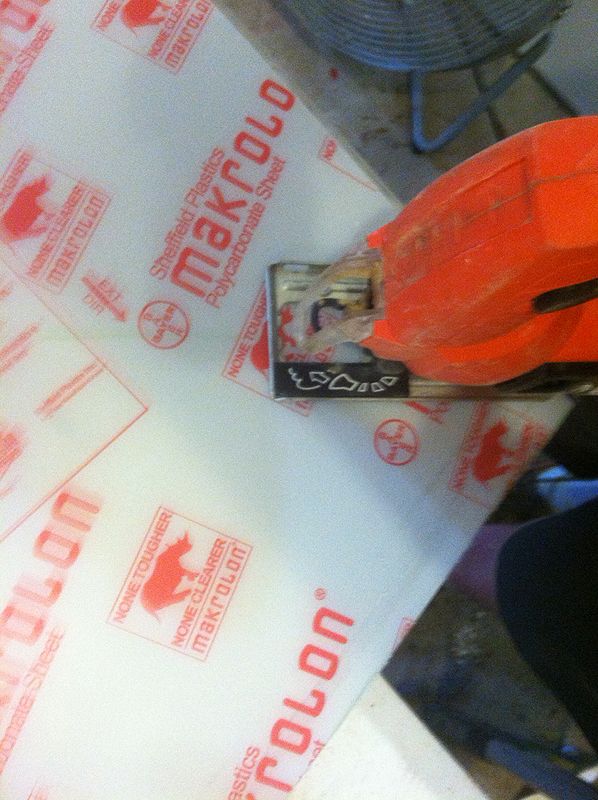
Polycarbonate is a LOT easier to work with than acrylic- As it is far less prone to cracking. I used a saw blade designed for thin metals, a 36 tooth Bosch blade. I've found in the past that it's worth paying for good blades!
This stuff cuts like butter- Just keep the work well supported, and keep the foot of the saw in constant contact with the material. I kept it right on the edge of my work table the whole time.
Before long, The cutting was done-
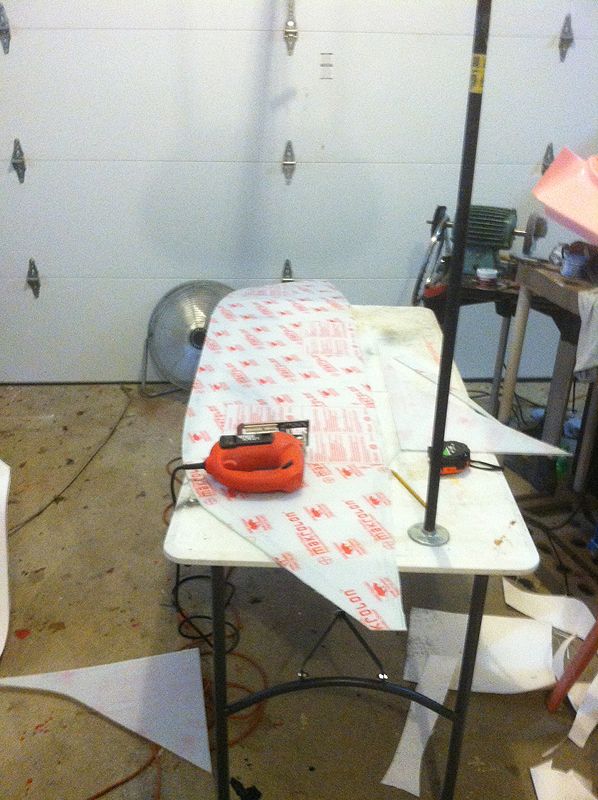
Then, Its a simple matter of slipping the acrylic into the frame- Easier said than done, of course, but not impossible. I found it easier to do this by placing the frame on a table, then 'dropping' the glazing into it, bending it as I went. It popped out a few times, but eventually I got it in-
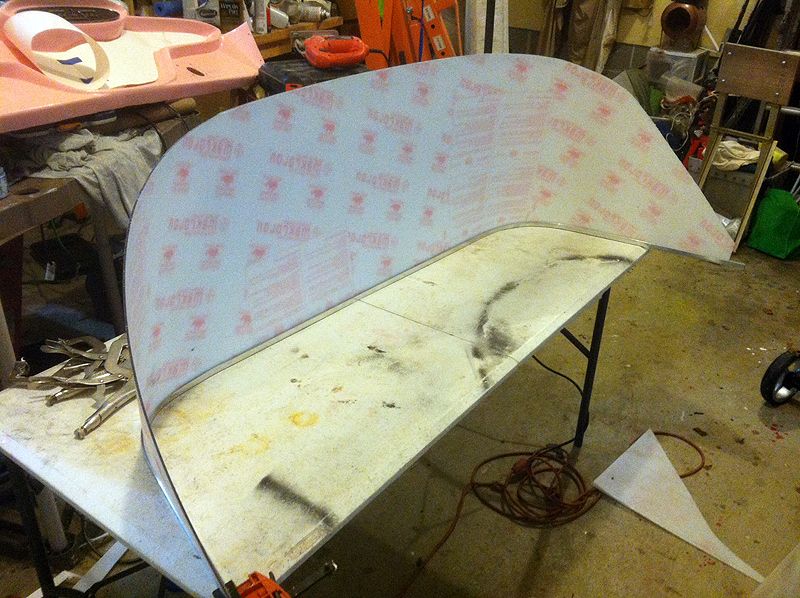
Looks pretty good so far-
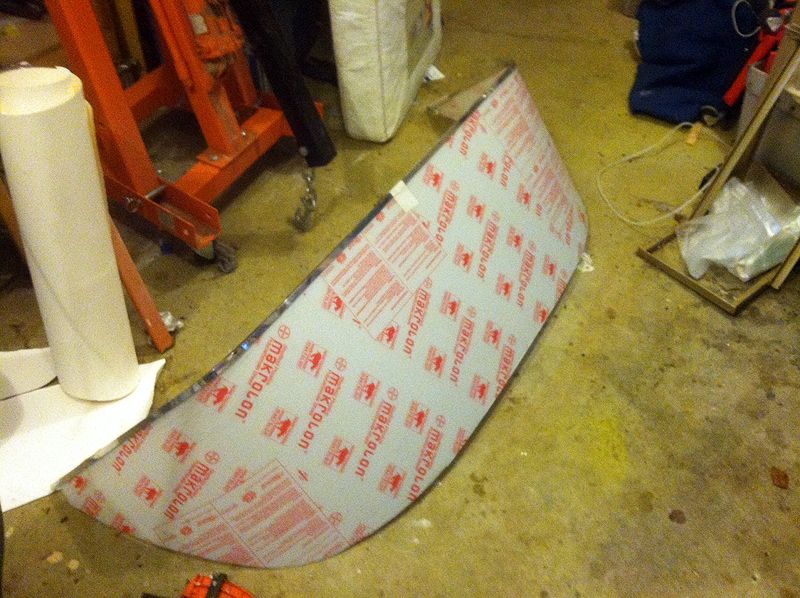
Now for the first test fit-
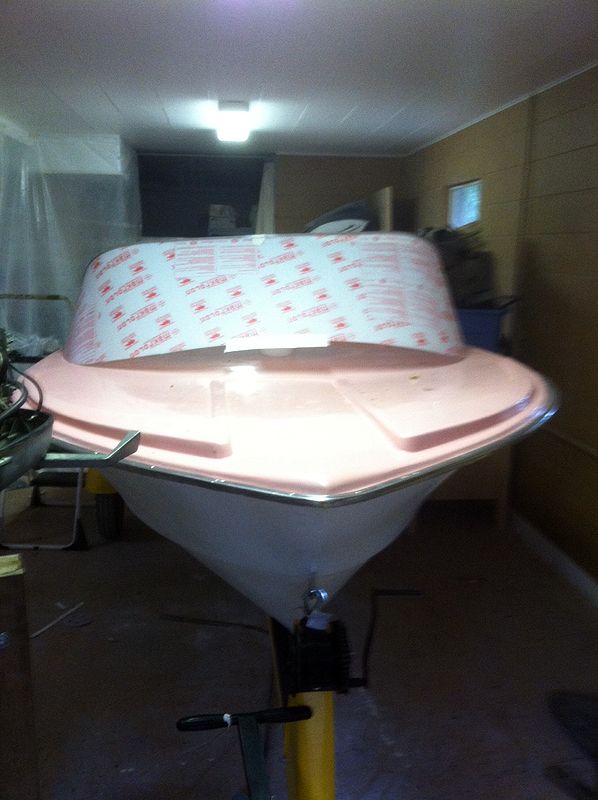
Perfect.
Of course, the bottom isn't where it's supposed to be- That is held in place by fittings (called external deck angles). It'll hold it down, and give it the final shape. But, it's not time for them quite yet- I still need to attach the frame to the glazing.
I'm using rivits to hold the frame to the windshield. Since the channel in the aluminum is 1/4", and the polycarbonate is 1/8", there is a gap- I cut strips of the polycarbonate to fit in between.
I slipped the strips in on the back of the windshield-
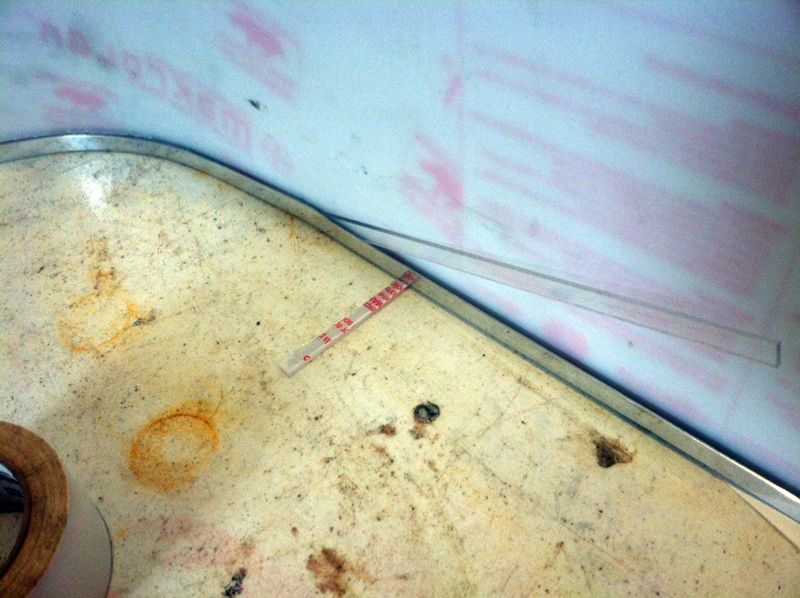
I found that if you push them towards the bends in the corner, they'll slide right in place, and kind of 'pinch' the windshield into place. If it's done right, there won't be a gap on the outside-
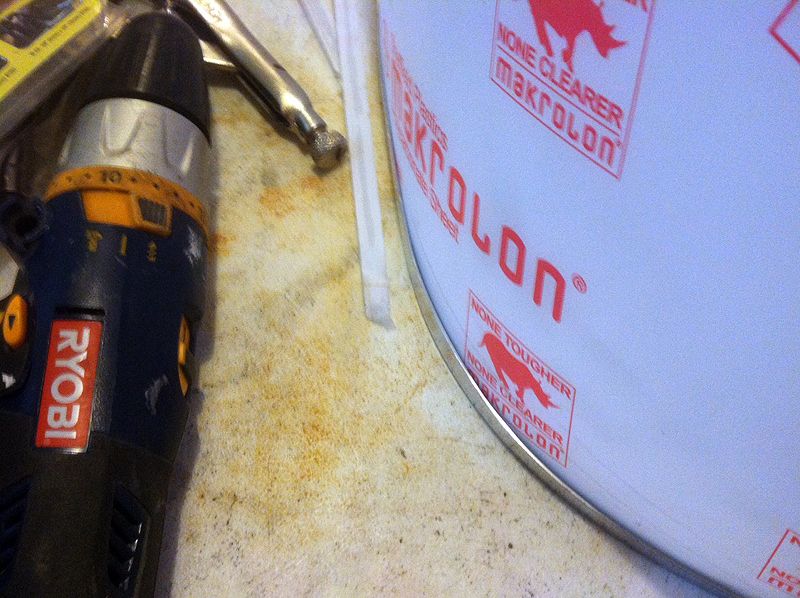
Once I had everything in place, and just where I wanted it, I held it all together with some duct tape, then riveted it together. I drilled a hole through the frame and windshield about every 9" or so, starting on the center and working outwards-
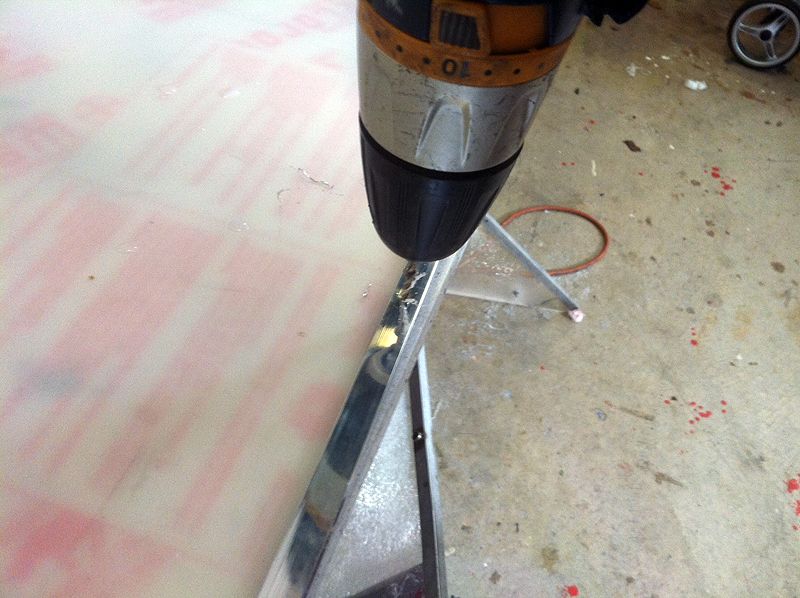
Then, I riveted everything together. To keep things 'in order', I riveted as I went, rather than drilling all the holes and going back later with rivits-
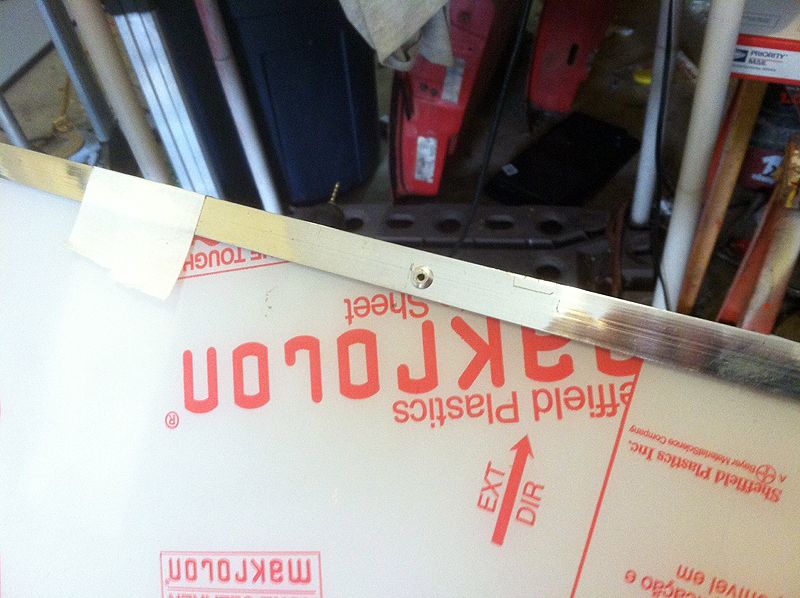
After I got the frame attached, I did a test fit, trimmed it a bit, and checked it again-
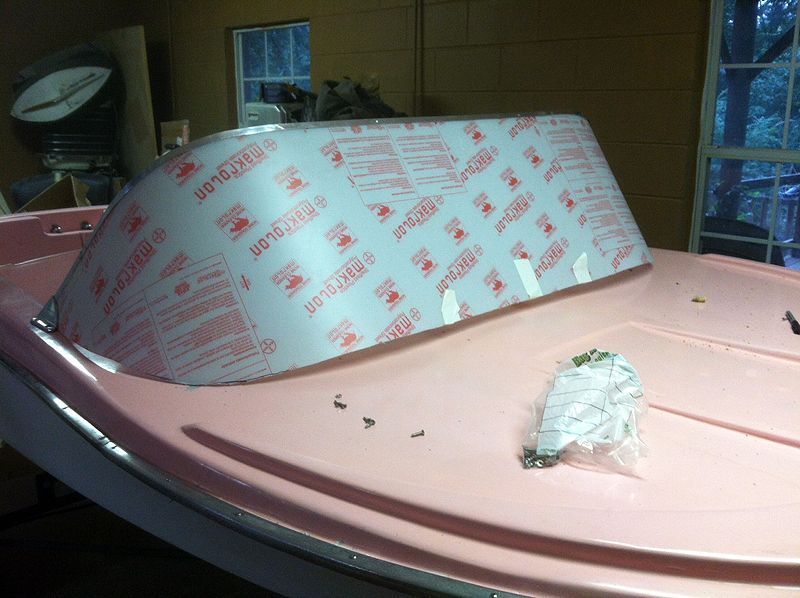
It's CLOSE. I still need to take a bit off the bottom of the corners, But I'm going to wait until I get my trim to check it for sure.
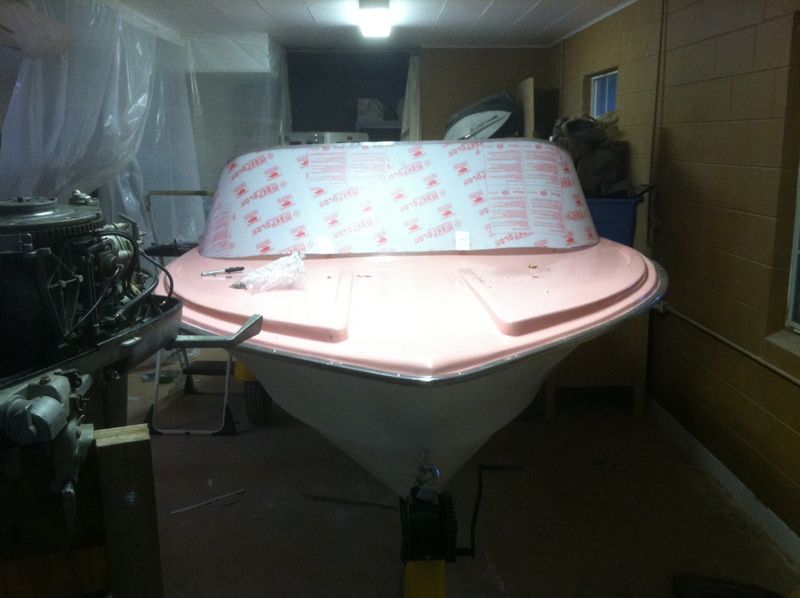
It looks a lot better already- Makes it look like a real boat ![]()
MarkS wrote:
Did you use a special drill bit for the holes in the polycarb'?
Nothing special- Just a nice sharp one. I used a DeWalt bit that has a different sort of head on it- And it went very smoothly. The key is to go slow- drilling, cutting, whatever you're doing. Polycarbonate is some REALLY tough stuff, though. You certainly don't need to baby it!
Andrew, Thank you for the lesson, never too old to learn something new. Now I won't be scared away from a project because of a cracked/broken windshield.
Cal
Thanks, Looks like the bottom gasket material is in now, I'll be picking it up tomorrow, then hopefully finishing up the install this weekend.
I've passed up some nice boats because the windshields were missing!!
I got the bottom rubber- And did the final trimming on the corners... Here's how it looks with the brackets installed-
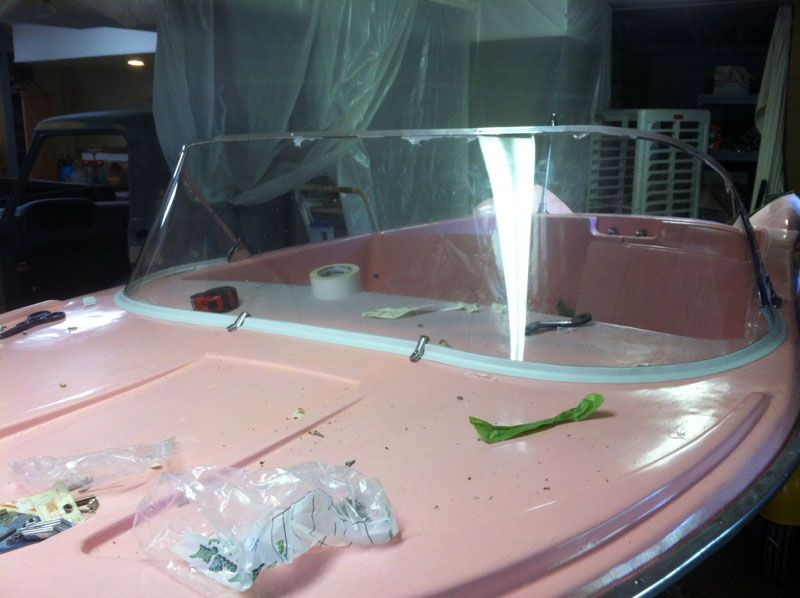
Not 100% perfect, But I'm probably the only one who'll ever see the 'mistakes' ![]()
I'll get some measurements of my templates, so if you are missing the entire thing, you'll be able to replicate it. I'm happy with how it turned out- Sure beats what I had!!
-Andrew
The gasket material is not too hard to come by- I got mine on E-Bay, But a number of the marine supply places online stock it. It's still being made as far as I know.
The brackets are another story- They are Taylor 1623. Not made any more, and getting hard to find! I bought up a small stash of them, but don't have a lot left. I've got a set of them on E-Bay at the moment. Most suppliers seem to be out of them. I wish I'd have ordered more when I had the chance!
Hi Leo,
Gasket material: www.amazon.com/DECK-CHANNEL-WHITE-VINYL-inches/dp/B000XBBCXK/ref=pd_luc_gc_rec_01_01_t_lh
Taylor also has a "hidden" hold down, (not near as cool as what Andrew is using) I am not sure if they are still in production, but readily available... they attach on the aft side of the windshield, so you only see the screw heads from the deck of the boat. I've used these on several windshields:
www.amazon.com/gp/product/B0000AZ7RC/ref=ox_sc_act_title_1?ie=UTF8&smid=A1Z3V83M819OQA
Dean
Full message thread here:
http://www.fiberglassics.com/glassic-forums/home/member-projects/new-windshield
Written by Andrew Gott (Andgott)
Edited by Dave Albertson (cc1000)
{mos_fb_discuss:2}


