|
Welcome,
Guest
|
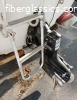
TOPIC: Speed Queen Restoration
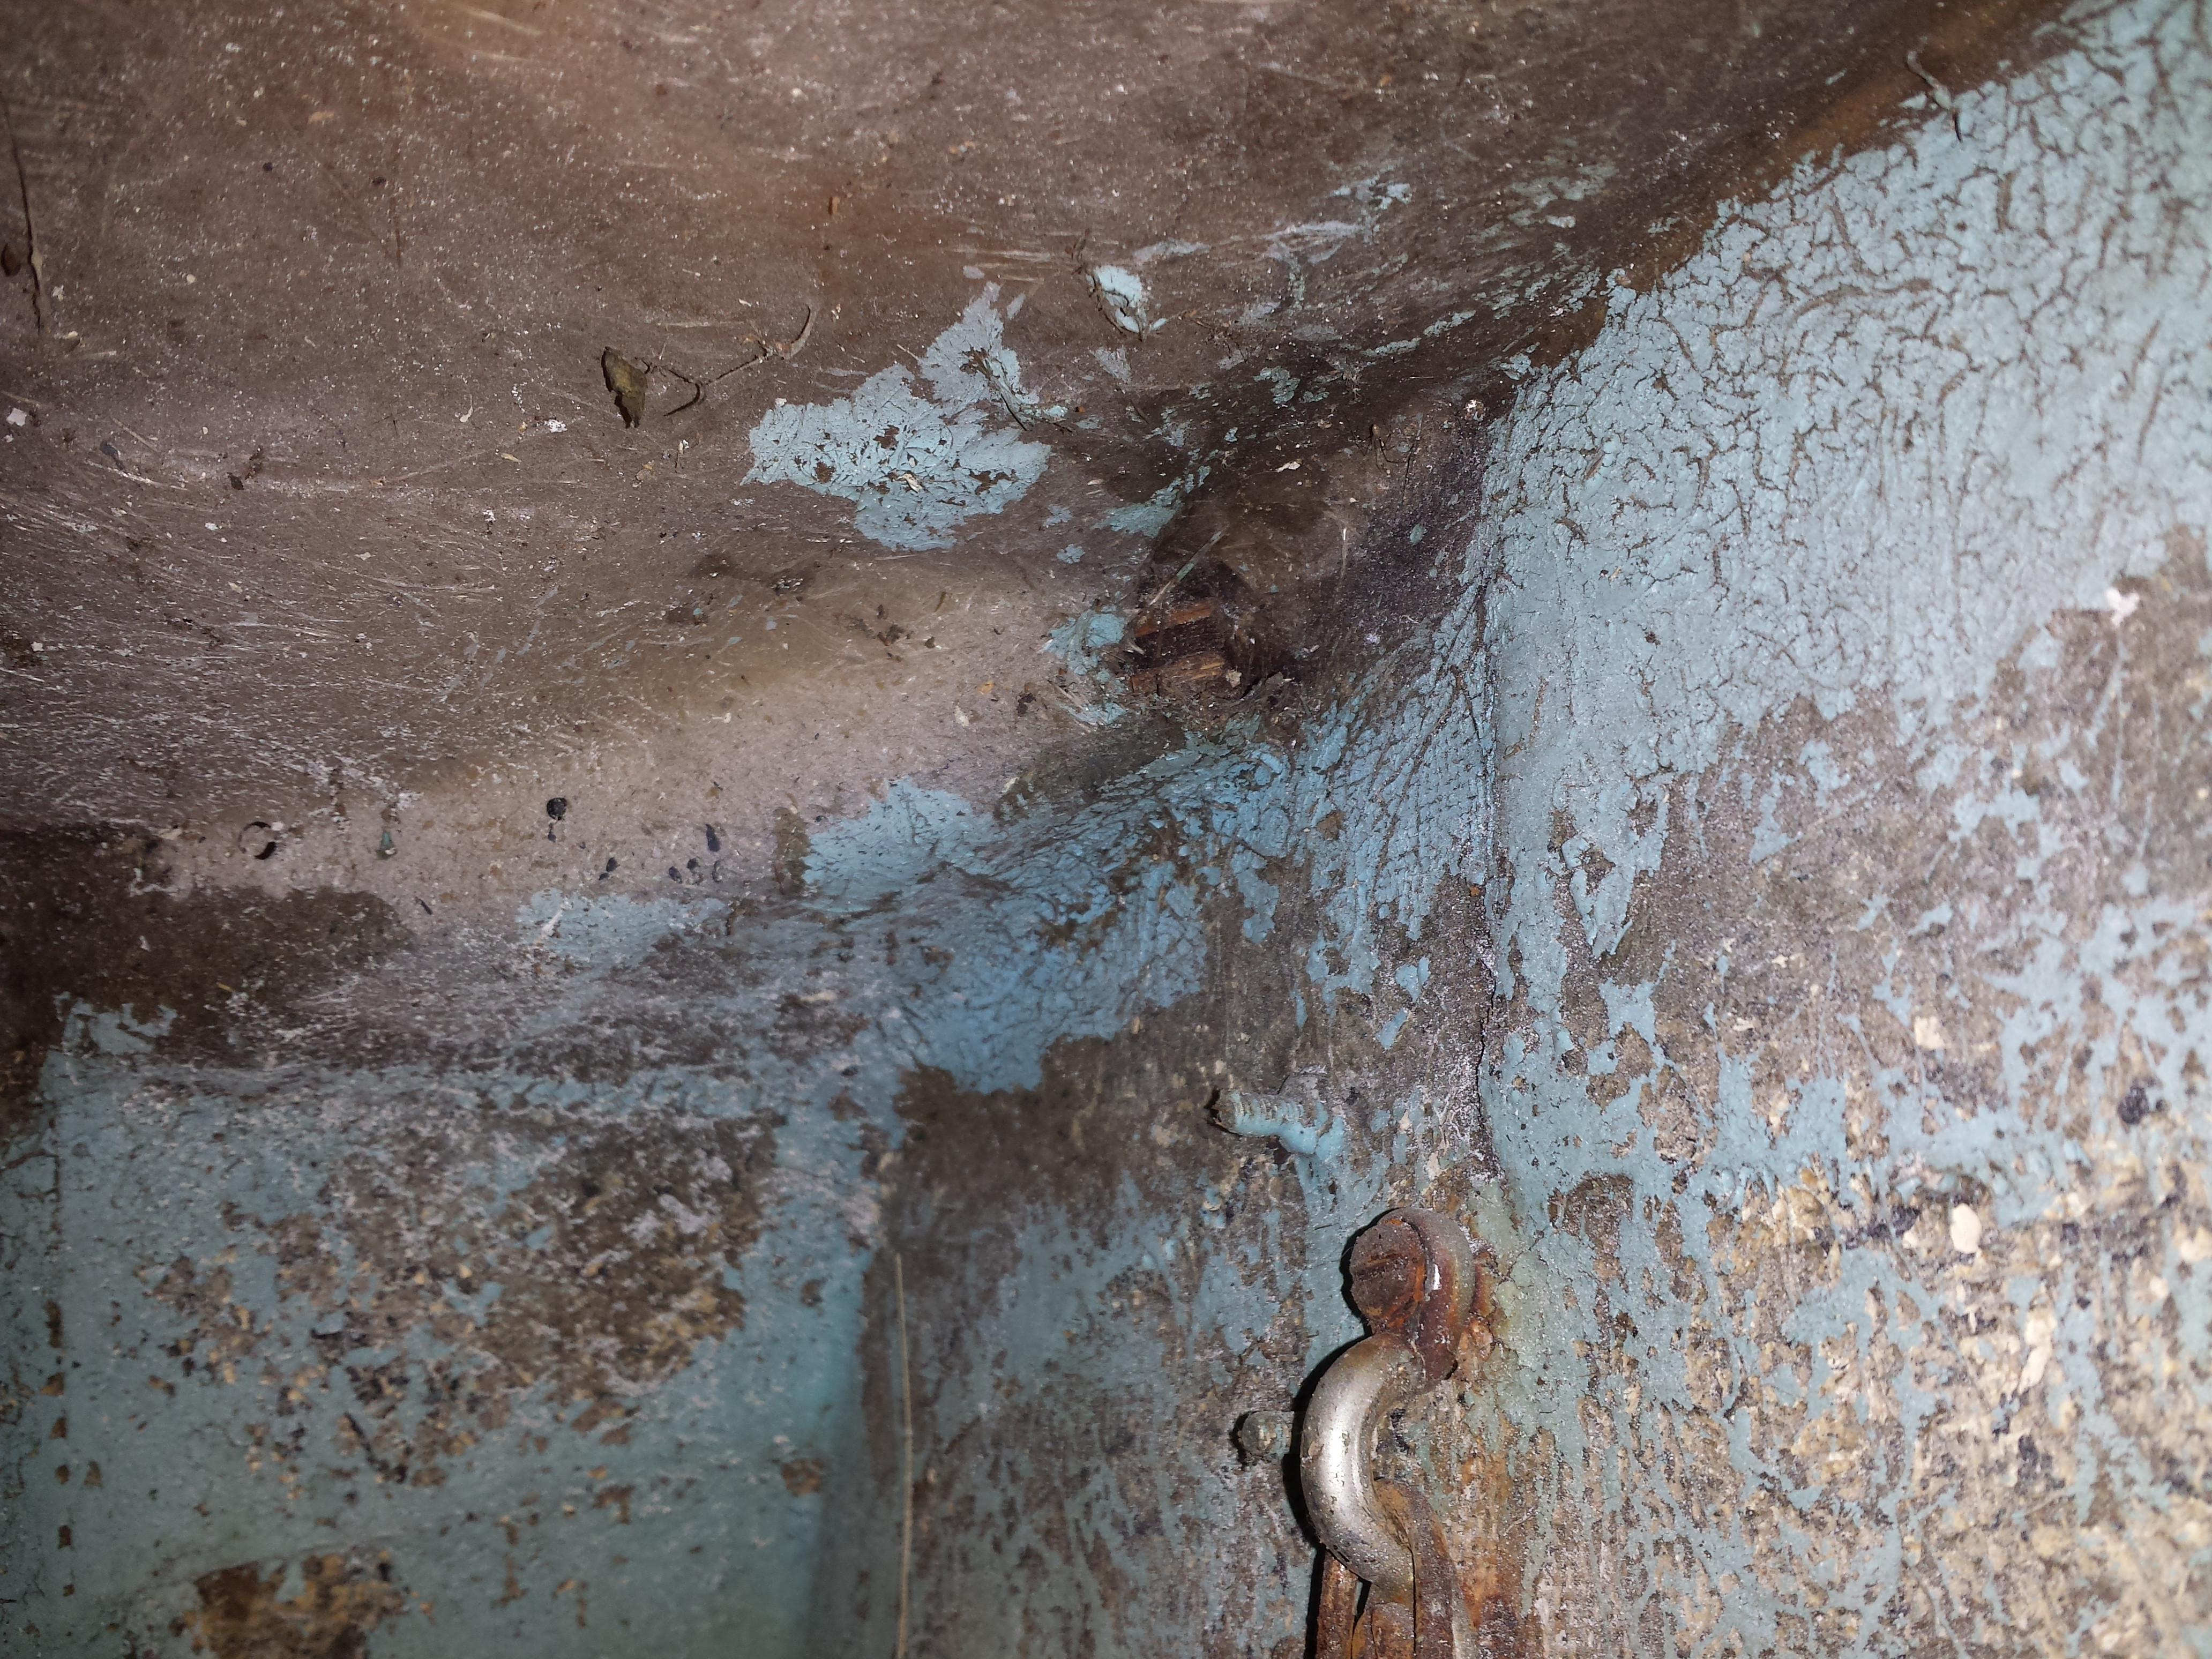
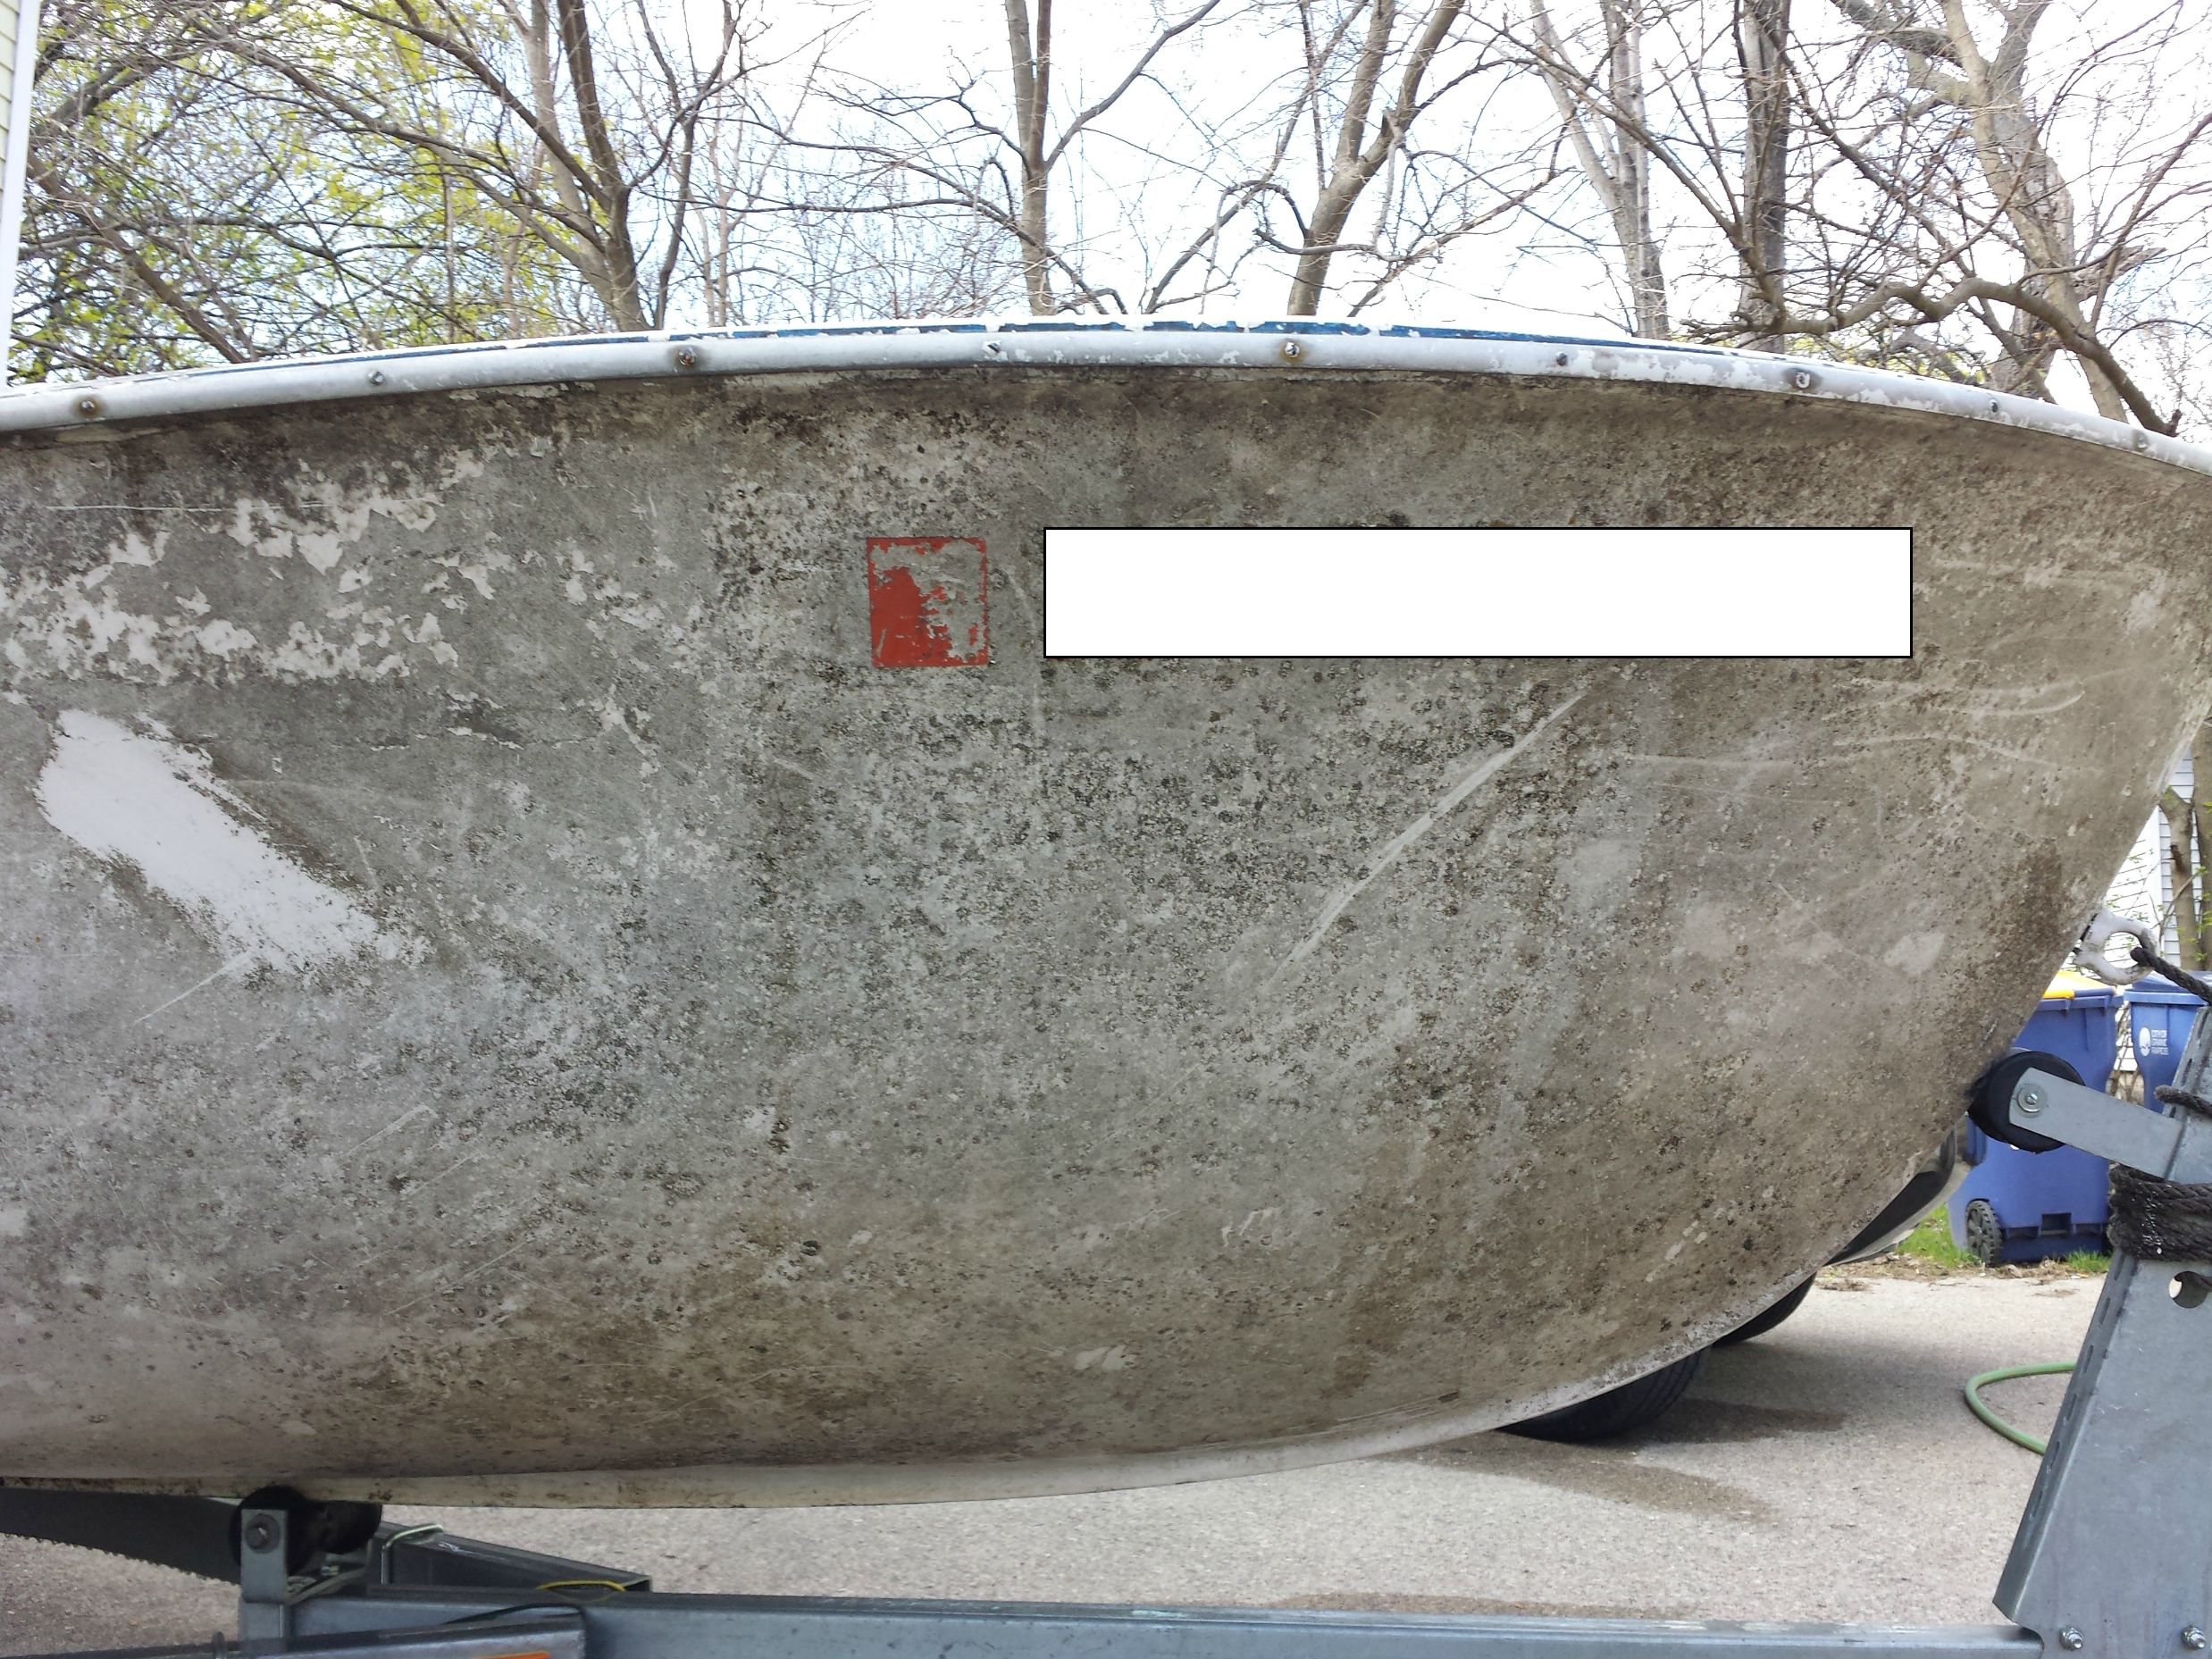
Speed Queen Restoration 9 years 5 days ago #108420
|
Please Log in or Create an account to join the conversation.
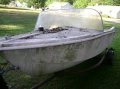
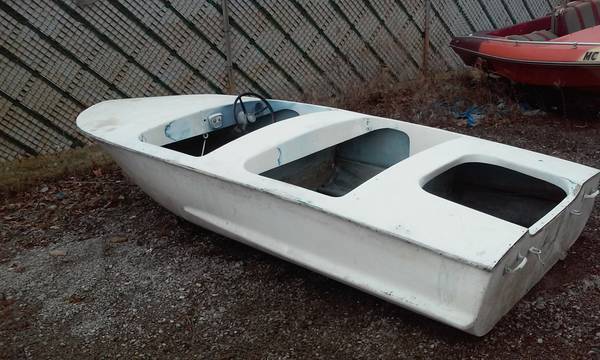
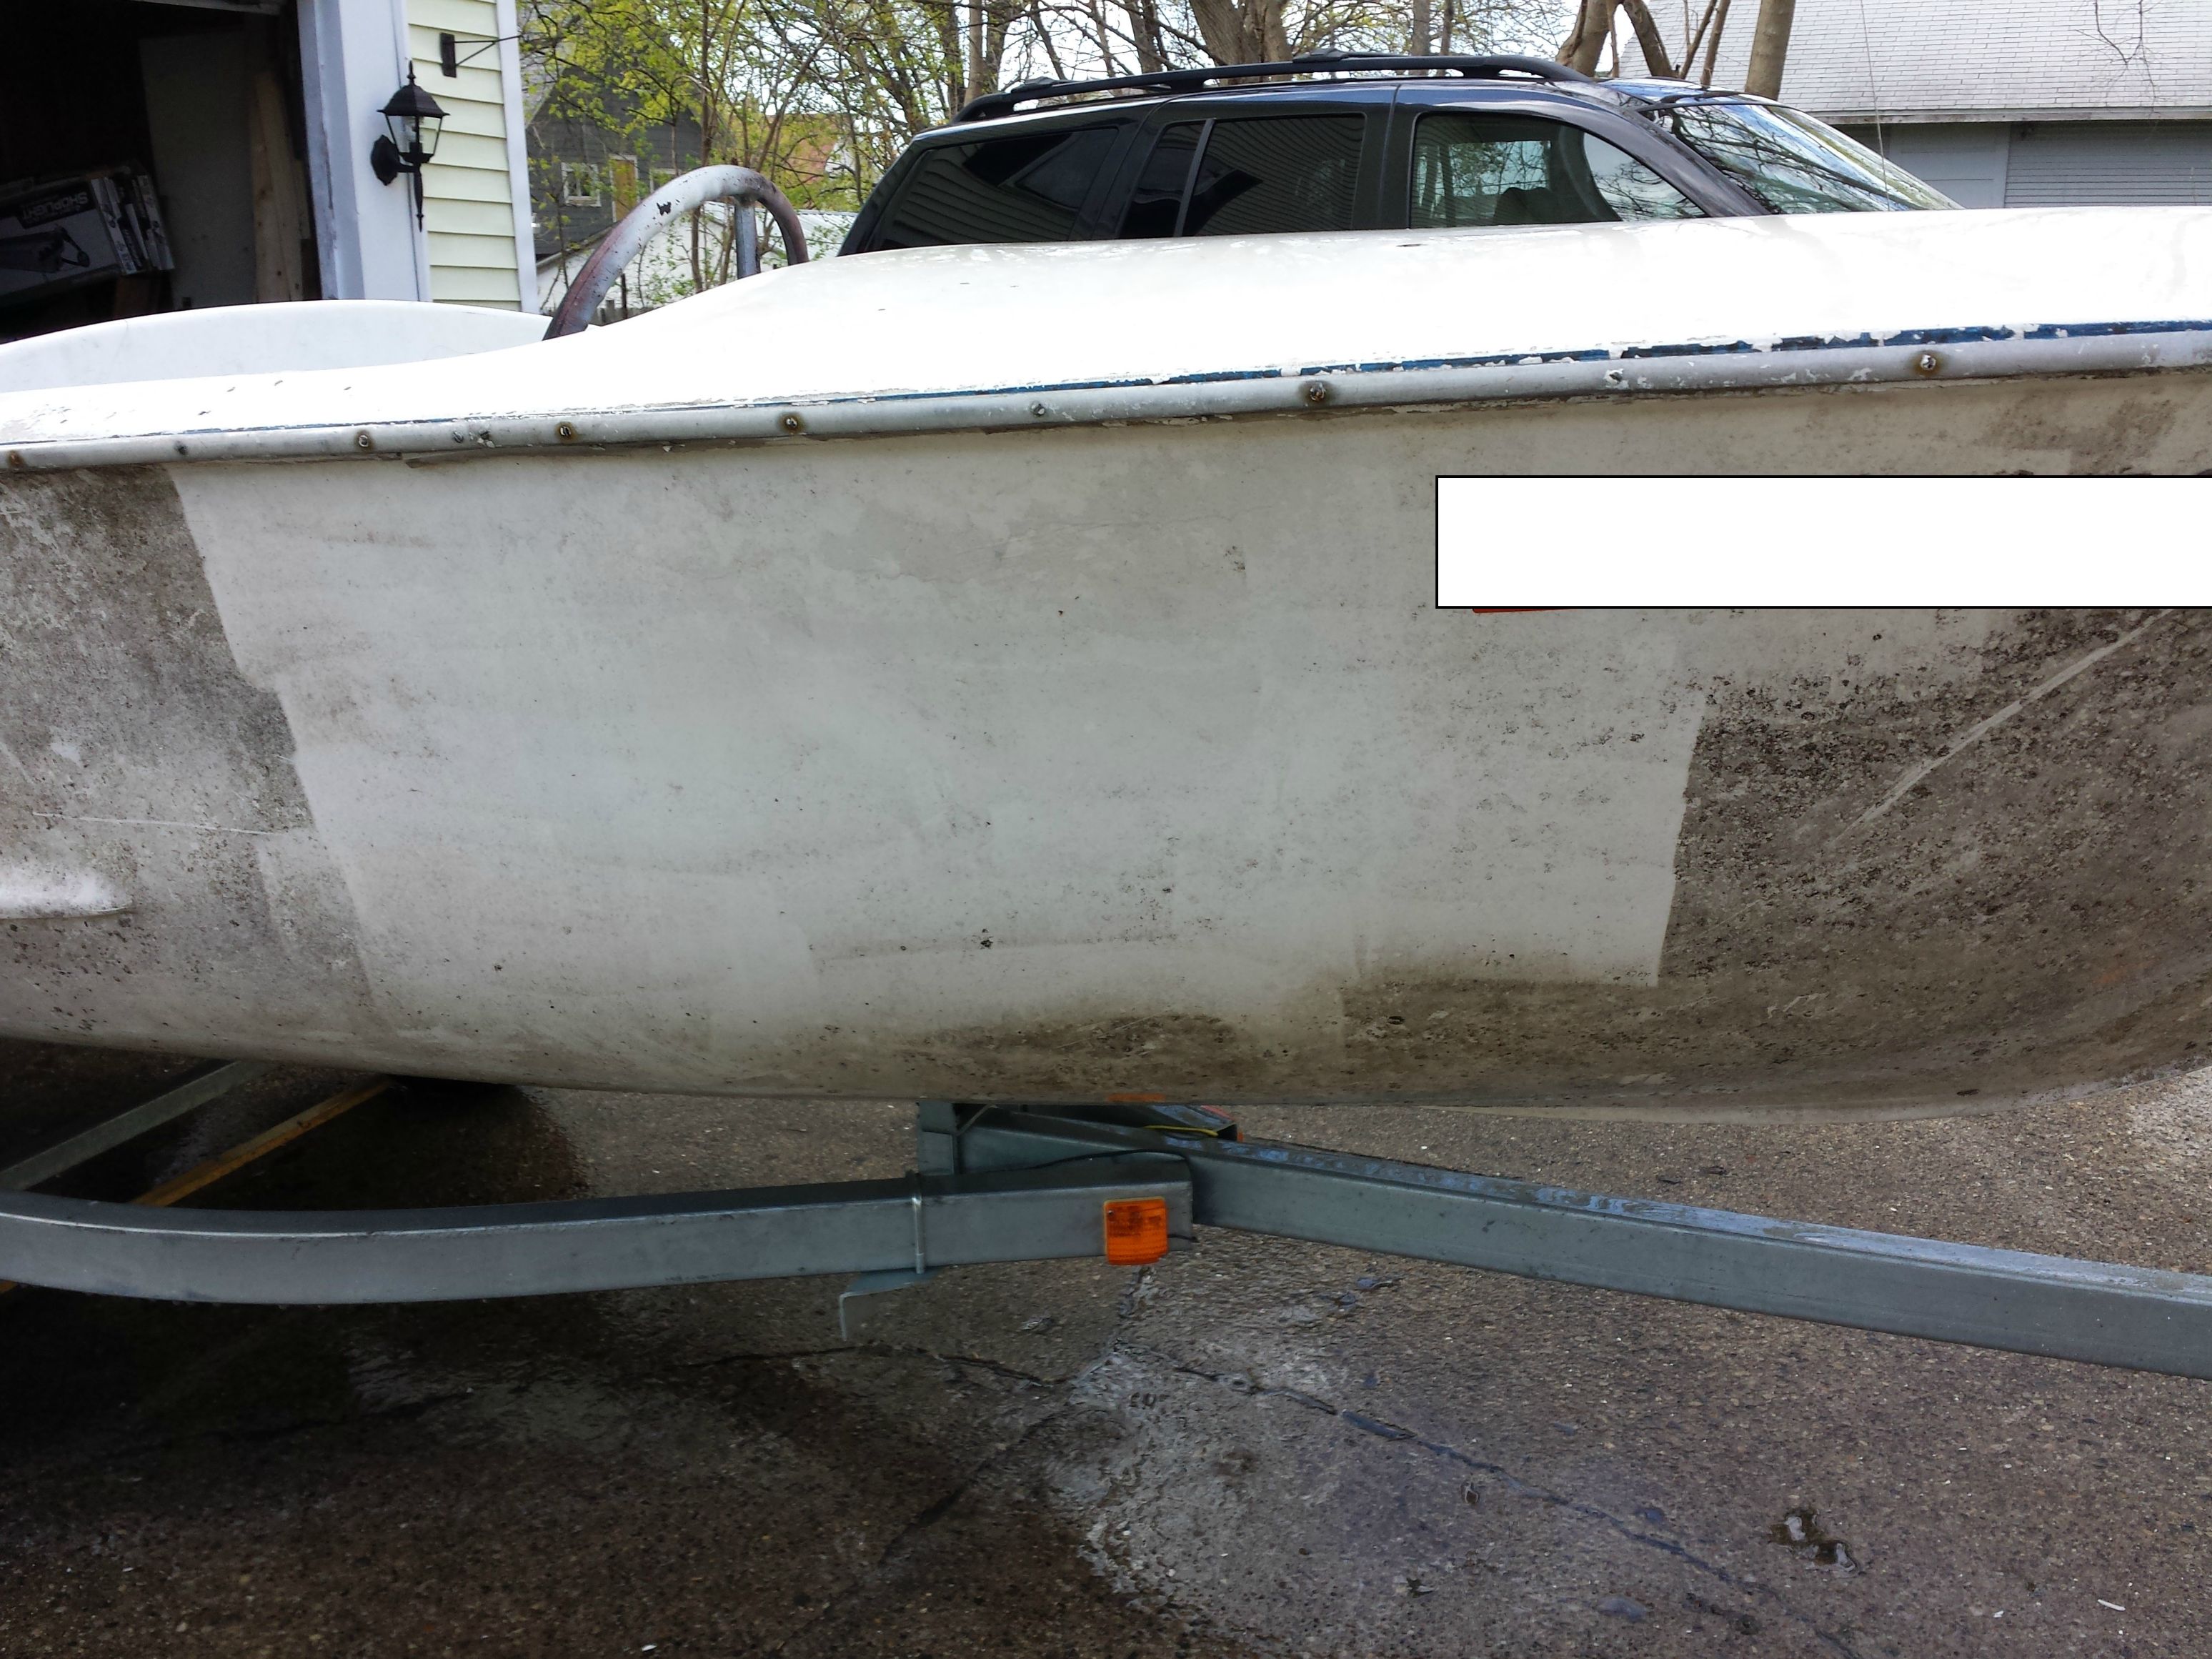
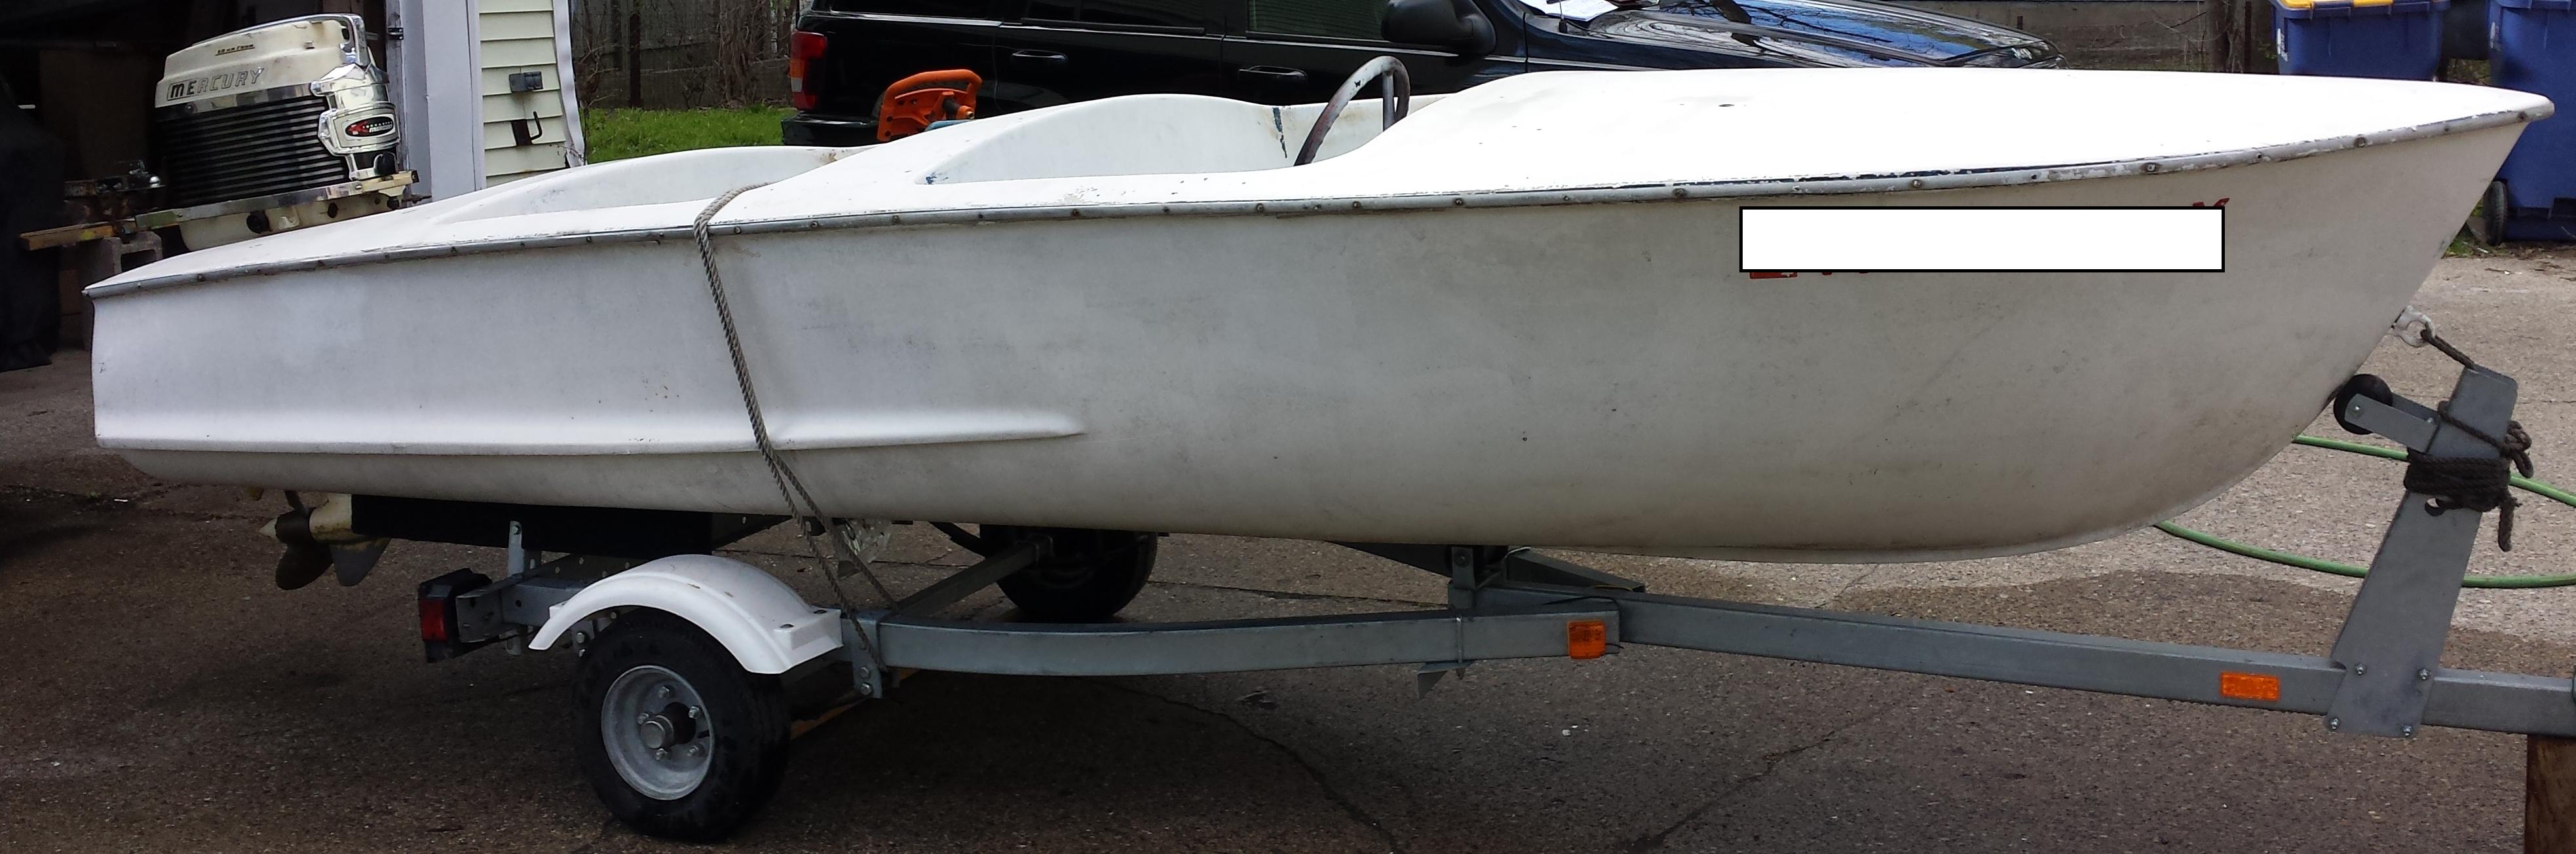
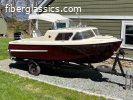
1960 14' Speed Queen
1972 10' Tri-Cat 3 [Building] 10' Glen-L Squirt |
Re:Sea Queen Restoration 9 years 4 days ago #108439
|
Please Log in or Create an account to join the conversation.
Mark
|
Re:Sea Queen Restoration 9 years 4 days ago #108450
|
Please Log in or Create an account to join the conversation. |
Re:Speed Queen Restoration 9 years 4 days ago #108451
|
Please Log in or Create an account to join the conversation.
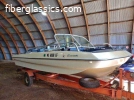
1960 14' Speed Queen
1972 10' Tri-Cat 3 [Building] 10' Glen-L Squirt |
Re:Speed Queen Restoration 9 years 4 days ago #108455
|
Please Log in or Create an account to join the conversation.
Mark
|
Re:Speed Queen Restoration 9 years 4 days ago #108463
|
Please Log in or Create an account to join the conversation.
1960 14' Speed Queen
1972 10' Tri-Cat 3 [Building] 10' Glen-L Squirt |
Re:Speed Queen Restoration 9 years 4 days ago #108465
|
Please Log in or Create an account to join the conversation.
1967 Crownline-for the river
1960 Whitehouse-for the lake 1963 Starcraft-for fishing |

Re:Speed Queen Restoration 9 years 4 days ago #108473
|
Please Log in or Create an account to join the conversation.
1960 14' Speed Queen
1972 10' Tri-Cat 3 [Building] 10' Glen-L Squirt |
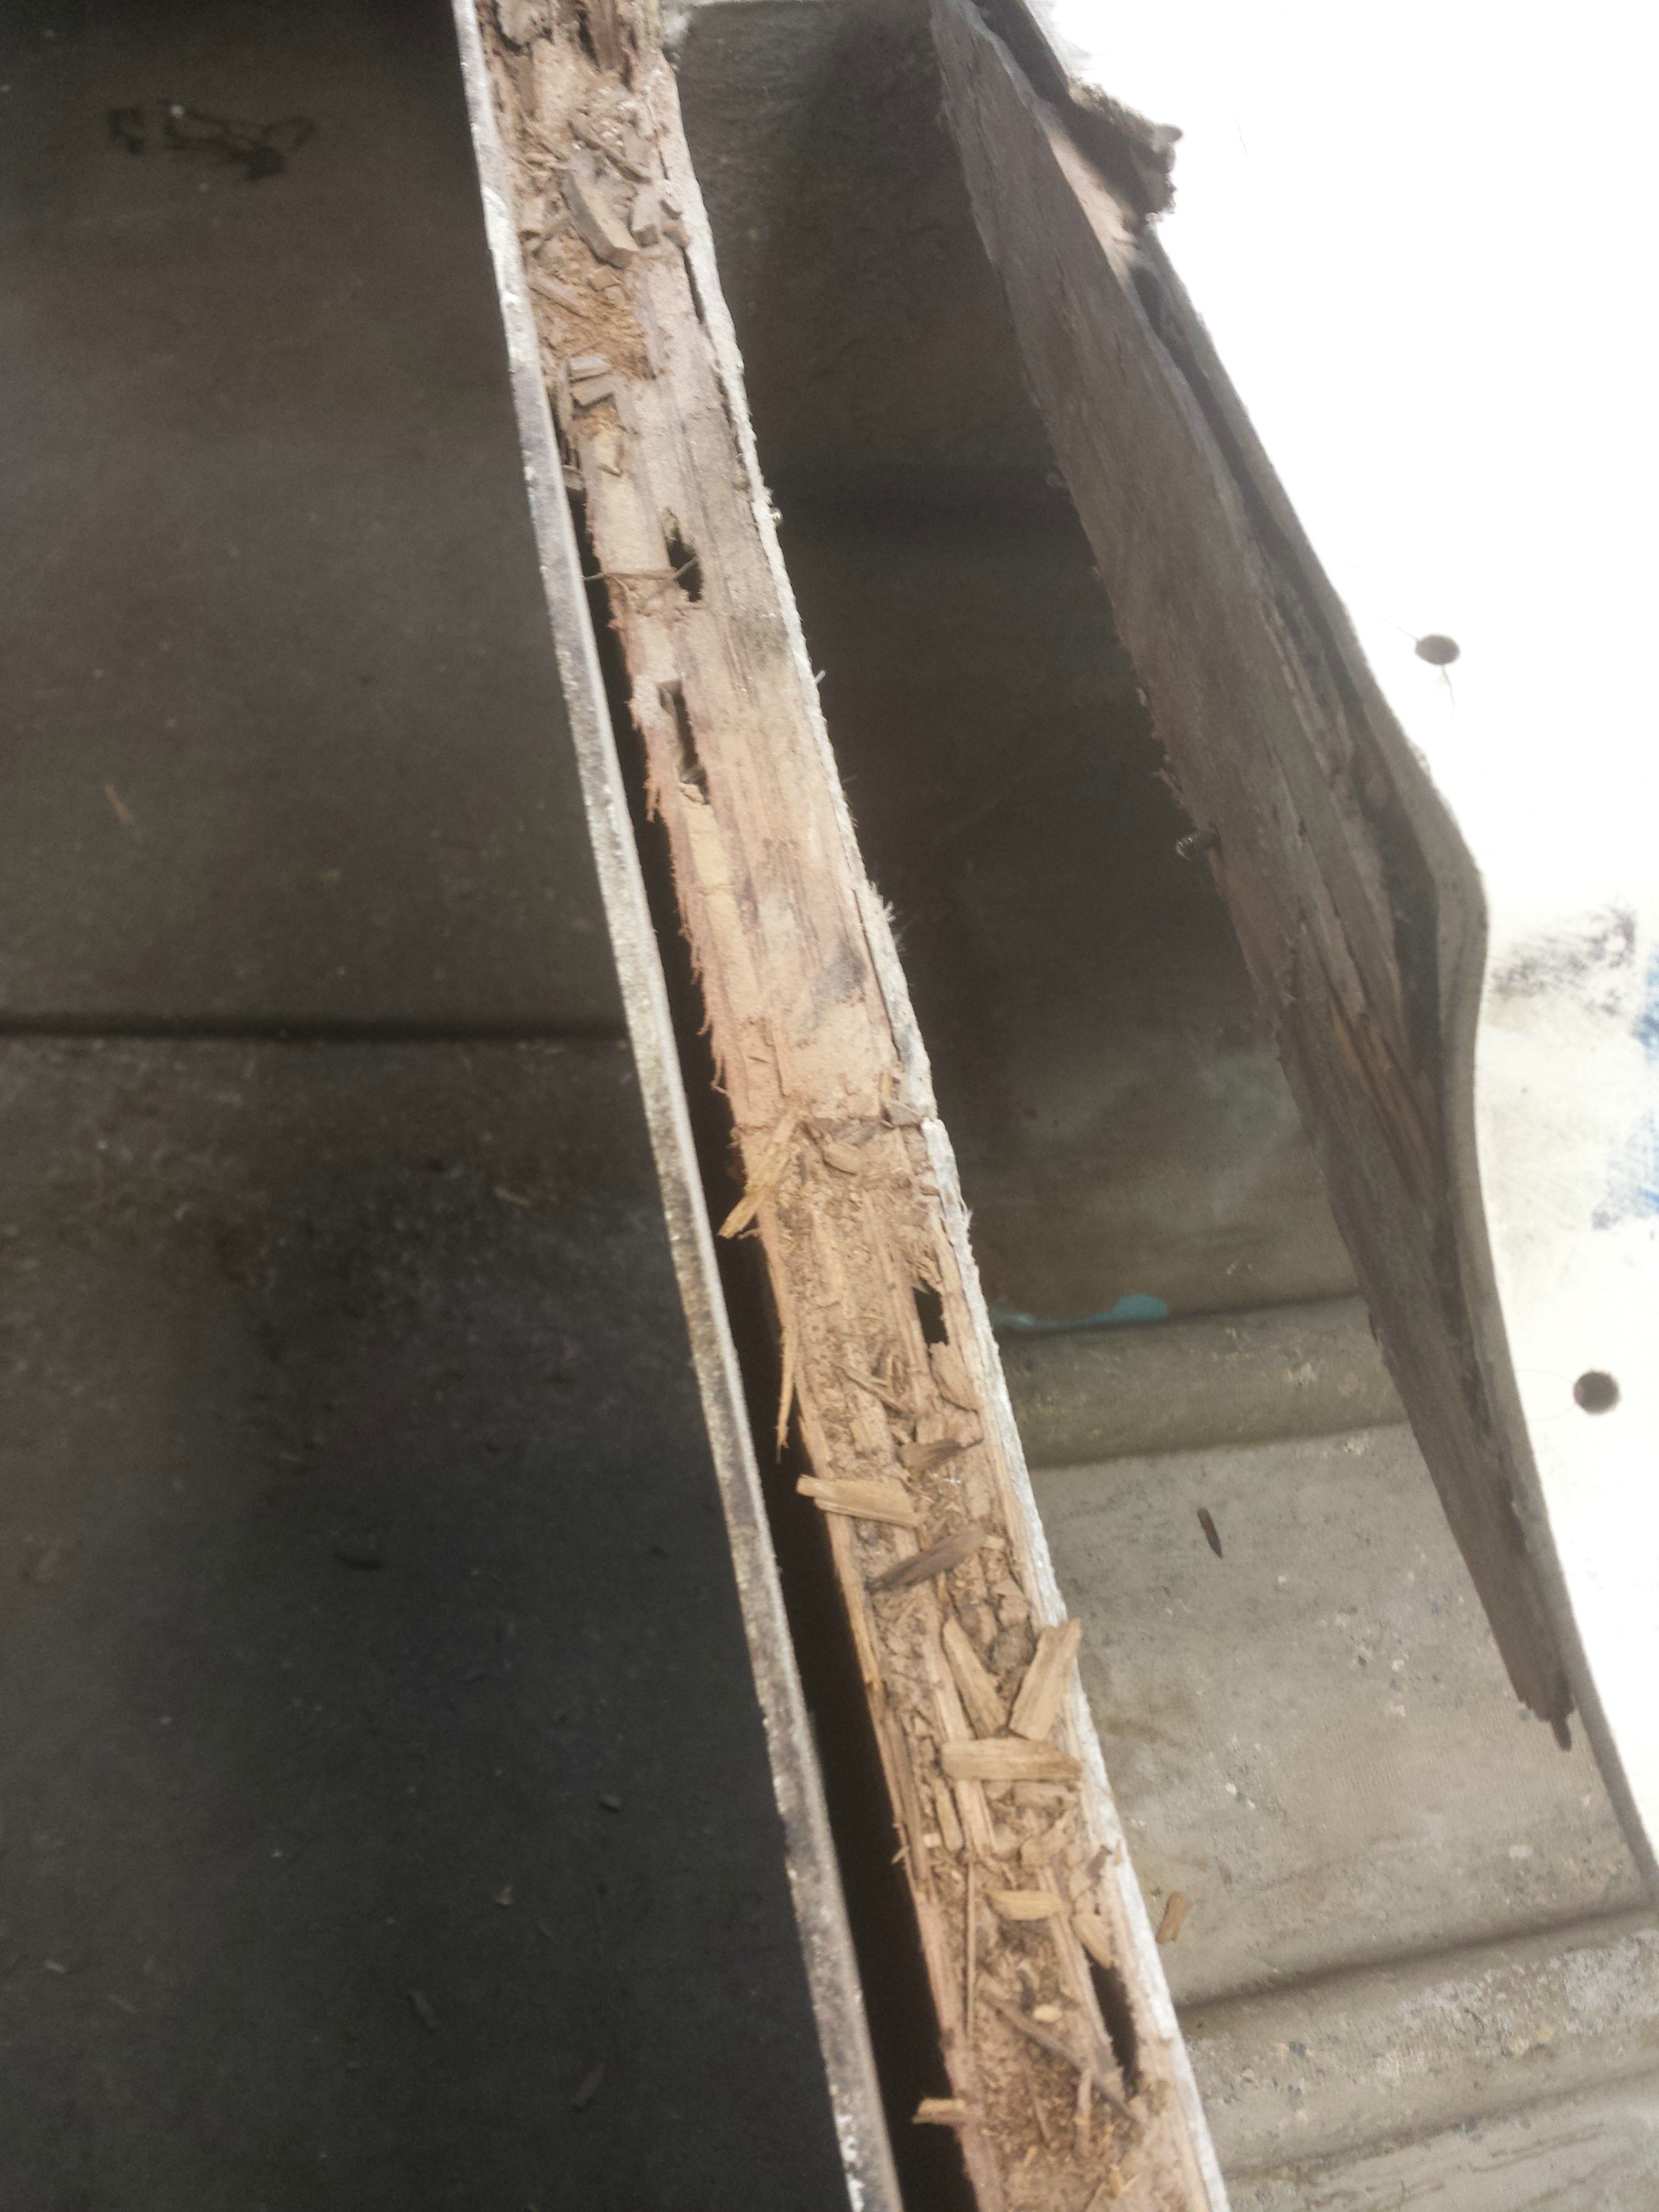
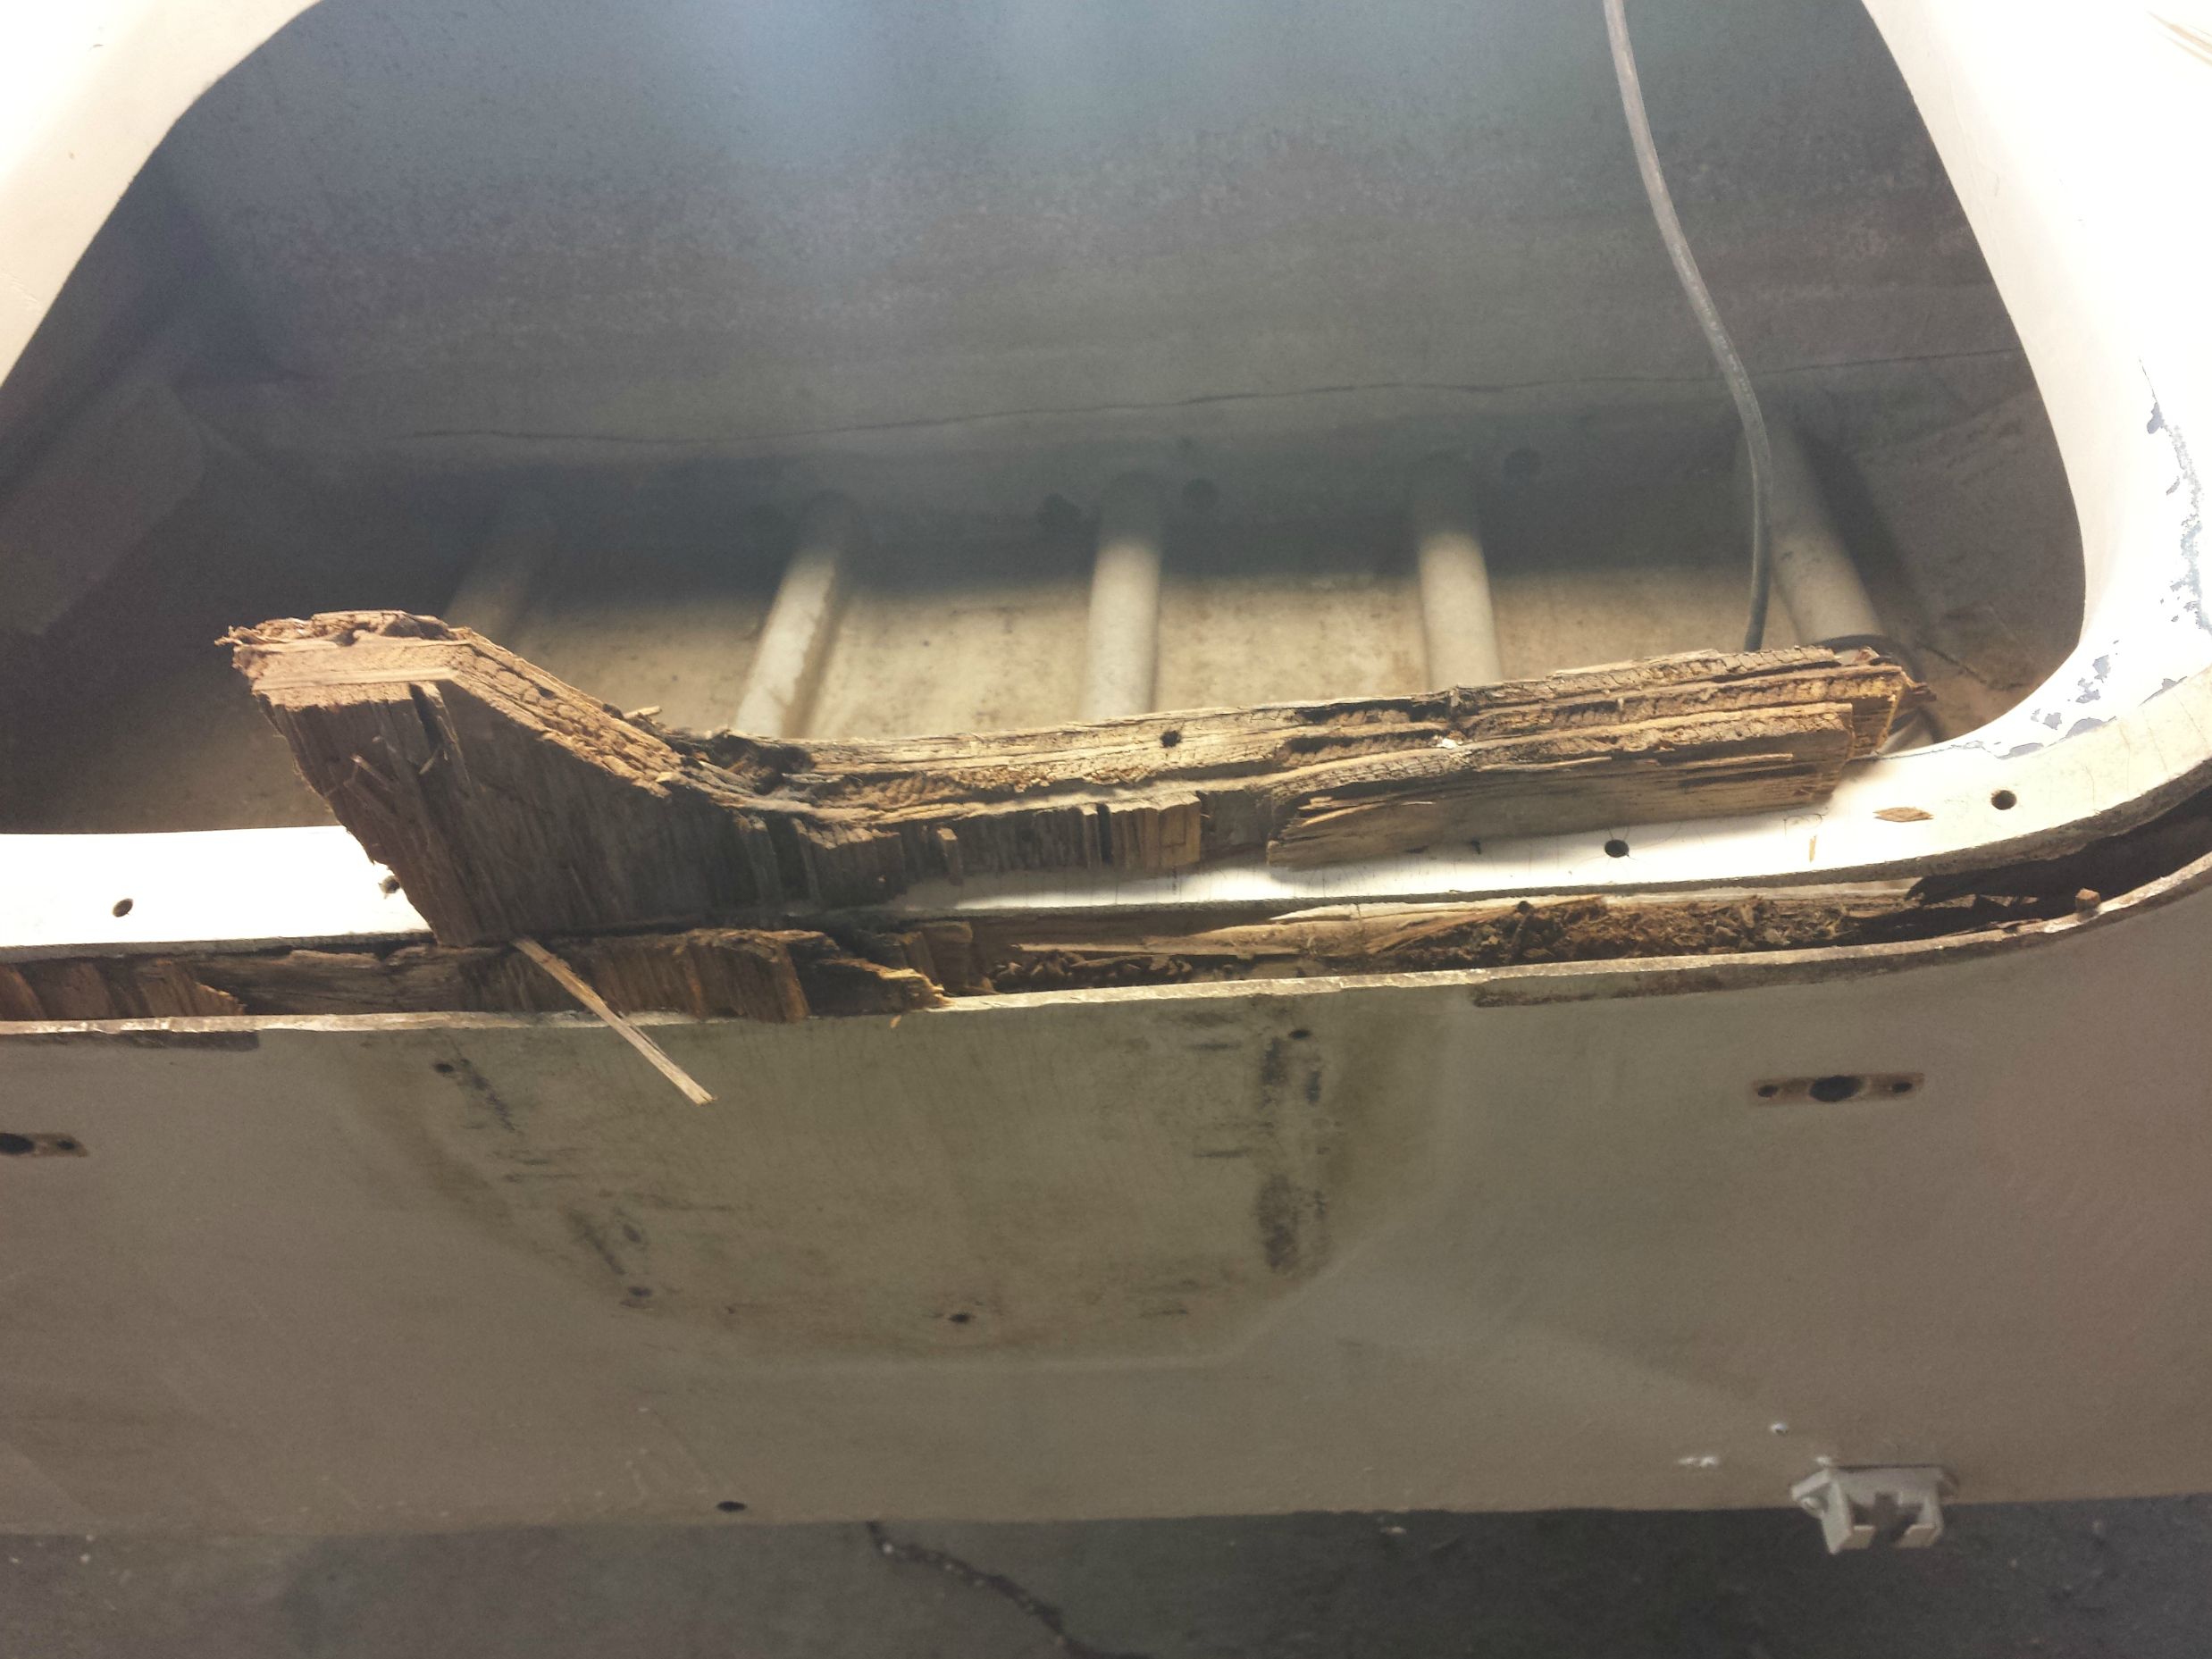
Re:Speed Queen Restoration 8 years 11 months ago #109056
|
Please Log in or Create an account to join the conversation.
1960 14' Speed Queen
1972 10' Tri-Cat 3 [Building] 10' Glen-L Squirt |
Re:Speed Queen Restoration 8 years 10 months ago #110296
|
Please Log in or Create an account to join the conversation.
1960 14' Speed Queen
1972 10' Tri-Cat 3 [Building] 10' Glen-L Squirt |

Re:Speed Queen Restoration 8 years 10 months ago #110349
|
Please Log in or Create an account to join the conversation.
1960 14' Speed Queen
1972 10' Tri-Cat 3 [Building] 10' Glen-L Squirt |


Donate
Please consider supporting our efforts.
FG Login
Glassified Ads
1969 Stern Craft Boat 19' |
‘62 Dorsett Catalina( / Boats)

1967 Evinrude Sportsman boat, motor & trailer - $4,500( / Boats)


FiberGoogle
Who's Online
We have 6528 guests and no members online